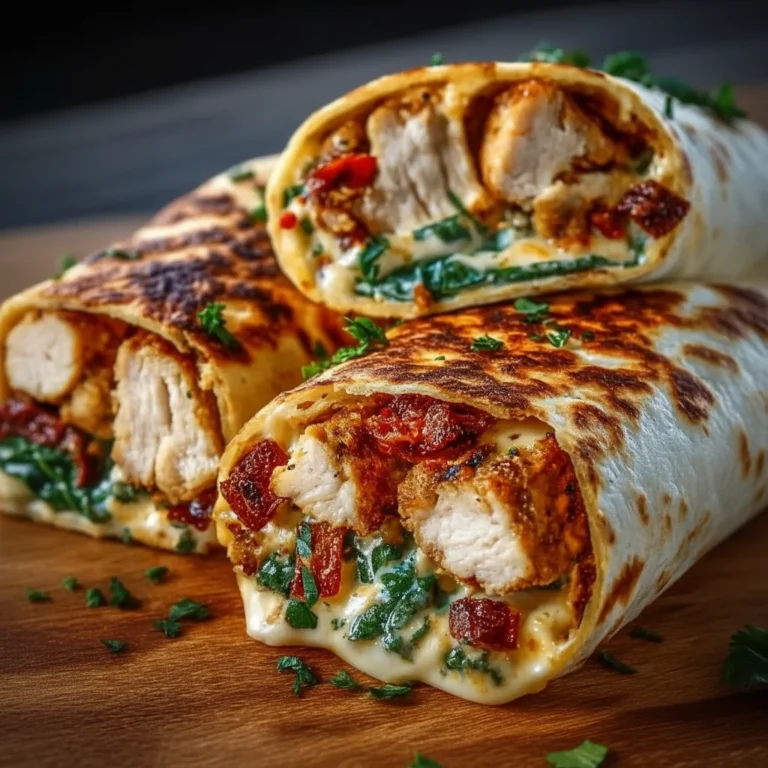
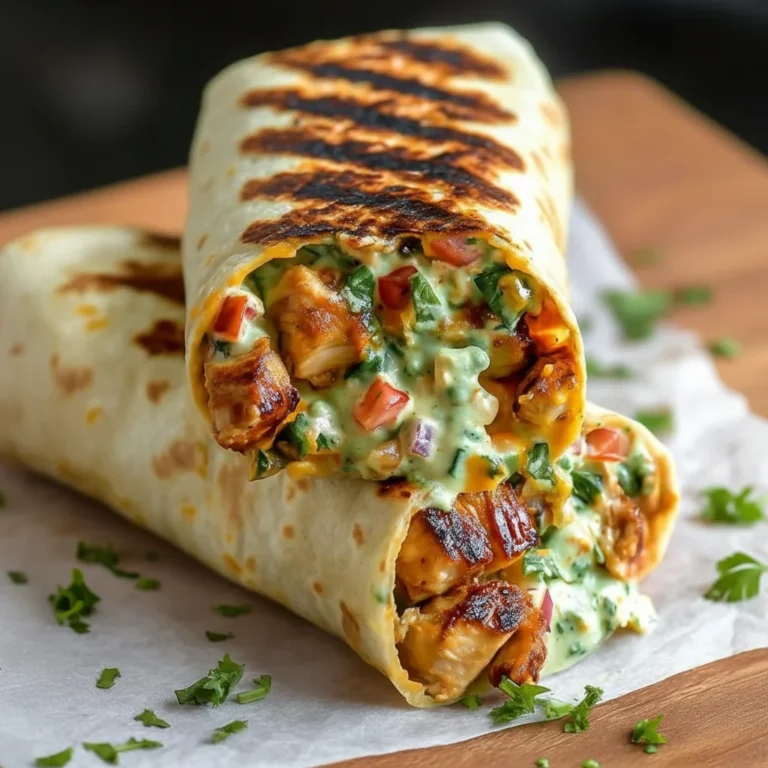
Cheesy Garlic Chicken Wraps
Are you feeling uninspired by your usual lunchtime options, longing for something that is quick, deeply satisfying, and full of flavour? We’ve certainly been there, peering into the fridge and waiting for a brilliant idea to surface. Well, that wait is officially over. We’re delighted to share a recipe that is set to revolutionise your midday meal and earn a permanent spot in your family’s cookbook: the definitive Cheesy Garlic Chicken Wraps. This isn’t just another sandwich alternative; it’s a warm, gooey, and utterly delectable experience that is wonderfully simple to prepare and remarkably versatile. If you appreciate the comforting partnership of chicken and garlic, similar to what we feature in our Crockpot Garlic Parmesan Chicken Pasta, then you are about to discover a new favourite.
Why You’ll Love This Recipe
- Ready in Under 30 Minutes: This is our go-to solution for a hectic weeknight dinner or a quick lunch. We’ve designed this recipe to be exceptionally speedy without compromising on taste.
- Packed with Flavour: We’re talking about tender, succulent chicken sautéed with aromatic garlic, all brought together in a rich, creamy, and wonderfully cheesy sauce. Every single bite is a moment of pure bliss.
- Perfect for Meal Prep: You can prepare the chicken filling ahead of time, which makes assembling the wraps incredibly quick and easy. It’s an ideal strategy for ensuring you have a wholesome and delicious meal on hand all week.
- Endlessly Customisable: We see this recipe as a brilliant foundation for your own culinary flair. You can introduce extra vegetables, try different cheese combinations, or add a touch of spice to truly make it your own.
- A True Crowd-Pleaser: From the fussiest little eaters to grown-up foodies, these wraps are a certified success. The comforting and familiar flavours of cheese and garlic are adored by all.
Ingredients
- 500g boneless, skinless chicken breasts, diced into small pieces
- 4 large flour tortillas
- 150g mozzarella cheese, grated
- 100g mature cheddar cheese, grated
- 80g full-fat cream cheese, softened
- 4 cloves garlic, minced
- 2 tbsp olive oil
- 1 tbsp unsalted butter
- 2 tbsp fresh parsley, finely chopped
- 1/2 tsp salt, or to taste
- 1/4 tsp black pepper, freshly ground
- Optional: 1 cup of fresh baby spinach
Step-by-Step Instructions: Crafting Your Cheesy Garlic Chicken Wraps
We’ve outlined the entire process in clear, straightforward steps to guarantee your wraps turn out perfectly every time. Let’s get cooking together!
1. Preparing the Garlic Chicken Filling
The foundation of these incredible wraps is the succulent garlic chicken. Nailing this first stage paves the way for a truly memorable meal.
- To begin, heat the olive oil in a large frying pan over a medium-high heat.
- Pat the diced chicken dry using a paper towel, then season it liberally with salt and pepper.
- Carefully add the chicken to the hot pan, arranging it in a single layer. Allow it to cook undisturbed for 3–4 minutes to achieve a beautiful golden-brown sear. After that, continue to cook while stirring occasionally, until the chicken is cooked all the way through, which should take about 7–8 minutes in total.
- Add the minced garlic to the pan and cook for one more minute until it becomes wonderfully fragrant. Take care not to let the garlic burn, as this can give it a bitter taste.
- Once done, transfer the chicken and garlic from the pan into a bowl and set it aside.
2. Creating the Creamy, Cheesy Base
Now we move on to crafting the luscious, cheesy sauce that beautifully unites all the flavours.
- Using the same frying pan (no need to wash it!), lower the heat. Add the butter and allow it to melt completely.
- Add the softened cream cheese, stirring continuously until it has melted into a smooth consistency.
- Gently stir in the grated mozzarella and cheddar. Keep stirring over a low heat until you are left with a smooth and gloriously gooey cheese sauce.
- Return the cooked chicken and garlic to the pan. Add the freshly chopped parsley and mix everything together until the chicken is evenly coated in the rich, cheesy sauce. If you’re including spinach, add it in at this point and stir until it has just wilted.
- Remove the frying pan from the heat. Your amazing filling is now complete!
3. Assembling and Grilling Your Wraps
This is the final stage where it all comes together, turning our delicious filling into a perfectly grilled, handheld meal.
- Gently warm your tortillas, either in a dry pan for a minute or in the microwave for a few seconds. This simple step makes them softer and easier to fold without any risk of tearing.
- Lay a warmed tortilla on a clean, flat surface. Spoon a quarter of the cheesy garlic chicken filling into the centre, ensuring you leave a small border around the edges.
- Fold in the left and right sides of the tortilla first, then tightly roll it from the bottom upwards to form a neat, secure parcel.
- Wipe out your frying pan and return it to a medium heat. You can add a small knob of butter or a light spray of cooking oil if you like.
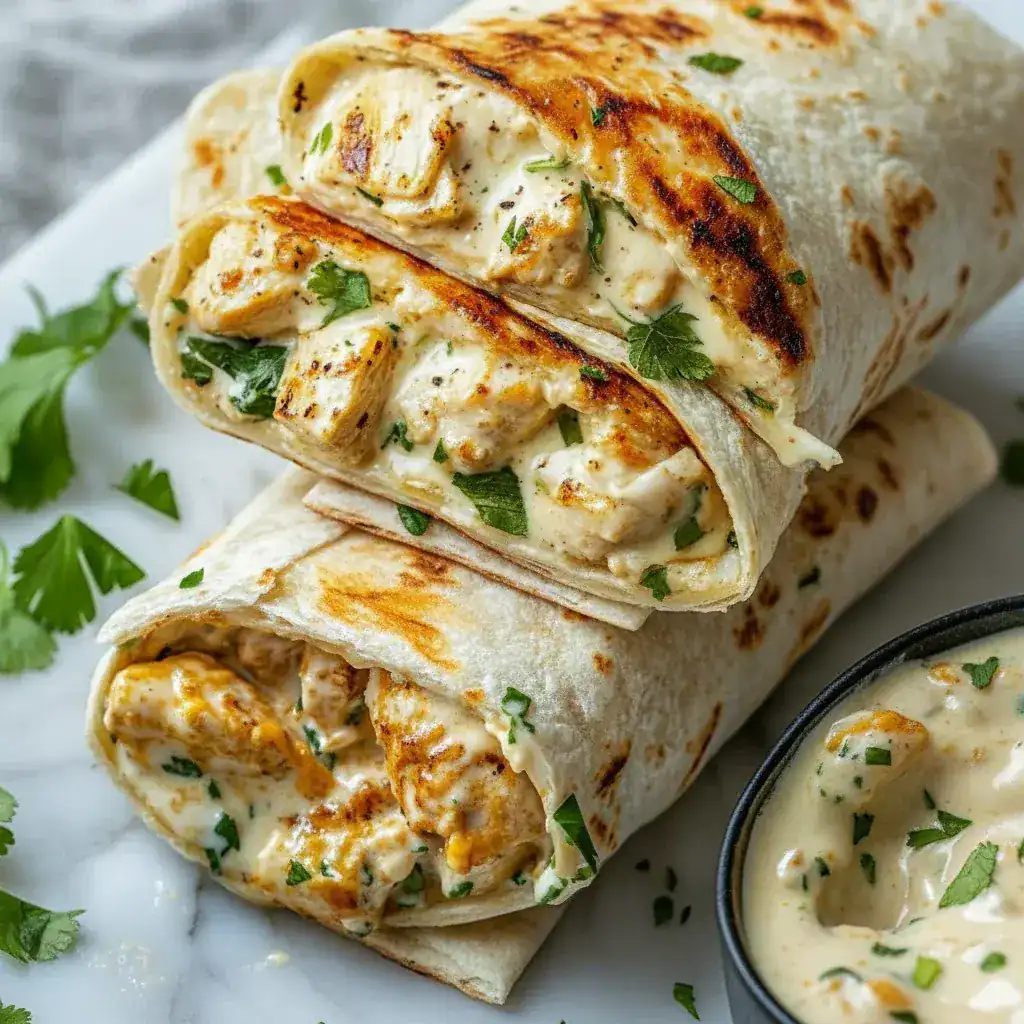
- Place the wraps in the pan with the seam facing down. Cook for 2–3 minutes on each side, or until the exterior is crisp and golden-brown, and the cheese inside is perfectly melted and oozy. You can press down on them gently with a spatula for an even toast.
- Once they are grilled to perfection, remove the wraps from the pan. Let them rest for a minute before slicing them in half to serve.
Tips for the Best Chicken Wraps
To help you take your wraps from merely good to absolutely unforgettable, we’ve put together a few of our top tips:
- Use Fresh Ingredients: There is no substitute for the vibrant taste of freshly minced garlic and cheese you’ve grated yourself. These will always offer a much better flavour than pre-prepared versions.
- Don’t Overcrowd the Pan: When you cook the chicken, make sure it has enough space in the pan. Arranging it in a single layer helps it to sear properly, which locks in both moisture and flavour.
- Heat Control is Key: Whether you’re making the cheese sauce or grilling the final wraps, maintaining a low to medium heat is crucial. This will prevent the cheese from burning or separating.
- Don’t Overfill: It’s always tempting to load your wraps with as much filling as possible, but this can cause them to split. A well-balanced amount is the secret to a tidy wrap that’s easy to enjoy.
Making These Customizable wraps Your Own
One of the greatest joys of this recipe is just how adaptable it is. We encourage you to view it as a starting point for your own kitchen creativity. Here are a few suggestions to inspire you:
- Add More Veggies: Sautéed bell peppers, onions, or mushrooms would make wonderful additions to the chicken filling. You could also stir in some fresh, diced tomatoes or avocado just before serving.
- Switch the Cheese: Please feel free to play around with different types of cheese. Provolone, Monterey Jack, or even a spicy pepper jack cheese for an extra kick would all be delicious.
- Bring the Heat: If you enjoy a bit of spice, try adding a pinch of red pepper flakes along with the garlic, or mix a little of your favourite hot sauce into the cheesy base.
- Dipping Sauces: These wraps are fantastic served with a side of ranch dressing, salsa, sour cream, or a simple garlic aioli for another dimension of flavour.
Perfect for Meal prep chicken Lunches
These wraps are a true game-changer for your weekly meal prep. To get ahead, just cook the cheesy garlic chicken filling according to the instructions and let it cool down completely. You can store it in an airtight container in the fridge for up to 4 days. When you’re ready for a fantastic lunch, simply spoon the chilled filling onto a tortilla, wrap it up, and grill it in a pan until it’s hot all the way through and crispy on the outside. This gives you that wonderful, freshly-made taste without any of the morning rush, making these one of our favourite healthy chicken wraps for busy days.
What to Serve with Your Wraps
While these Cheesy Garlic Chicken Wraps are more than satisfying on their own, pairing them with a simple side can create a more complete meal. A fresh, crisp salad offers a lovely contrast to the richness of the wrap. We wholeheartedly recommend our Classic House Salad with Red Wine Vinaigrette for a light and zesty accompaniment. Other excellent choices include coleslaw, sweet potato fries, or even a comforting cup of tomato soup.
FAQ
A New Favourite for Any Occasion
So there you have it—a simple, delicious, and deeply satisfying recipe for Cheesy Garlic Chicken Wraps that we are certain will become a regular feature in your kitchen. It’s the ideal response to the daily “what’s for dinner?” dilemma, a fantastic way to brighten up your lunchbox, and a surefire hit with the entire family. The combination of tender garlic chicken and gooey, melted cheese, all encased in a crispy, golden tortilla, is simply too good to resist.
We truly hope you give this recipe a go and have fun making it your own. Experiment with different fillings, cheeses, and side dishes. Cooking should be an enjoyable experience, and this recipe is a wonderful place to start. When you make them, please do leave a comment below to let us know how you got on. We always love to hear about your culinary creations!
Recipe Card

Ingredients
- 500g boneless, skinless chicken breasts, diced
- 4 large flour tortillas
- 150g mozzarella cheese, grated
- 100g mature cheddar cheese, grated
- 80g full-fat cream cheese, softened
- 4 cloves garlic, minced
- 2 tbsp olive oil
- 1 tbsp unsalted butter
- 2 tbsp fresh parsley, finely chopped
- 1/2 tsp salt
- 1/4 tsp black pepper
- Optional: 1 cup baby spinach
Instructions
- Heat olive oil in a large pan over medium-high heat. Season diced chicken with salt and pepper and cook until golden and cooked through (about 7-8 minutes). Add minced garlic and cook for one more minute until fragrant. Transfer the chicken and garlic to a bowl.
- In the same pan, lower the heat and melt the butter. Stir in the softened cream cheese until smooth. Add the grated mozzarella and cheddar, stirring continuously until a gloriously gooey sauce forms.
- Return the cooked chicken and garlic to the pan. Add the chopped parsley (and spinach, if using) and stir until everything is evenly coated in the rich, cheesy sauce. Remove the pan from the heat.
- Gently warm the tortillas. Spoon a quarter of the filling into the centre of each tortilla, fold in the left and right sides, and then roll up tightly from the bottom.
- Wipe the pan and return it to a medium heat. Place the wraps seam-side down and cook for 2-3 minutes per side until the outside is crisp, golden-brown, and the cheese inside is fully melted. Let rest for a minute before slicing and serving.