
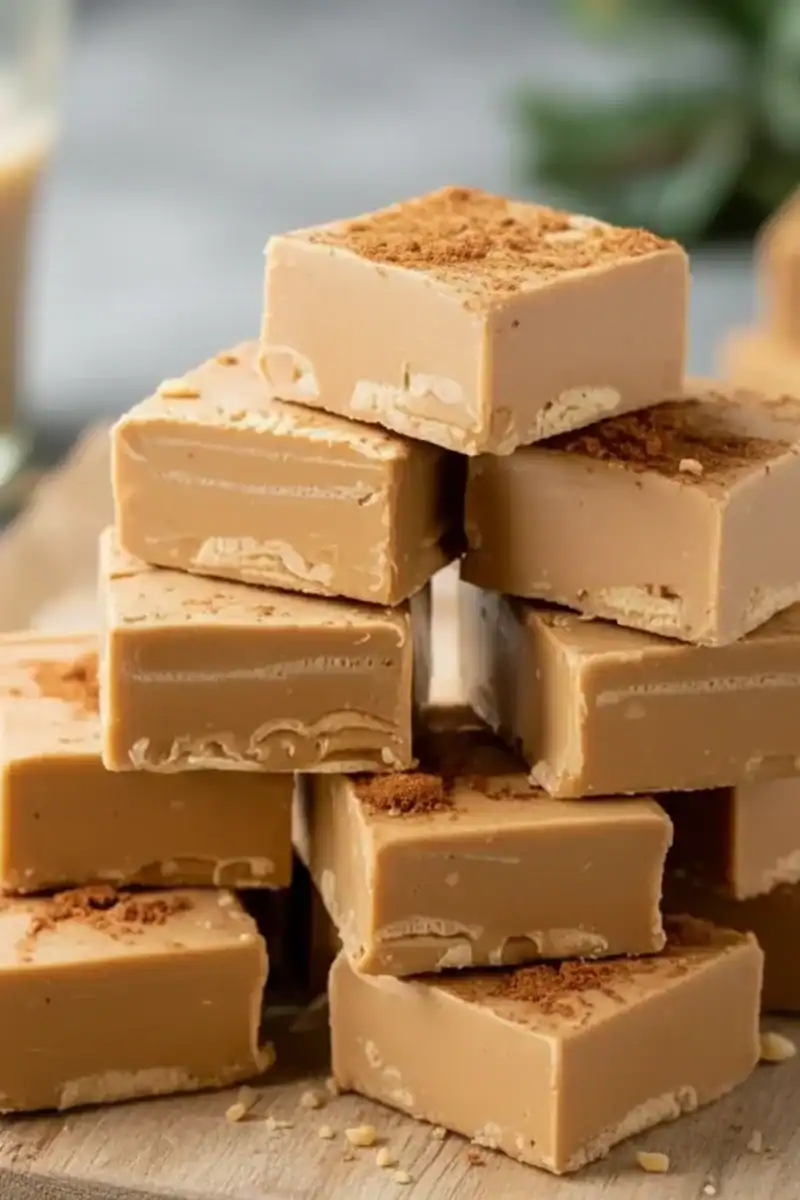
Creamy Peanut Butter Fudge Squares
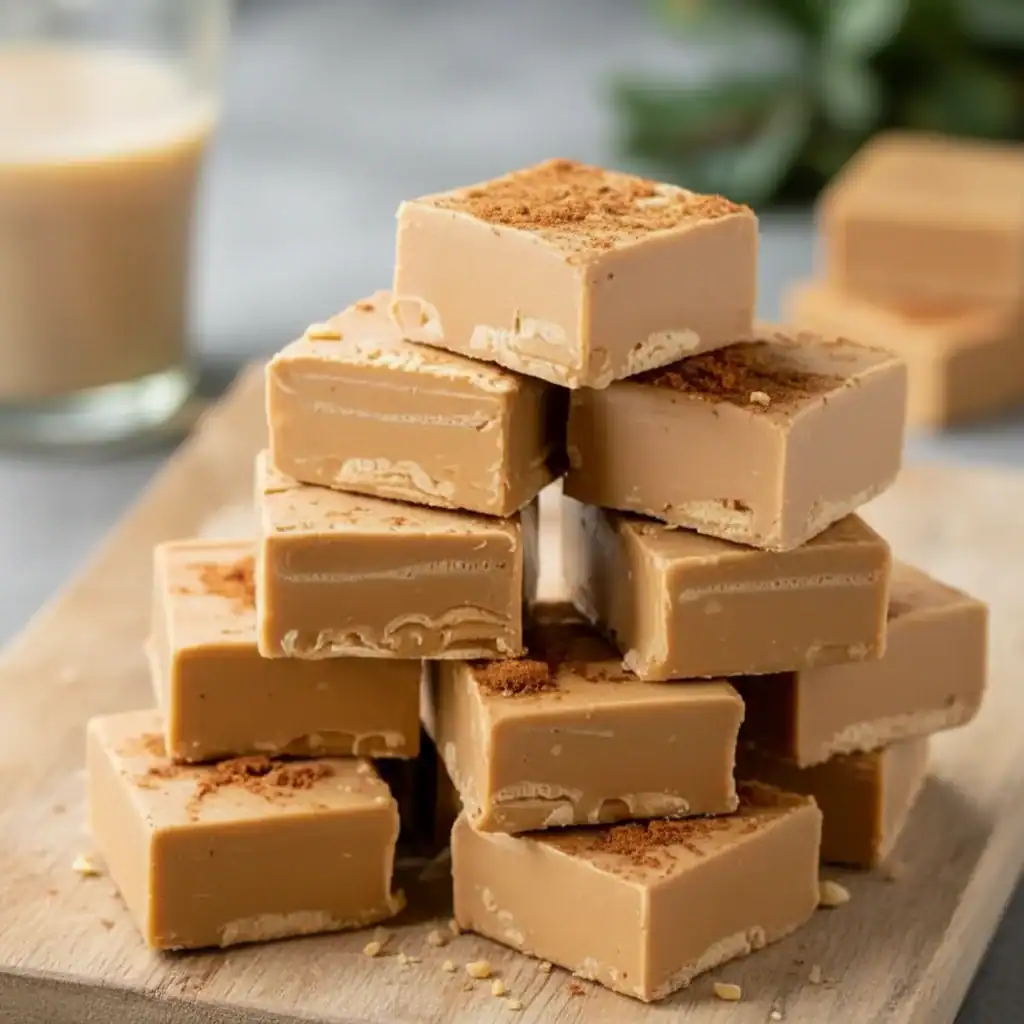
There is something profoundly satisfying about making your own sweets at home. For me, the scent of melting butter and sugar signals the start of something special, and nothing quite captures that feeling like a batch of homemade Peanut Butter Fudge Squares. This isn’t the crumbly, overly sweet fudge you might find in seaside shops; this is something else entirely. It’s dense, velvety, and packed with a deep, roasted peanut flavour that’s beautifully balanced with a satisfying sweetness. I find myself making this recipe whenever we need a little pick-me-up – it has become a true staple in our household.
The magic of this peanut butter dessert lies in its texture. Each square melts slowly on the tongue, a smooth and creamy consistency that’s incredibly moreish. It’s the kind of treat that works beautifully for so many occasions: packaged in a small box, it makes a thoughtful homemade gift; arranged on a platter, it’s a welcome addition to an afternoon tea; and kept in a tin on the counter, it’s a wonderful little indulgence with a cup of coffee. It’s a straightforward recipe that delivers a truly special result, turning simple pantry ingredients into something quite luxurious.
Recipe Overview
This recipe creates exceptionally smooth and rich fudge squares with an intense peanut butter flavour. The process is methodical but not difficult, involving melting the ingredients to the correct temperature before beating and setting. My key discovery during testing was that letting the sugar dissolve completely over a low heat before increasing the temperature is the secret to avoiding a grainy texture.
- Prep Time: 10 minutes
- Cook Time: 15 minutes
- Chill Time: 3 hours
- Total Time: 3 hours 25 minutes
- Servings: 36 small squares
- Difficulty: Easy
Why You’ll Love These Peanut Butter Fudge Squares
- Genuine Flavour: Each bite is loaded with a deep, nutty, and slightly salty peanut butter taste, offset by a creamy sweetness that isn’t overpowering. The texture is dense and velvety, never gritty.
- Comes Together in Under 30 Minutes: The active cooking and preparation time is less than half an hour. The hardest part is simply waiting for it to set in the fridge.
- Flexible Recipe: This fudge is a brilliant base for customisation. You can stir through a cup of mini chocolate chips, top with flaky sea salt for a sophisticated finish, or add chopped pretzels for a delightful crunch.
- Ideal for Gifting: This homemade fudge works wonderfully for Christmas food hampers, bake sales, or as a lovely ‘thank you’ gift for a neighbour or friend.
- Family Tested: My husband, who’s usually picky, asked for a second piece before I’d even finished cutting the first batch! It always gets compliments from everyone who tries it.
Ingredients You’ll Need
For the best results, use good quality ingredients. I always use a standard smooth peanut butter like Sun-Pat rather than an all-natural one, as the separated oils in natural varieties can sometimes affect the final texture. Make sure your icing sugar is well-sifted to avoid any lumps.
- 225g unsalted butter, cubed
- 450g smooth peanut butter
- 200g demerara sugar
- 120ml whole milk
- 1 tsp vanilla extract
- 500g icing sugar, sifted
- ¼ tsp fine sea salt
Adam’s Tip: Don’t be tempted to reduce the amount of icing sugar. While it seems like a lot, it’s essential for achieving the correct firm, yet melt-in-the-mouth texture that defines classic fudge.
How to Make Peanut Butter Fudge Squares
The process is all about gentle heat and patience. Make sure you have all your ingredients measured out and ready to go before you begin, as the final steps happen quite quickly. This is a classic candy recipe that relies on a simple process of dissolving sugar and fat.
- Prepare Your Tin: Lightly grease a 20cm (8-inch) square baking tin and line it with baking parchment, leaving an overhang on two sides. This will make it much easier to lift the fudge out later.
- Melt the Base: In a large, heavy-bottomed saucepan, combine the unsalted butter, demerara sugar, and whole milk. Place over a medium-low heat.
- Dissolve the Sugar: Stir the mixture gently but constantly with a wooden spoon or spatula until the butter has melted and the demerara sugar has completely dissolved. This can take 5-7 minutes. Don’t rush this step; ensuring the sugar dissolves is key to a smooth fudge.
- Bring to a Boil: Once the sugar is dissolved, increase the heat to medium and bring the mixture to a gentle, steady boil. Continue to cook, stirring occasionally, for another 5-7 minutes. The mixture will thicken slightly. If you have a sugar thermometer, you are aiming for the ‘soft-ball’ stage, which is around 112-115°C (234-240°F). You can find a great guide to sugar stages on the BBC Good Food website.
- Add Peanut Butter and Vanilla: Remove the saucepan from the heat. Immediately add the smooth peanut butter, vanilla extract, and salt. Stir vigorously until the peanut butter is fully melted and the mixture is smooth and glossy.
- Beat in the Icing Sugar: Add the sifted icing sugar to the pan all at once. Using your wooden spoon (or an electric hand mixer with beater attachments on a low speed), beat the icing sugar into the hot mixture until it is fully incorporated and the fudge starts to lose its glossy shine. This will take about a minute. What works best for me is to work quickly here to prevent it from setting in the pan.
- Pour and Set: Immediately pour the fudge mixture into your prepared tin. Use the back of a spoon or a spatula to spread it into an even layer.
- Chill Completely: Let the tin cool on a wire rack to room temperature for about 30 minutes, then transfer it to the refrigerator. Allow it to chill for at least 3 hours, or until completely firm.
- Cut and Serve: Once firm, use the parchment paper overhang to lift the fudge slab out of the tin. Place it on a cutting board and use a long, sharp knife to cut it into small squares.
Tips From My Kitchen
- Temperature Control is Crucial: The most common issue with fudge is a grainy texture, which comes from the sugar not dissolving properly or being cooked at too high a heat. Keep the flame low and steady at the start and stir until you can’t feel any sugar granules against the bottom of the pan.
- The Secret Step: I learned that vigorously beating the fudge for 60 seconds after adding the icing sugar makes a real difference. It helps cool the mixture slightly and encourages the formation of the tiny sugar crystals that give fudge its characteristic texture.
- Make-Ahead Magic: This is a brilliant recipe to make in advance. The fudge will keep beautifully for a week and the flavour even seems to deepen after a day or two. It’s ideal for getting ahead on holiday baking.
- Storage: Store your fudge squares in an airtight container at room temperature for up to 7 days. If your kitchen is very warm, you can store it in the fridge for up to two weeks, but let it come to room temperature for 15 minutes before serving for the best texture. Separate layers with baking parchment to prevent them from sticking.
Equipment You’ll Need
- Large, heavy-bottomed saucepan
- 20cm (8-inch) square baking tin
- Baking parchment
- Wooden spoon or heatproof spatula
- Sharp knife and cutting board
- Sieve (for the icing sugar)
Common Mistakes to Avoid
- Rushing the Sugar: If you don’t allow the demerara sugar to dissolve completely in the milk and butter at the start, your final fudge will have a grainy, unpleasant texture. Be patient and stir over a low heat.
- Boiling Too Fiercely: A raging boil can cause the sugar to crystallise or burn. Aim for a steady, bubbling simmer while the mixture cooks to the soft-ball stage.
- Cutting Before It’s Set: It’s tempting to dive in, but cutting the fudge before it is completely firm will result in messy, misshapen squares. Give it the full 3 hours (or even overnight) in the fridge.
Delicious Variations to Try
Once you’ve mastered the basic recipe, it’s great fun to start experimenting. Here are a few ideas that have worked well in my kitchen:
- Chocolate Peanut Butter Swirl: After pouring the fudge into the tin, melt 100g of dark chocolate and drizzle it over the top. Use a skewer or the tip of a knife to gently create a marbled pattern.
- Crunchy Pretzel Fudge: Swap the smooth peanut butter for a crunchy variety. Just before pouring into the tin, fold in 75g of roughly crushed salted pretzels for a wonderful salty crunch in every bite. If you love the peanut combination, our Chocolate Peanut Butter Banana Bread is another treat you might enjoy.
- Vegan Peanut Butter Fudge: This recipe can be adapted for a vegan diet. Use a good quality dairy-free butter block (the kind for baking, not a soft spread) and replace the whole milk with oat milk or soya milk. The results are just as delicious.
What to Serve With Peanut Butter Fudge Squares
These fudge squares are quite rich, so they are best enjoyed in small portions. They stand proudly on their own but also pair beautifully with a few other things.
- A Strong Brew: A square of this fudge is the perfect partner to a strong cup of black coffee or an English breakfast tea, as the bitterness cuts through the richness.
- Dessert Platter: Serve small squares as part of a larger dessert board with fresh berries, other small cakes, and perhaps some dark chocolate.
- With Ice Cream: For a more decadent dessert, serve a square alongside a scoop of simple vanilla bean ice cream. The contrast of the cool cream and the dense fudge is delightful. It’s a lovely way to end a comforting meal like our Creamy Garlic Penne Pasta.
Frequently Asked Questions
Peanut Butter Fudge Squares
Ingredients
Method
- Prepare Your Tin: Lightly grease a 20cm (8-inch) square baking tin and line it with baking parchment, leaving an overhang on two sides. This will make it much easier to lift the fudge out later.
- Melt the Base: In a large, heavy-bottomed saucepan, combine the unsalted butter, demerara sugar, and whole milk. Place over a medium-low heat.
- Dissolve the Sugar: Stir the mixture gently but constantly with a wooden spoon or spatula until the butter has melted and the demerara sugar has completely dissolved. This can take 5-7 minutes. Don't rush this step; ensuring the sugar dissolves is key to a smooth fudge.
- Bring to a Boil: Once the sugar is dissolved, increase the heat to medium and bring the mixture to a gentle, steady boil. Continue to cook, stirring occasionally, for another 5-7 minutes. The mixture will thicken slightly. If you have a sugar thermometer, you are aiming for the 'soft-ball' stage, which is around 112-115°C (234-240°F). You can find a great guide to sugar stages on the BBC Good Food website.
- Add Peanut Butter and Vanilla: Remove the saucepan from the heat. Immediately add the smooth peanut butter, vanilla extract, and salt. Stir vigorously until the peanut butter is fully melted and the mixture is smooth and glossy.
- Beat in the Icing Sugar: Add the sifted icing sugar to the pan all at once. Using your wooden spoon (or an electric hand mixer with beater attachments on a low speed), beat the icing sugar into the hot mixture until it is fully incorporated and the fudge starts to lose its glossy shine. This will take about a minute. What works best for me is to work quickly here to prevent it from setting in the pan.
- Pour and Set: Immediately pour the fudge mixture into your prepared tin. Use the back of a spoon or a spatula to spread it into an even layer.
- Chill Completely: Let the tin cool on a wire rack to room temperature for about 30 minutes, then transfer it to the refrigerator. Allow it to chill for at least 3 hours, or until completely firm.
- Cut and Serve: Once firm, use the parchment paper overhang to lift the fudge slab out of the tin. Place it on a cutting board and use a long, sharp knife to cut it into small squares.
Notes
I really hope you enjoy making these Peanut Butter Fudge Squares as much as my family and I do. They are a genuine treat, and the satisfaction of cutting into a perfect slab of homemade fudge is hard to beat. It’s a simple pleasure that brings a lot of joy. Let me know how you get on in the comments below – I love hearing about your kitchen adventures.
Happy cooking!
– Adam Henderson


