
Homemade Peanut Butter Sandwich Cookies Recipe
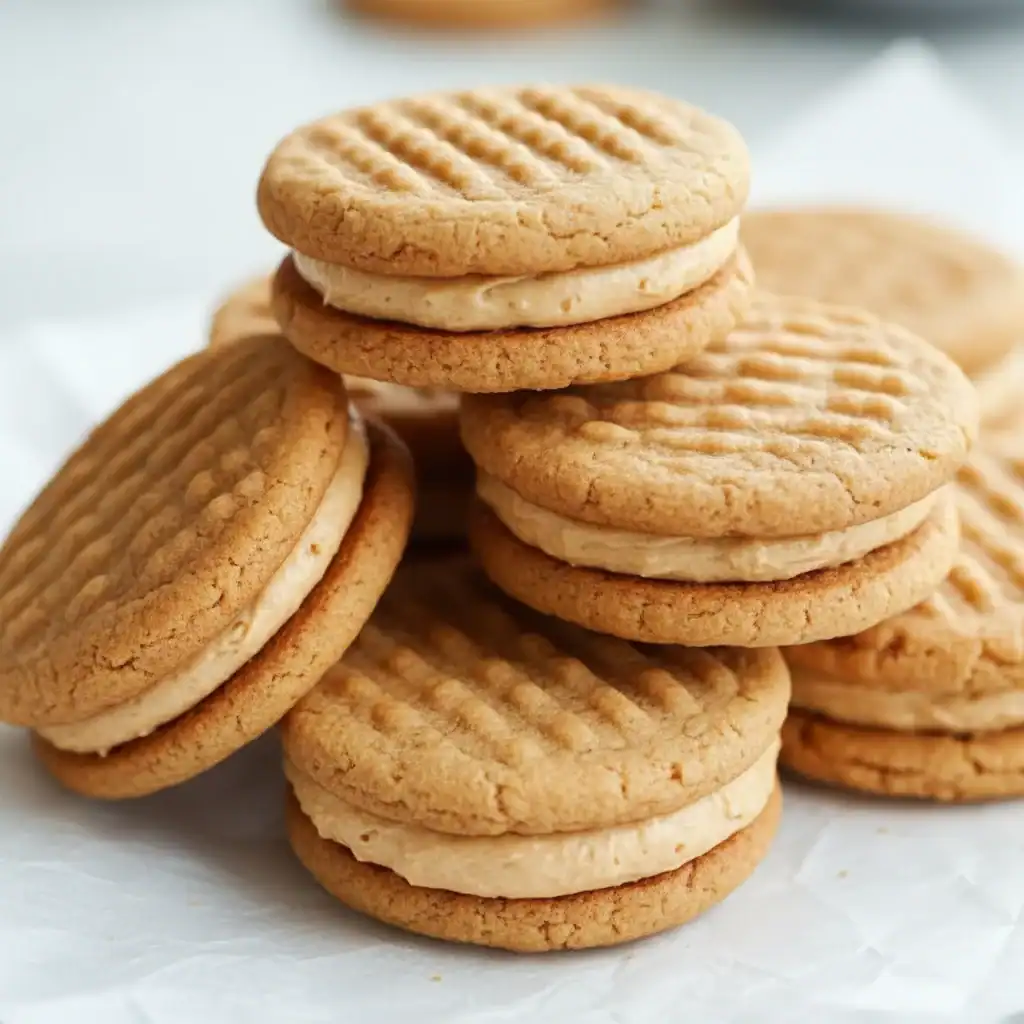
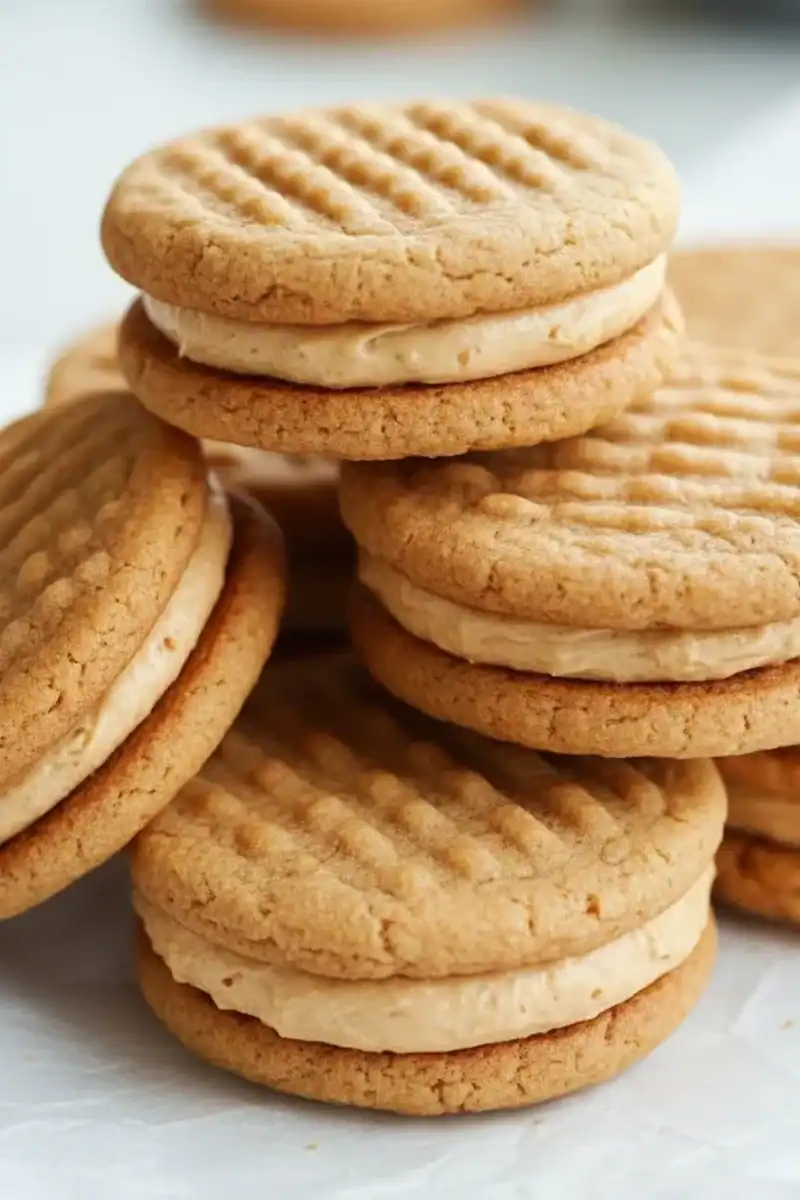
There’s a special kind of magic in a biscuit tin filled with homemade treats, and for me, nothing quite beats the deep, nutty aroma of a freshly baked peanut butter cookie. This homemade peanut butter sandwich cookies recipe takes that simple joy and elevates it. We’re not just making cookies; we’re creating soft, chewy peanut butter biscuits with beautifully crisp edges, then sandwiching them together with a gloriously rich and creamy peanut butter filling. This was inspired by the oversized, indulgent cookies I used to buy from a local bakery as a treat after school, and I’ve spent years perfecting the balance of textures and flavours to recreate that memory.
What makes this recipe stand out is the texture. The cookies themselves have a wonderful chewiness in the centre that gives way to a slightly crumbly, golden edge. They are distinctly peanut buttery without being overwhelmingly sweet. The filling, a simple blend of peanut butter, icing sugar, and butter, is velvety smooth and provides a second, more intense hit of that nutty flavour we all love. It’s a fantastic bake for a weekend afternoon, filling the house with an incredible scent and resulting in a treat that everyone seems to get excited about.
Recipe Overview
This recipe guides you through creating classic peanut butter cookies and a smooth, decadent filling to sandwich them together. The final result is a cookie sandwich that boasts an intense, authentic peanut butter flavour and a delightful contrast between the chewy cookie and the creamy centre. I’ve found that chilling the dough is absolutely essential; it prevents the cookies from spreading too much in the oven and really helps to concentrate that nutty taste.
- Prep Time: 25 minutes (plus 30 minutes chilling)
- Cook Time: 12-14 minutes
- Total Time: 1 hour 10 minutes
- Servings: Makes 14-16 sandwich cookies
- Difficulty: Medium
Why You’ll Love This Homemade Peanut Butter Sandwich Cookies Recipe
- Genuine Flavour: This recipe delivers a deep, roasted peanut flavour, balanced with buttery notes and just the right amount of salt to make it pop. The filling is pure, creamy peanut butter bliss.
- Ready in just over an hour: From mixing the dough to pulling the last batch from the oven, the active process comes together efficiently, with a short, crucial chilling time in between.
- A Forgiving Recipe: The dough is straightforward to handle. If you want a slightly different flavour, you can swap the peanut butter filling for a rich chocolate ganache or a sweet raspberry jam.
- Great for sharing: These cookies work beautifully for bake sales, afternoon tea, or as a homemade gift. They always get compliments when I take them to gatherings.
- Family Tested: My kids absolutely devour this every time I make it. They especially love helping to press the classic criss-cross pattern on top with a fork before baking.
Ingredients You’ll Need
For the best results, use a good quality commercial smooth peanut butter like Sun-Pat or Whole Earth. I find that natural, oily peanut butters can separate and make the dough greasy. Ensure your butter and egg are at room temperature before you begin, as this helps everything to combine smoothly.
- For the Peanut Butter Cookies:
- 125g unsalted butter, softened
- 150g smooth peanut butter
- 100g caster sugar
- 100g light brown soft sugar
- 1 large free-range egg
- 1 tsp vanilla extract
- 190g plain flour
- ½ tsp bicarbonate of soda
- ¼ tsp salt
- For the Peanut Butter Filling:
- 100g smooth peanut butter
- 150g icing sugar, sifted
- 50g unsalted butter, very soft
- 1-2 tbsp milk (optional, to adjust consistency)
Adam’s Tip: Don’t be tempted to skip the light brown soft sugar! Its molasses content is key to achieving that wonderfully soft and chewy texture in the final cookie.
How to Make Homemade Peanut Butter Sandwich Cookies
The process is quite methodical, starting with a classic creaming method for the cookies and finishing with the simple, no-cook filling. Remember to be patient during the cooling stage; the cookies need to be completely cool before you attempt to fill them, or you’ll end up with a melty mess!
- Cream the Fats and Sugars: In a large bowl, using an electric mixer or a stand mixer with the paddle attachment, beat the softened butter, 150g of smooth peanut butter, caster sugar, and light brown soft sugar together on a medium speed for about 2-3 minutes, until the mixture is light, pale, and fluffy.
- Add the Wet Ingredients: Add the egg and vanilla extract to the bowl and beat again until fully incorporated. Scrape down the sides of the bowl with a spatula to ensure everything is well mixed.
- Combine the Dry Ingredients: In a separate bowl, whisk together the plain flour, bicarbonate of soda, and salt. Add this to the wet mixture and mix on a low speed until just combined. Be careful not to overmix here; stop as soon as you can’t see any dry flour.
- Chill the Dough: Cover the bowl with cling film and place it in the refrigerator to chill for at least 30 minutes. This step is crucial for preventing the cookies from spreading too thin during baking.
- Shape and Bake: Preheat your oven to 180°C (160°C fan) and line two large baking sheets with baking parchment. Roll the chilled dough into small balls, about 25g each (a tablespoon measure works well). Place them on the prepared sheets, leaving plenty of space between each one. Using the back of a fork, gently press down on each ball, then press again at a 90-degree angle to create the classic criss-cross pattern.
- Bake the Cookies: Bake for 12-14 minutes, or until the edges are golden brown and the centres look just set. They might seem a little soft in the middle, but they will firm up as they cool. I find that rotating the trays halfway through the baking time ensures they cook evenly.
- Cool Completely: Let the cookies cool on the baking sheets for 5 minutes before carefully transferring them to a wire rack to cool completely. This can take up to an hour.
- Make the Filling: While the cookies are cooling, prepare the filling. In a medium bowl, beat together the 100g of smooth peanut butter, the sifted icing sugar, and the 50g of very soft butter until smooth and creamy. If the mixture is too stiff, add a tablespoon of milk at a time until it reaches a spreadable consistency.
- Assemble the Cookie Sandwiches: Once the cookies are completely cool, find matching pairs. Spread a generous teaspoon of the peanut butter filling onto the flat side of one cookie, then gently press another cookie on top to create your sandwich. Repeat with the remaining cookies.
Tips From My Kitchen
- Mind Your Temperatures: Room temperature ingredients (butter, egg) are essential for a smooth dough. Cold, chilled dough is essential for perfectly shaped cookies. Don’t cut corners on either.
- The Gentle Touch: I learned that the secret to a tender cookie is to avoid overworking the flour. Once you add the dry ingredients, mix only until they disappear. This prevents too much gluten from developing, which can make cookies tough.
- Make-Ahead Magic: You can make the cookie dough up to 3 days in advance and keep it well-wrapped in the fridge. You can also freeze the dough balls for up to 3 months; just bake them from frozen, adding a couple of extra minutes to the cooking time.
- Storage Savvy: Store the finished sandwich cookies in an airtight container at room temperature. They will stay fresh and delicious for up to 4 days. I find their texture is even better on day two!
Common Mistakes to Avoid
- Overcrowding the Baking Sheet: It’s tempting to fit as many as you can on one tray, but these cookies need space to spread. Giving them ample room ensures they bake evenly and don’t merge into one giant cookie. Work in batches if you need to.
- Baking in a Cool Oven: Ensure your oven is fully preheated. If it’s not at the correct temperature—180°C (160°C fan)—the butter will melt slowly before the flour structure has time to set, leading to flat, greasy cookies. An oven thermometer is a baker’s best friend.
- Skipping the Cooling Time: Trying to fill warm cookies is a recipe for disaster. The heat will melt the buttery filling, causing it to ooze out the sides. Patience is a virtue in baking, and allowing the cookies to cool completely on a wire rack is a non-negotiable step.
Delicious Variations to Try
While this classic peanut butter cookie recipe is fantastic as is, it also serves as a brilliant base for a few creative twists.
- Chocolate Drizzle: Once the sandwich cookies are assembled, melt 100g of good quality dark or milk chocolate and drizzle it over the tops. The combination of chocolate and peanut butter is timeless for a reason.
- Jam-Filled Centre: For a flavour reminiscent of a peanut butter and jelly sandwich, skip the peanut butter filling and instead use a thick, good quality raspberry or strawberry jam as the filling.
- Nutty Alternatives: You can experiment by using a different nut butter in the filling. Smooth almond butter or cashew butter both work wonderfully and offer a slightly different, more subtle nutty taste.
What to Serve With Your Peanut Butter Sandwich Cookies
These cookies are a substantial treat on their own, but they are even better when paired with the right accompaniment.
- A tall, cold glass of milk is the classic and unbeatable partner. Its creaminess cuts through the richness of the peanut butter perfectly.
- For a more decadent dessert, serve a cookie sandwich alongside a scoop of high-quality vanilla bean ice cream.
- They are an ideal companion to a strong cup of coffee or a simple black tea for a delightful afternoon pick-me-up.
Frequently Asked Questions
Homemade Peanut Butter Sandwich Cookies
Ingredients
Method
- Cream the Fats and Sugars: In a large bowl, using an electric mixer or a stand mixer with the paddle attachment, beat the softened butter, 150g of smooth peanut butter, caster sugar, and light brown soft sugar together on a medium speed for about 2-3 minutes, until the mixture is light, pale, and fluffy.
- Add the Wet Ingredients: Add the egg and vanilla extract to the bowl and beat again until fully incorporated. Scrape down the sides of the bowl with a spatula to ensure everything is well mixed.
- Combine the Dry Ingredients: In a separate bowl, whisk together the plain flour, bicarbonate of soda, and salt. Add this to the wet mixture and mix on a low speed until just combined. Be careful not to overmix here; stop as soon as you can't see any dry flour.
- Chill the Dough: Cover the bowl with cling film and place it in the refrigerator to chill for at least 30 minutes. This step is crucial for preventing the cookies from spreading too thin during baking.
- Shape and Bake: Preheat your oven to 180°C (160°C fan) and line two large baking sheets with baking parchment. Roll the chilled dough into small balls, about 25g each (a tablespoon measure works well). Place them on the prepared sheets, leaving plenty of space between each one. Using the back of a fork, gently press down on each ball, then press again at a 90-degree angle to create the classic criss-cross pattern.
- Bake the Cookies: Bake for 12-14 minutes, or until the edges are golden brown and the centres look just set. They might seem a little soft in the middle, but they will firm up as they cool. I find that rotating the trays halfway through the baking time ensures they cook evenly.
- Cool Completely: Let the cookies cool on the baking sheets for 5 minutes before carefully transferring them to a wire rack to cool completely. This can take up to an hour.
- Make the Filling: While the cookies are cooling, prepare the filling. In a medium bowl, beat together the 100g of smooth peanut butter, the sifted icing sugar, and the 50g of very soft butter until smooth and creamy. If the mixture is too stiff, add a tablespoon of milk at a time until it reaches a spreadable consistency.
- Assemble the Cookie Sandwiches: Once the cookies are completely cool, find matching pairs. Spread a generous teaspoon of the peanut butter filling onto the flat side of one cookie, then gently press another cookie on top to create your sandwich. Repeat with the remaining cookies.
Notes
I really hope you enjoy making this homemade peanut butter sandwich cookies recipe. There is something so satisfying about creating these delicious little sandwiches from scratch. They are a true testament to how wonderful simple, quality ingredients can be. If you give them a go, I’d love to hear how they turned out for you in the comments below!
Happy baking,
Adam Henderson


