
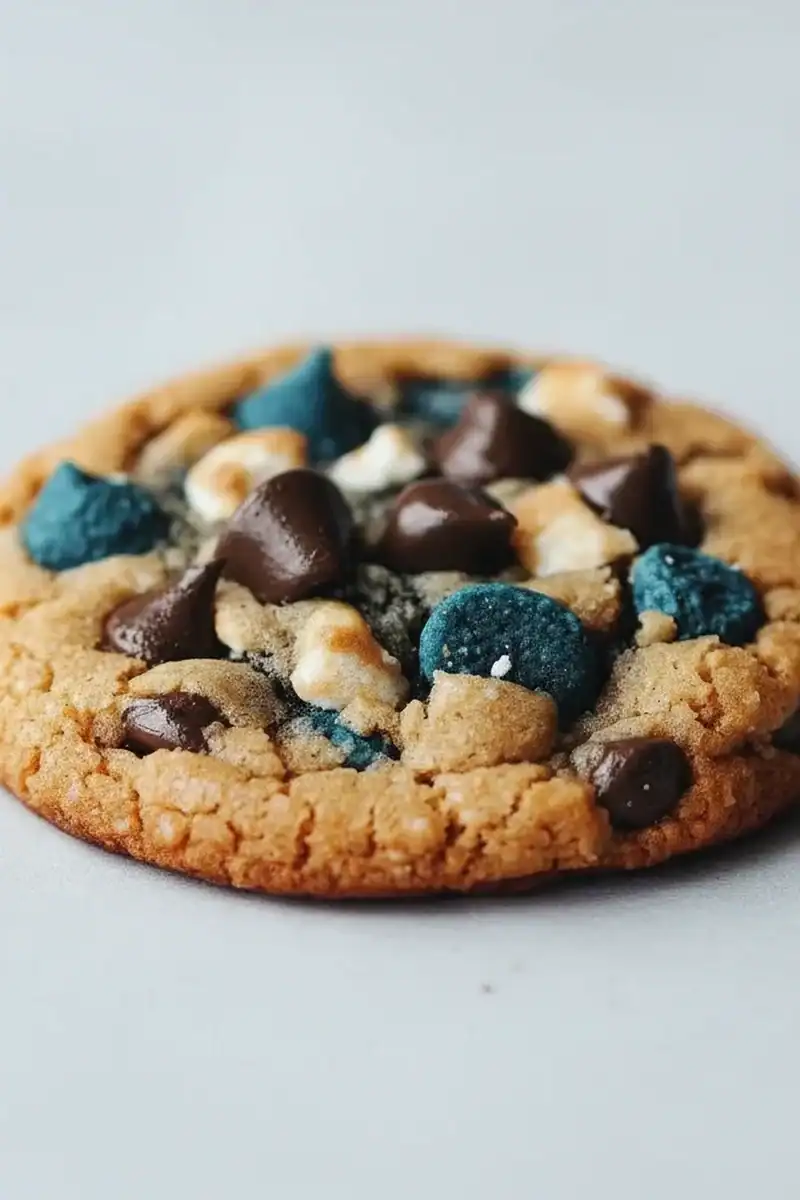
Blue Cookie Monster Cookies Recipe
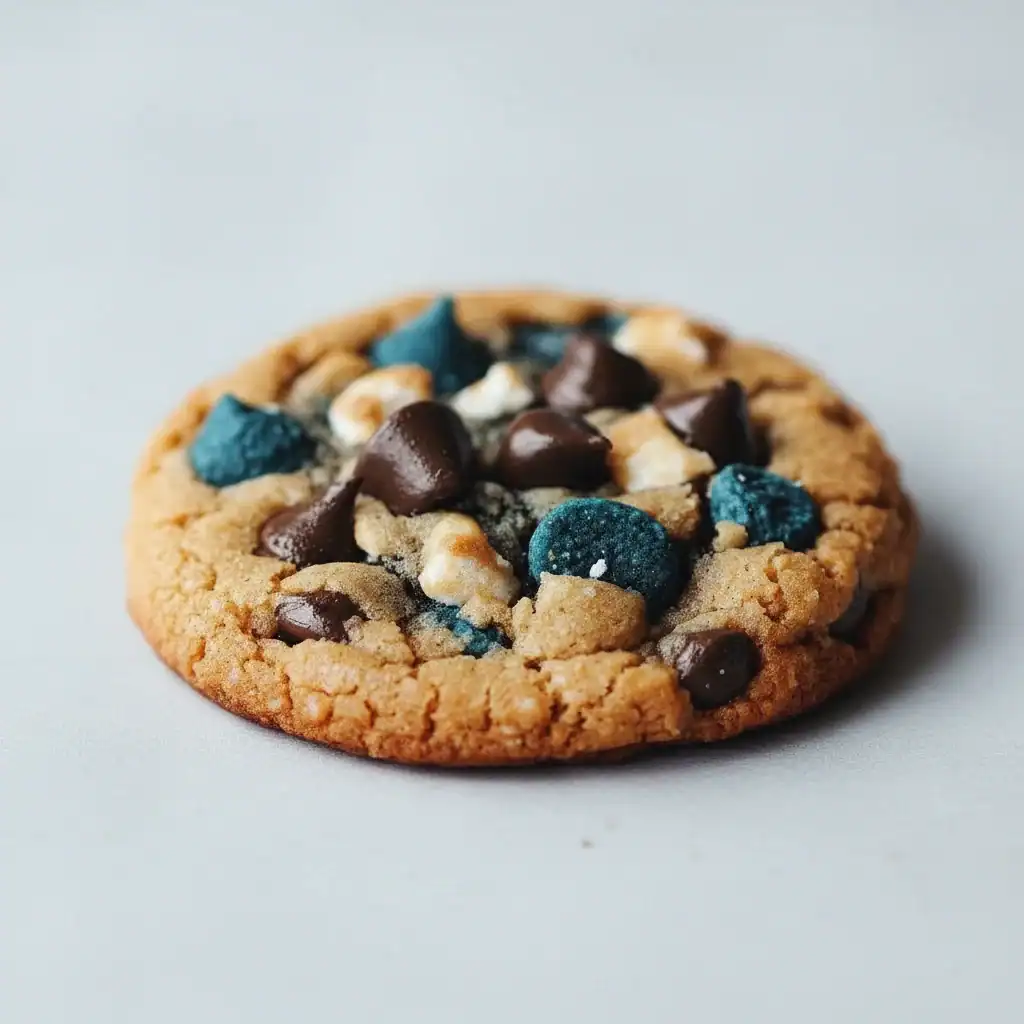
There’s something wonderfully nostalgic about these vibrant, slightly chaotic blue cookies. They immediately bring back memories of watching Sesame Street, and that’s a joy I love sharing with the kids in my family. This isn’t just a standard cookie dyed blue; it’s a properly chewy, buttery chocolate chip cookie that’s been given a monster makeover. We’re talking a rich vanilla-scented dough, packed with pools of melted chocolate, and a secret little cookie hidden inside. It’s a treat that looks as fun as it tastes.
I stumbled upon the idea of stuffing a cookie inside another cookie by accident one afternoon when I had some leftover mini cookies, and it’s been a hit ever since. The extra texture and chocolatey hit in the centre takes them to another level. These Blue Cookie Monster Cookies are fantastic for children’s birthday parties, bake sales, or simply for an afternoon of fun baking. The look on a child’s face when they see these is absolutely priceless, making the little bit of extra effort completely worthwhile.
In this recipe, we’ll walk through exactly how to get that perfect chewy texture, the vibrant blue colour that won’t fade in the oven, and the secret to stuffing them without any fuss. It’s a straightforward bake that delivers big on personality and flavour. Get ready to bring a little bit of Sesame Street magic into your kitchen.
Recipe Overview
This recipe creates wonderfully large, chewy, and chunky blue cookies, each with a fun surprise inside. The flavour is a classic, buttery vanilla chocolate chip, but the experience is elevated by the bright blue hue and the hidden mini cookie centre. Based on my testing, the key to their perfect texture and shape is not skipping the chilling time—it makes all the difference between a thick, chewy cookie and a flat, crispy one.
- Prep Time: 25 minutes
- Chill Time: 1 hour (minimum)
- Cook Time: 12-15 minutes
- Total Time: 1 hour 40 minutes
- Servings: 12 large cookies
- Difficulty: Easy
Why You’ll Love This Blue Cookie Monster Cookies Recipe
- Wonderful Texture and Flavour: These aren’t just for show. The dough has a rich, buttery flavour with hints of vanilla, and the texture is delightfully chewy in the middle with slightly crisp golden edges.
- Ready in Under 2 Hours: While there’s a chilling step, the active preparation and baking time come together in about 40 minutes, making it a manageable project for a weekend afternoon.
- A Fun, Customisable Bake: You can stuff these with different mini cookies, swap chocolate chips for chunks, or even change the colour to make different characters. It’s a great recipe to get creative with.
- Ideal for Kids’ Parties: These Sesame Street cookies are a guaranteed showstopper at any children’s gathering. They look fantastic on a party table and are always the first thing to disappear.
- Family Tested and Approved: My husband, who’s usually picky about novelty bakes, asked for seconds! The genuine chocolate chip cookie taste won him over immediately.
Ingredients You’ll Need
For the most vibrant colour, I always recommend using a good quality gel food colouring. I find that brands like Sugarflair or ProGel give a deep, rich blue without altering the cookie dough’s consistency, which liquid colourings can sometimes do. All other ingredients are standard pantry staples.
- 250g plain flour
- 1 tsp bicarbonate of soda
- 1/2 tsp salt
- 170g unsalted butter, softened to room temperature
- 150g light brown soft sugar
- 100g caster sugar
- 1 large free-range egg
- 1 tsp vanilla extract
- 1-2 tsp blue gel food colouring
- 200g milk chocolate chips or chunks
- 12 mini chocolate chip cookies (like Maryland Minis or similar)
- 24 edible googly eyes
Adam’s Tip: Don’t be tempted to use melted butter instead of softened. Softened, room temperature butter creams with the sugar to create tiny air pockets, which is what gives these cookies their fantastic chewy texture and lift.
How to Make Blue Cookie Monster Cookies
The process is very similar to making a classic chocolate chip cookie, with just a few fun extra steps for colour and stuffing. We’ll make the dough, chill it well, then assemble our little monsters before baking.
- Combine Dry Ingredients: In a medium bowl, whisk together the plain flour, bicarbonate of soda, and salt. Set this aside for later.
- Cream Butter and Sugars: In a separate large bowl or the bowl of a stand mixer, beat the softened unsalted butter with the light brown sugar and caster sugar on medium speed for about 2-3 minutes, until the mixture is light, pale, and fluffy.
- Add Wet Ingredients: Add the egg and vanilla extract to the butter mixture and beat again until just combined. Scrape down the sides of the bowl to ensure everything is incorporated.
- Colour the Dough: Add 1 teaspoon of the blue gel food colouring and mix on low speed until the colour is evenly distributed. If you want a deeper, more intense blue, add a little more colouring until you reach your desired shade.
- Combine Wet and Dry: Gradually add the dry flour mixture to the wet ingredients, mixing on low speed until just combined. Be careful not to overmix here. Finally, gently fold in the chocolate chips with a spatula.
- Chill the Dough: This step is essential! Cover the bowl with cling film and refrigerate the cookie dough for at least 1 hour, or up to 24 hours. Chilling prevents the cookies from spreading too much in the oven. I find that a solid hour is the minimum for the best results.
- Preheat and Prepare: When you’re ready to bake, preheat your oven to 180°C (160°C fan) and line two large baking trays with parchment paper.
- Assemble the Cookies: Scoop out a large ball of dough (about 2 tablespoons). Flatten it in your palm, place one mini chocolate chip cookie in the centre, and wrap the blue dough around it, rolling it back into a ball. Place the stuffed dough balls onto the prepared baking trays, leaving plenty of space between them as they will spread.
- Bake to Perfection: Bake for 12-15 minutes, or until the edges are lightly golden and the centres look just set. They might seem slightly underdone in the middle, but they will continue to cook on the hot tray.
- Add the Final Touch: As soon as you remove the cookies from the oven, gently press two googly eyes into the top of each warm cookie. Then, break one of the remaining mini cookies in half and stick it into the ‘mouth’ area. Let the cookies cool on the baking tray for 10 minutes before transferring them to a wire rack to cool completely.
Tips From My Kitchen
- Temperature Control is Key: Using room temperature butter and eggs is crucial for a smooth, well-emulsified dough. If your ingredients are too cold, they won’t combine properly, which can affect the final texture.
- The Secret Step: Chilling: I cannot stress this enough. Chilling the dough solidifies the butter. As the cookies bake, the cold butter melts more slowly, resulting in less spread and a thicker, chewier cookie. I learned that the hard way after a few batches of flat, blue pancakes! For an even better flavour, you can let the dough rest in the fridge overnight. This process, as explained by food science experts at Serious Eats, allows the flour to fully hydrate and enhances the taste.
- Make-Ahead Dough: The cookie dough can be made and stored in the fridge for up to 3 days. You can also roll it into balls, freeze them on a tray, and then transfer them to a freezer bag. They can be baked directly from frozen; just add 2-3 minutes to the baking time.
- Storage: Store the cooled cookies in an airtight container at room temperature. They will stay fresh and chewy for up to 4 days.
Common Mistakes to Avoid
- Overcrowding the Baking Tray: These are large cookies and they need space to spread. Place no more than 6 cookies on a standard baking tray to prevent them from merging into one giant blue monster.
- Incorrect Butter Temperature: Using butter that is too soft or melted will cause the cookies to spread excessively and become greasy. It should be soft enough to indent with your finger but still hold its shape.
- Skipping the Chill Time: As mentioned, this is the most common mistake. If you skip this step, the butter will melt too quickly in the oven, leading to thin, crispy cookies that lose their chunky shape.
Delicious Variations to Try
Once you’ve mastered the basic recipe, it’s fun to experiment with a few simple twists.
- Alternative Stuffing: Instead of a mini cookie, try stuffing them with a single Oreo, a Rolo for a caramel centre, or a small ball of chocolate brownie.
- Sesame Street Friends: Use red food colouring for Elmo cookies (you could use an orange sweet for the nose) or green for Oscar the Grouch. It’s a fun way to create a whole cast of characters.
- Chocolate Overload: For a true monster treat, use a mix of milk, dark, and white chocolate chips in the dough. You could also add chopped nuts like walnuts or pecans for extra crunch.
What to Serve With Blue Cookie Monster Cookies
These are a substantial treat on their own, but they also pair wonderfully with a few simple accompaniments.
- A Cold Glass of Milk: The ultimate classic pairing for any chocolate chip cookie.
- Vanilla Bean Ice Cream: Serve a warm cookie alongside a scoop of good quality vanilla ice cream for a truly decadent dessert.
- After a Family Meal: These cookies are a great way to finish a family-friendly dinner. They’d be a fun dessert after something like my Garlic Parmesan Chicken Pasta.
Frequently Asked Questions
Blue Cookie Monster Cookies Recipe
Ingredients
Method
- Combine Dry Ingredients: In a medium bowl, whisk together the plain flour, bicarbonate of soda, and salt. Set this aside for later.
- Cream Butter and Sugars: In a separate large bowl or the bowl of a stand mixer, beat the softened unsalted butter with the light brown sugar and caster sugar on medium speed for about 2-3 minutes, until the mixture is light, pale, and fluffy.
- Add Wet Ingredients: Add the egg and vanilla extract to the butter mixture and beat again until just combined. Scrape down the sides of the bowl to ensure everything is incorporated.
- Colour the Dough: Add 1 teaspoon of the blue gel food colouring and mix on low speed until the colour is evenly distributed. If you want a deeper, more intense blue, add a little more colouring until you reach your desired shade.
- Combine Wet and Dry: Gradually add the dry flour mixture to the wet ingredients, mixing on low speed until just combined. Be careful not to overmix here. Finally, gently fold in the chocolate chips with a spatula.
- Chill the Dough: This step is essential! Cover the bowl with cling film and refrigerate the cookie dough for at least 1 hour, or up to 24 hours. Chilling prevents the cookies from spreading too much in the oven. I find that a solid hour is the minimum for the best results.
- Preheat and Prepare: When you're ready to bake, preheat your oven to 180°C (160°C fan) and line two large baking trays with parchment paper.
- Assemble the Cookies: Scoop out a large ball of dough (about 2 tablespoons). Flatten it in your palm, place one mini chocolate chip cookie in the centre, and wrap the blue dough around it, rolling it back into a ball. Place the stuffed dough balls onto the prepared baking trays, leaving plenty of space between them as they will spread.
- Bake to Perfection: Bake for 12-15 minutes, or until the edges are lightly golden and the centres look just set. They might seem slightly underdone in the middle, but they will continue to cook on the hot tray.
- Add the Final Touch: As soon as you remove the cookies from the oven, gently press two googly eyes into the top of each warm cookie. Then, break one of the remaining mini cookies in half and stick it into the 'mouth' area. Let the cookies cool on the baking tray for 10 minutes before transferring them to a wire rack to cool completely.
Notes
I hope you have as much fun making (and eating!) this Blue Cookie Monster Cookies Recipe as we do in our house. They are a guaranteed way to bring a smile to anyone’s face. If you give them a go, I’d love to hear how they turned out. Please leave a comment below and let me know your experience! Happy baking.
– Adam Henderson
You might also like these recipes
Bake This Sweet Tart Cranberry Crumble Bars Recipe
There’s a particular magic to a traybake, something comforting and…
Light Japanese Strawberry Sponge Cake Recipe
There’s something uniquely special about a Japanese Strawberry Sponge Cake….
Cinnamon Sugar Air Fryer Churro Bites Recipe
There’s something universally comforting about the scent of cinnamon and…
Bake This Bright Lemon Raspberry Cookies Recipe
There’s something truly special about a biscuit tin filled with…
Bake This Gourmet Brownie Cookies Recipe Today
There are moments in the kitchen that call for a…
Try This Layered Black Forest Trifle Recipe
There’s something wonderfully nostalgic about a trifle. It’s a dessert…


