
Blue Velvet Cake Recipe Dessert Idea
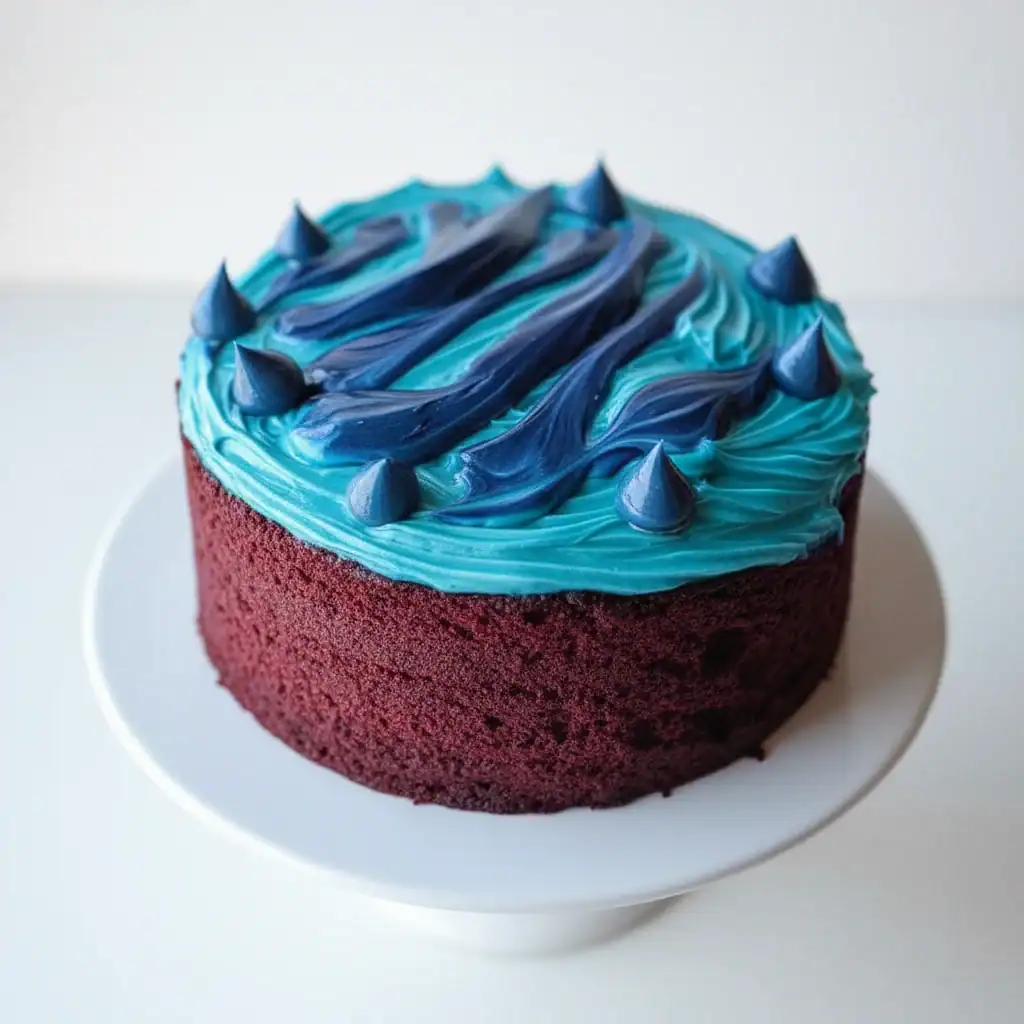
There’s something truly magical about cutting into a cake and revealing an unexpected, vibrant colour. While its ruby-hued cousin, the Red Velvet, often takes the spotlight, I believe its mysterious, deep blue counterpart deserves just as much attention. This Blue Velvet Cake Recipe is more than just a novelty; it’s a genuinely tender, moist cake with a subtle hint of chocolate and vanilla, all slathered in a glorious, tangy cream cheese frosting. It’s the kind of dessert idea that stops people in their tracks and gets everyone talking.
The first time I developed this recipe was for my son’s birthday. He was obsessed with everything about the ocean, and a standard cake just wouldn’t do. We wanted a royal blue cake that looked as special as the occasion felt. After a few rounds of testing, we landed on this version. The crumb is impossibly soft, thanks to the chemical magic of buttermilk and vinegar, and the flavour is delicate enough to let the rich, smooth cream cheese frosting shine. It has a character all its own.
This is the cake you make when you want to create a memorable moment. It works beautifully for a themed birthday cake, a striking addition to a baby shower spread, or simply as a weekend project to bring a bit of wonder to your kitchen. The reactions it gets are always fantastic, and I find it’s a recipe that always gets compliments, not just for its looks but for its wonderful taste and texture.
Recipe Overview
This Blue Velvet Cake recipe produces a strikingly beautiful dessert with a texture that truly lives up to the ‘velvet’ name. It has a soft, tight crumb that’s incredibly moist. The flavour is a gentle blend of vanilla with a whisper of cocoa, which is key—it’s not a full-blown chocolate cake. This subtle base is the perfect canvas for the sweet and tangy cream cheese frosting that we pile on generously. During testing, I found that using a high-quality gel food colouring is essential for achieving a deep, majestic blue without adding a strange taste or too much liquid to the batter.
- Prep Time: 25 minutes
- Cook Time: 35 minutes
- Total Time: 1 hour (plus cooling time)
- Servings: 12 slices
- Difficulty: Medium
Why You’ll Love This Blue Velvet Cake Recipe Dessert Idea
- Exquisite Texture and Flavour: The combination of buttermilk, vinegar, and bicarbonate of soda creates an exceptionally tender crumb. It’s light, airy, and melts in your mouth, complemented by the sharp, sweet tang of the classic cream cheese frosting.
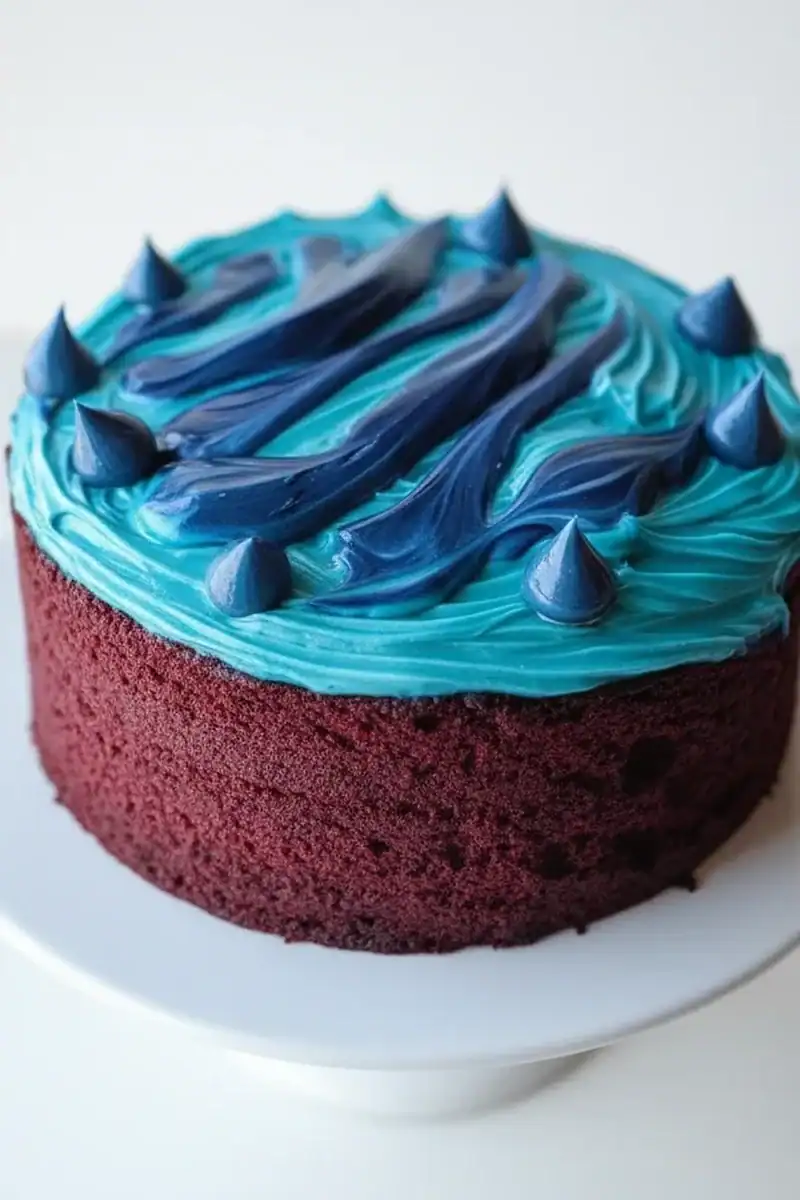
- A Show-Stopping Centrepiece: This is a true ‘wow-factor’ cake. The deep royal blue colour is stunning and makes it an unforgettable centrepiece for any special occasion.
- Straightforward Method: While it looks complex, the process is very methodical. If you follow the steps, you’ll be rewarded with a brilliant result. The entire active process comes together in about an hour.
- Ideal for Celebrations: This works wonderfully for themed birthday parties (think space, ocean, or superheroes), gender reveals, or any event where you want a dessert that feels extra special.
- Family Tested: My kids absolutely devour this every time I make it. The vibrant colour is a huge hit, and they love helping to mix in the blue and watch the batter transform.
Ingredients You’ll Need
For a cake like this, the quality of your ingredients really matters, especially the dairy and the food colouring. I always use a full-fat block cream cheese for the frosting, as the spreadable tub versions contain more water and can result in a runny icing. For the colouring, I recommend a professional-grade gel paste like Sugarflair or ProGel for a concentrated colour that won’t water down your batter.
- For the Blue Velvet Cake:
- 300g plain flour
- 2 tbsp cocoa powder, unsweetened
- 1 tsp bicarbonate of soda
- 1/2 tsp salt
- 120g unsalted butter, at room temperature
- 300g caster sugar
- 2 large free-range eggs, at room temperature
- 1 tsp vanilla extract
- 240ml buttermilk, at room temperature
- 2 tsp royal blue gel food colouring
- 1 tbsp white vinegar
- For the Cream Cheese Frosting:
- 200g unsalted butter, softened
- 400g icing sugar, sifted
- 400g full-fat cream cheese, cold from the fridge
- 1 tsp vanilla extract
Adam’s Tip: Don’t be tempted to skip the buttermilk! Its acidity is crucial for reacting with the bicarbonate of soda to create that signature light, tender ‘velvet’ crumb. If you’re in a pinch, you can make your own by adding 1 tbsp of lemon juice to 240ml of whole milk and letting it sit for 10 minutes.
How to Make This Blue Velvet Cake
The process here is all about careful mixing and paying attention to temperatures. We start by creaming the butter and sugar properly to incorporate air, which is the foundation for a light cake. Then we’ll build our batter, ensuring we don’t over-mix once the flour goes in. Let’s get baking.
- Prepare Your Tins: Preheat your oven to 180°C (160°C fan). Grease and line the bases of two 20cm (8-inch) round cake tins with parchment paper.
- Combine Dry Ingredients: In a medium bowl, whisk together the plain flour, cocoa powder, bicarbonate of soda, and salt. Sifting them together helps to aerate the mixture and prevent lumps.
- Cream Butter and Sugar: In a large bowl or the bowl of a stand mixer, beat the room temperature butter and caster sugar together on medium-high speed for about 5 minutes, until the mixture is very light, pale, and fluffy. This step is vital for the cake’s texture.
- Add Eggs and Flavourings: Add the eggs one at a time, beating well after each addition and scraping down the sides of the bowl. Mix in the vanilla extract.
- Mix the Blue Buttermilk: In a separate jug, whisk the buttermilk and the royal blue gel food colouring together until you have a smooth, evenly coloured liquid. I find starting with 1 teaspoon of gel and adding more until you reach your desired shade is the best approach.
- Alternate Wet and Dry: With the mixer on low speed, add the dry ingredients to the butter mixture in three additions, alternating with the blue buttermilk in two additions. Begin and end with the dry ingredients. Mix only until just combined – over-mixing develops gluten and will make the cake tough.
- Activate with Vinegar: In a small bowl, quickly stir the white vinegar into the batter. You might see it fizz slightly; this is the final acidic reaction that gives the cake its lift and tender crumb. Mix for just a few seconds to incorporate.
- Bake the Cakes: Immediately divide the batter evenly between your prepared tins and smooth the tops. Bake for 30-35 minutes, or until a skewer inserted into the centre of the cakes comes out clean.
- Cool Completely: Let the cakes cool in their tins for 10 minutes before carefully turning them out onto a wire rack to cool completely. It’s crucial they are fully cool before you attempt to frost them, otherwise the frosting will melt.
- Make the Frosting and Assemble: While the cakes cool, make the frosting. Beat the softened butter until smooth. Add the sifted icing sugar and beat on low speed until combined, then increase the speed to high and beat for 3-4 minutes until light and fluffy. Add the cold cream cheese and vanilla, and beat on medium-high for just 1-2 minutes until smooth and combined. Do not overbeat. Once the cakes are cool, place one layer on your serving plate, spread a generous layer of frosting on top, place the second cake layer on top, and use the remaining frosting to cover the top and sides of the cake.
Tips From My Kitchen
- Temperature is Everything: I can’t stress this enough. Using room temperature butter, eggs, and buttermilk allows the ingredients to emulsify properly, creating a smooth batter and a uniform, tender crumb. Cold ingredients can cause the batter to curdle.
- The Cocoa Secret: I learned that for a really vibrant blue, it’s best to use a standard, non-dutched cocoa powder. Dutch-process cocoa is less acidic and won’t react as effectively with the bicarbonate of soda, which can affect the cake’s rise and texture.
- Make-Ahead Method: You can bake the cake layers a day in advance. Once they’re completely cool, wrap them tightly in cling film and keep them at room temperature. The frosting can also be made a day ahead and stored in an airtight container in the fridge. Just let it soften slightly and give it a quick whip before using.
- Storage: Once assembled, the cake should be stored in the fridge because of the cream cheese frosting. It will keep well in an airtight container for up to 4 days. For the best flavour and texture, I recommend letting a slice sit at room temperature for about 20 minutes before serving.
Equipment You’ll Need
- Stand mixer or a good quality hand mixer
- Two 20cm (8-inch) round cake tins
- Parchment paper
- Spatula
- Wire cooling rack
- Offset spatula for frosting (optional, but very helpful!)
Delicious Variations to Try
While the classic blue velvet with cream cheese frosting is a masterpiece, you can certainly adapt it to your taste. Here are a few ideas I’ve played with:
- Different Frosting: If you’re not a fan of cream cheese, a simple vanilla buttercream works wonderfully. For something a bit more decadent, try a white chocolate ganache frosting – the contrast with the blue cake is magnificent.
- Vegan Blue Velvet Cake: This recipe can be adapted. Use a block-style vegan butter, a homemade vegan buttermilk (plant milk + lemon juice), a commercial egg replacer, and a good quality vegan cream cheese for the frosting.
- Blue Velvet Cupcakes: This recipe is great for making about 24 cupcakes. Line a muffin tin with paper cases, fill them two-thirds full, and bake for 18-22 minutes. They are much easier to serve at a party.
What to Serve With This Royal Blue Cake
This cake is a statement on its own, so it doesn’t need much else. However, a few accompaniments can elevate the experience. Having a slice after a lovely savoury meal like my Garlic Parmesan Chicken Pasta feels like a truly special treat.
- Fresh Berries: A small bowl of fresh raspberries or blueberries on the side provides a lovely, sharp contrast to the sweet frosting and rich cake.
- A Dollop of Cream: For those who like extra indulgence, a spoonful of freshly whipped double cream is always a welcome addition.
- Drink Pairings: A strong cup of black coffee or a simple pot of English breakfast tea is the perfect partner to cut through the sweetness. For the kids, a glass of cold milk is non-negotiable!
Frequently Asked Questions
Blue Velvet Cake
Ingredients
Method
- Prepare Your Tins: Preheat your oven to 180°C (160°C fan). Grease and line the bases of two 20cm (8-inch) round cake tins with parchment paper.
- Combine Dry Ingredients: In a medium bowl, whisk together the plain flour, cocoa powder, bicarbonate of soda, and salt. Sifting them together helps to aerate the mixture and prevent lumps.
- Cream Butter and Sugar: In a large bowl or the bowl of a stand mixer, beat the room temperature butter and caster sugar together on medium-high speed for about 5 minutes, until the mixture is very light, pale, and fluffy. This step is vital for the cake's texture.
- Add Eggs and Flavourings: Add the eggs one at a time, beating well after each addition and scraping down the sides of the bowl. Mix in the vanilla extract.
- Mix the Blue Buttermilk: In a separate jug, whisk the buttermilk and the royal blue gel food colouring together until you have a smooth, evenly coloured liquid. I find starting with 1 teaspoon of gel and adding more until you reach your desired shade is the best approach.
- Alternate Wet and Dry: With the mixer on low speed, add the dry ingredients to the butter mixture in three additions, alternating with the blue buttermilk in two additions. Begin and end with the dry ingredients. Mix only until just combined – over-mixing develops gluten and will make the cake tough.
- Activate with Vinegar: In a small bowl, quickly stir the white vinegar into the batter. You might see it fizz slightly; this is the final acidic reaction that gives the cake its lift and tender crumb. Mix for just a few seconds to incorporate.
- Bake the Cakes: Immediately divide the batter evenly between your prepared tins and smooth the tops. Bake for 30-35 minutes, or until a skewer inserted into the centre of the cakes comes out clean.
- Cool Completely: Let the cakes cool in their tins for 10 minutes before carefully turning them out onto a wire rack to cool completely. It's crucial they are fully cool before you attempt to frost them, otherwise the frosting will melt.
- Make the Frosting and Assemble: While the cakes cool, make the frosting. Beat the softened butter until smooth. Add the sifted icing sugar and beat on low speed until combined, then increase the speed to high and beat for 3-4 minutes until light and fluffy. Add the cold cream cheese and vanilla, and beat on medium-high for just 1-2 minutes until smooth and combined. Do not overbeat. Once the cakes are cool, place one layer on your serving plate, spread a generous layer of frosting on top, place the second cake layer on top, and use the remaining frosting to cover the top and sides of the cake.
Notes
I hope you have as much fun making (and eating!) this Blue Velvet Cake as we do in my house. It’s a recipe that never fails to bring a smile to people’s faces. If you’re looking for another fantastic baking project for your next rainy weekend, you might also love my simple and delicious Banana Bread Recipe. Please do let me know how your cake turns out in the comments below – I love hearing from you!
– Adam Henderson


