
Indulgent Chocolate Tray Cake Recipe
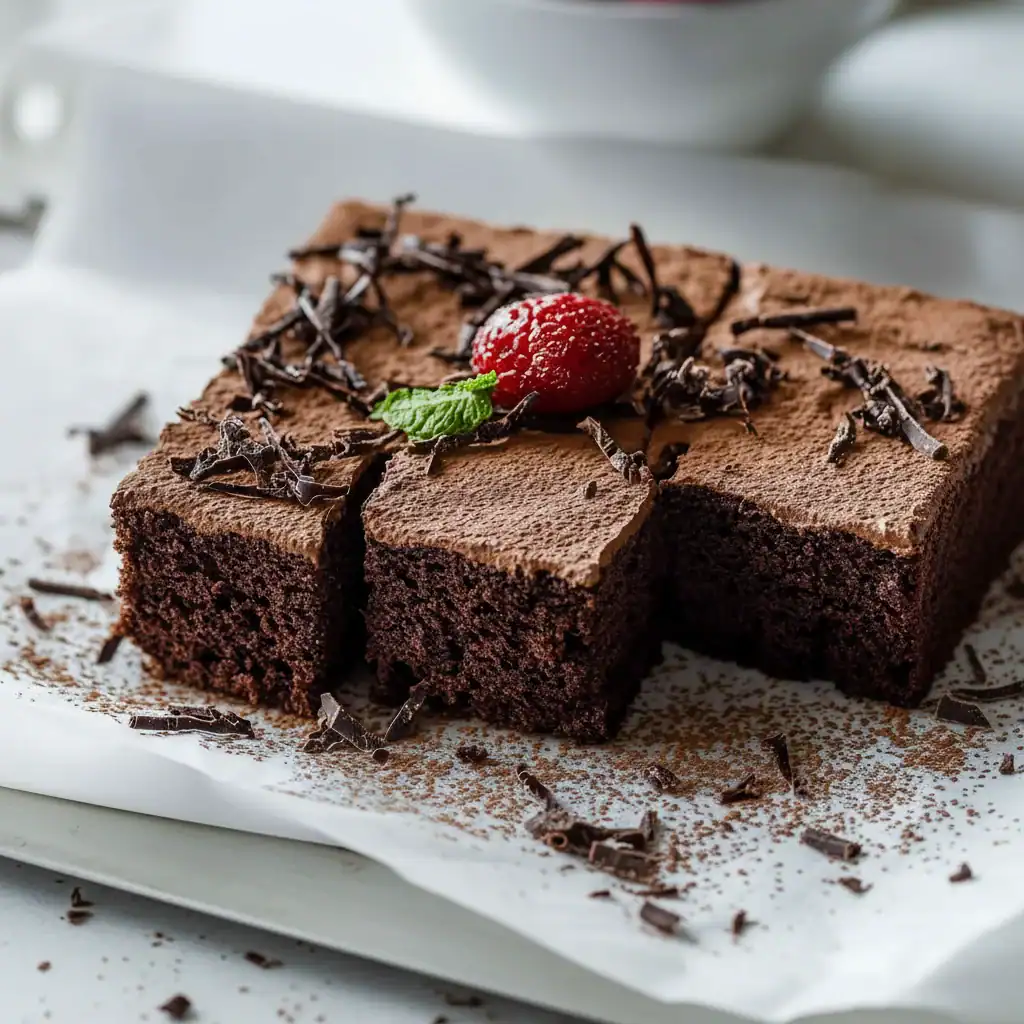
There are some recipes that feel like a warm hug, and for me, this Chocolate Tray Cake is one of them. It’s the sort of bake that doesn’t demand fanfare or intricate decoration; its charm lies in its straightforward honesty and deeply satisfying flavour. Friends always ask me for this recipe after trying it at dinner parties, and I’m always happy to share it. This isn’t a light, airy sponge that disappears in a moment. Instead, it has a wonderfully soft, moist crumb that holds its own, complemented by a rich, glossy layer of chocolate icing that is just the right amount of sweet.
What we’re aiming for here is the ultimate reliable chocolate cake. It’s the recipe you’ll turn to for a school bake sale, an office birthday, or just when you need a little something chocolatey to get you through the week. The batter is surprisingly thin, thanks to a clever trick with hot coffee which deepens the cocoa flavour and guarantees a tender result every single time. It’s a tray bake, or sheet cake as some call it, which means it bakes evenly, cools relatively quickly, and is incredibly easy to slice and serve. No complicated layers, no fancy piping skills needed – just pure, unadulterated chocolate goodness.
This chocolate dessert is ideal for bakers of all levels. Whether you’re a seasoned pro or just starting your baking journey, the method is forgiving and the results are consistently brilliant. It’s a brilliant party cake because you can slice it into neat squares, and one tray provides plenty of portions for everyone to enjoy.
Recipe Overview
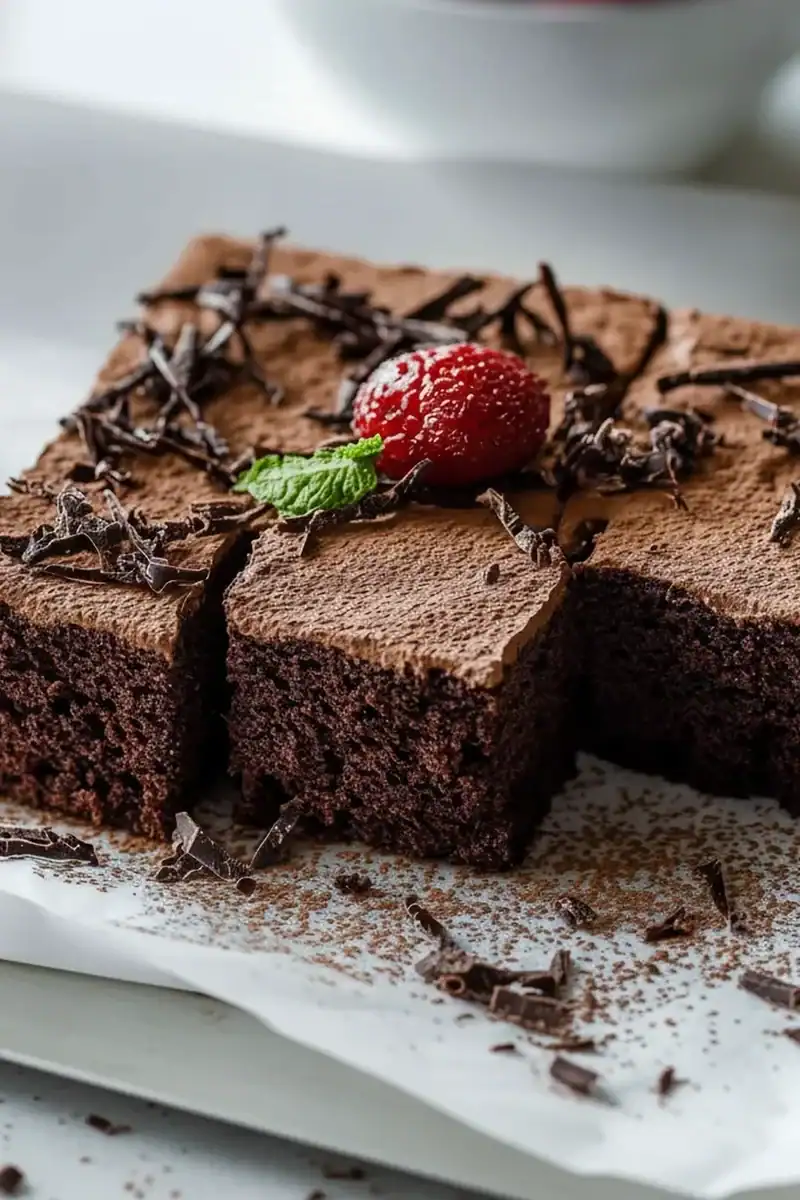
This Chocolate Tray Cake delivers a rich, tender crumb with a deep cocoa flavour, topped with a smooth, fudgy chocolate icing. The secret to its moist texture is a thin, liquid batter, which might seem unusual but yields a perfect result. During testing, I found that letting the cake cool completely in the tin before icing is essential; it traps the steam and makes the final cake even more moist.
- Prep Time: 20 minutes
- Cook Time: 25 minutes
- Total Time: 45 minutes (plus cooling)
- Servings: 16 squares
- Difficulty: Easy
Why You’ll Love This Chocolate Tray Cake
- Genuine Chocolate Flavour: This isn’t just sweet; it’s properly chocolatey. The combination of good cocoa powder and hot coffee creates a deep, complex flavour that is rich without being bitter.
- Ready in Under an Hour: The cake itself mixes together in one bowl and bakes in about 25 minutes, so you can have it ready for cooling in no time at all.
- A Truly Flexible Recipe: You can easily adapt this bake. Add a teaspoon of orange extract for a citrus note, throw in a cup of chocolate chips for extra texture, or top with chopped nuts instead of sprinkles. It’s as versatile as my go-to Banana Bread Recipe.
- Great for Gatherings: Because it’s baked in a rectangular tin, it’s simple to slice into neat portions, making it work beautifully for parties, picnics, or family events where you need to feed a few people.
- Family Tested and Approved: I make this at least once a month – it’s become a family favourite. My children love decorating it with colourful sprinkles, and it always vanishes within a day.
Ingredients You’ll Need
For the best results, use good quality ingredients, especially the cocoa powder. I prefer a Dutch-processed cocoa powder as it provides a darker colour and a smoother, less acidic flavour. Using room temperature eggs and buttermilk is also crucial for a smooth batter.
- For the Chocolate Cake:
- 250g plain flour
- 300g caster sugar
- 65g good quality unsweetened cocoa powder, sifted
- 2 tsp bicarbonate of soda
- 1 tsp baking powder
- 1/2 tsp fine sea salt
- 2 large free-range eggs, at room temperature
- 240ml buttermilk, at room temperature
- 120ml vegetable oil (or other neutral oil)
- 2 tsp vanilla extract
- 240ml freshly brewed hot coffee
- For the Chocolate Icing:
- 125g unsalted butter, softened
- 275g icing sugar, sifted
- 50g unsweetened cocoa powder, sifted
- 60ml whole milk
- 1 tsp vanilla extract
- Sprinkles or chocolate shavings, to decorate (optional)
Adam’s Tip: If you don’t have buttermilk, you can make your own! Simply add 1 tablespoon of lemon juice or white vinegar to 240ml of whole milk, stir, and let it sit for 5-10 minutes until it looks slightly curdled. It works just as well.
How to Make Chocolate Tray Cake
This process is wonderfully straightforward. The key is not to overmix the batter once the wet and dry ingredients are combined. A few lumps are perfectly fine and will bake out, ensuring a tender cake.
- Prepare the Tin and Oven: Preheat your oven to 180°C (160°C fan). Grease and line a 23 x 33cm (9 x 13 inch) baking tray with parchment paper, leaving a little overhang on the sides to make it easier to lift the cake out later.
- Combine Dry Ingredients: In a large mixing bowl, or the bowl of a stand mixer, whisk together the plain flour, caster sugar, sifted cocoa powder, bicarbonate of soda, baking powder, and salt. Give it a good mix to ensure everything is evenly distributed.
- Combine Wet Ingredients: In a separate medium bowl or jug, whisk the eggs, buttermilk, vegetable oil, and vanilla extract until smooth and fully combined.
- Mix the Batter: Pour the wet ingredients into the dry ingredients. Mix on a low speed (or by hand with a whisk) until just combined. Be careful not to overmix – stop as soon as you no longer see streaks of flour.
- Add the Coffee: With the mixer still on low, carefully pour in the hot coffee. The batter will become very thin. I find that this is the moment people worry, but trust the process! This liquid batter is what creates that signature moist crumb. Mix for about 30 seconds until the coffee is incorporated.
- Bake the Cake: Pour the batter into your prepared baking tray and spread it out evenly. Bake for 25-30 minutes, or until a skewer inserted into the centre of the cake comes out with a few moist crumbs attached, but no wet batter.
- Cool Completely: Let the cake cool completely in the tin on a wire rack. This is a vital step as it traps moisture. Don’t be tempted to ice it while it’s still warm, as the icing will just melt and slide off.
- Make the Icing: While the cake cools, prepare the icing. In a large bowl, beat the softened butter with an electric hand mixer or in a stand mixer until it’s light and fluffy, about 2 minutes.
- Finish the Icing: Gradually add the sifted icing sugar and cocoa powder, mixing on low speed until combined. Add the milk and vanilla extract, then increase the speed to medium-high and beat for 2-3 minutes until the icing is smooth, glossy, and spreadable.
- Ice the Cake: Once the cake is completely cool, spread the icing evenly over the top using an offset spatula or the back of a spoon. Add your sprinkles or chocolate shavings immediately, before the icing sets. Allow the icing to set for at least 30 minutes before slicing and serving.
Tips From My Kitchen
- Room Temperature is Key: I can’t stress this enough. Using room temperature eggs and buttermilk helps the batter emulsify correctly, preventing a dense or greasy texture. Take them out of the fridge about an hour before you start.
- The Secret Step: Blooming Cocoa: For an even deeper chocolate taste, I learned that you can ‘bloom’ the cocoa. Whisk the cocoa powder into the hot coffee and let it sit for a couple of minutes before adding the mixture to the batter. This technique, also recommended by experts at Serious Eats, releases more flavour from the cocoa particles.
- Make-Ahead Method: This cake is brilliant for preparing in advance. You can bake the sponge a day ahead, let it cool completely, then cover it tightly with cling film and store it at room temperature. Prepare the icing and frost the cake on the day you plan to serve it.
- Storage Savvy: Store the iced cake in an airtight container at room temperature. It will stay perfectly moist and delicious for up to 3 days. I find it tastes even better on the second day as the flavours meld and the icing softens the top of the crumb.
Equipment You’ll Need
- Stand mixer or electric hand mixer
- 23 x 33 cm (9 x 13 inch) baking tray
- Parchment paper
- Wire cooling rack
- Mixing bowls and a whisk
- Offset spatula or knife for icing
Delicious Variations to Try
One of the best things about a tray bake is how easily you can customise it. Here are a few variations that work wonderfully:
- Chocolate Mocha Cake: For a more pronounced coffee flavour, dissolve two teaspoons of instant espresso powder in the hot coffee before adding it to the batter.
- Vegan Chocolate Tray Cake: This recipe adapts well. Use a plant-based milk with vinegar for the buttermilk, a flax egg substitute (1 tbsp ground flaxseed mixed with 3 tbsp water per egg), and your favourite vegan butter block for the icing.
- Chocolate and Raspberry: Gently fold about 150g of fresh or frozen raspberries through the batter just before pouring it into the tin. The sharpness of the fruit is a fantastic contrast to the rich chocolate.
What to Serve With Your Chocolate Tray Cake
While this cake is magnificent on its own with a cup of tea or coffee, you can easily elevate it into a full-blown dessert. It’s a wonderful sweet finish after a savoury meal like my Garlic Parmesan Chicken Pasta.
- Thick Cream or Custard: A generous spoonful of clotted cream, double cream, or warm homemade custard provides a lovely creamy contrast to the rich cake.
- Fresh Berries: A handful of fresh strawberries, raspberries, or cherries on the side adds a touch of freshness and a slight tartness that cuts through the sweetness of the icing.
- Vanilla Bean Ice Cream: The simple, classic pairing of warm chocolate cake (you can microwave a slice for 15 seconds) with cold, creamy vanilla ice cream is truly hard to beat.
Frequently Asked Questions
Chocolate Tray Cake
Ingredients
Method
- Prepare the Tin and Oven: Preheat your oven to 180°C (160°C fan). Grease and line a 23 x 33cm (9 x 13 inch) baking tray with parchment paper, leaving a little overhang on the sides to make it easier to lift the cake out later.
- Combine Dry Ingredients: In a large mixing bowl, or the bowl of a stand mixer, whisk together the plain flour, caster sugar, sifted cocoa powder, bicarbonate of soda, baking powder, and salt. Give it a good mix to ensure everything is evenly distributed.
- Combine Wet Ingredients: In a separate medium bowl or jug, whisk the eggs, buttermilk, vegetable oil, and vanilla extract until smooth and fully combined.
- Mix the Batter: Pour the wet ingredients into the dry ingredients. Mix on a low speed (or by hand with a whisk) until just combined. Be careful not to overmix – stop as soon as you no longer see streaks of flour.
- Add the Coffee: With the mixer still on low, carefully pour in the hot coffee. The batter will become very thin. I find that this is the moment people worry, but trust the process! This liquid batter is what creates that signature moist crumb. Mix for about 30 seconds until the coffee is incorporated.
- Bake the Cake: Pour the batter into your prepared baking tray and spread it out evenly. Bake for 25-30 minutes, or until a skewer inserted into the centre of the cake comes out with a few moist crumbs attached, but no wet batter.
- Cool Completely: Let the cake cool completely in the tin on a wire rack. This is a vital step as it traps moisture. Don’t be tempted to ice it while it's still warm, as the icing will just melt and slide off.
- Make the Icing: While the cake cools, prepare the icing. In a large bowl, beat the softened butter with an electric hand mixer or in a stand mixer until it’s light and fluffy, about 2 minutes.
- Finish the Icing: Gradually add the sifted icing sugar and cocoa powder, mixing on low speed until combined. Add the milk and vanilla extract, then increase the speed to medium-high and beat for 2-3 minutes until the icing is smooth, glossy, and spreadable.
- Ice the Cake: Once the cake is completely cool, spread the icing evenly over the top using an offset spatula or the back of a spoon. Add your sprinkles or chocolate shavings immediately, before the icing sets. Allow the icing to set for at least 30 minutes before slicing and serving.
Notes
I really hope this Chocolate Tray Cake becomes a staple in your baking repertoire. It’s a simple, honest, and deeply satisfying bake that never fails to get compliments. Let me know how you get on in the comments below – I’d love to hear if you tried any delicious variations! Happy baking.
– Adam Henderson


