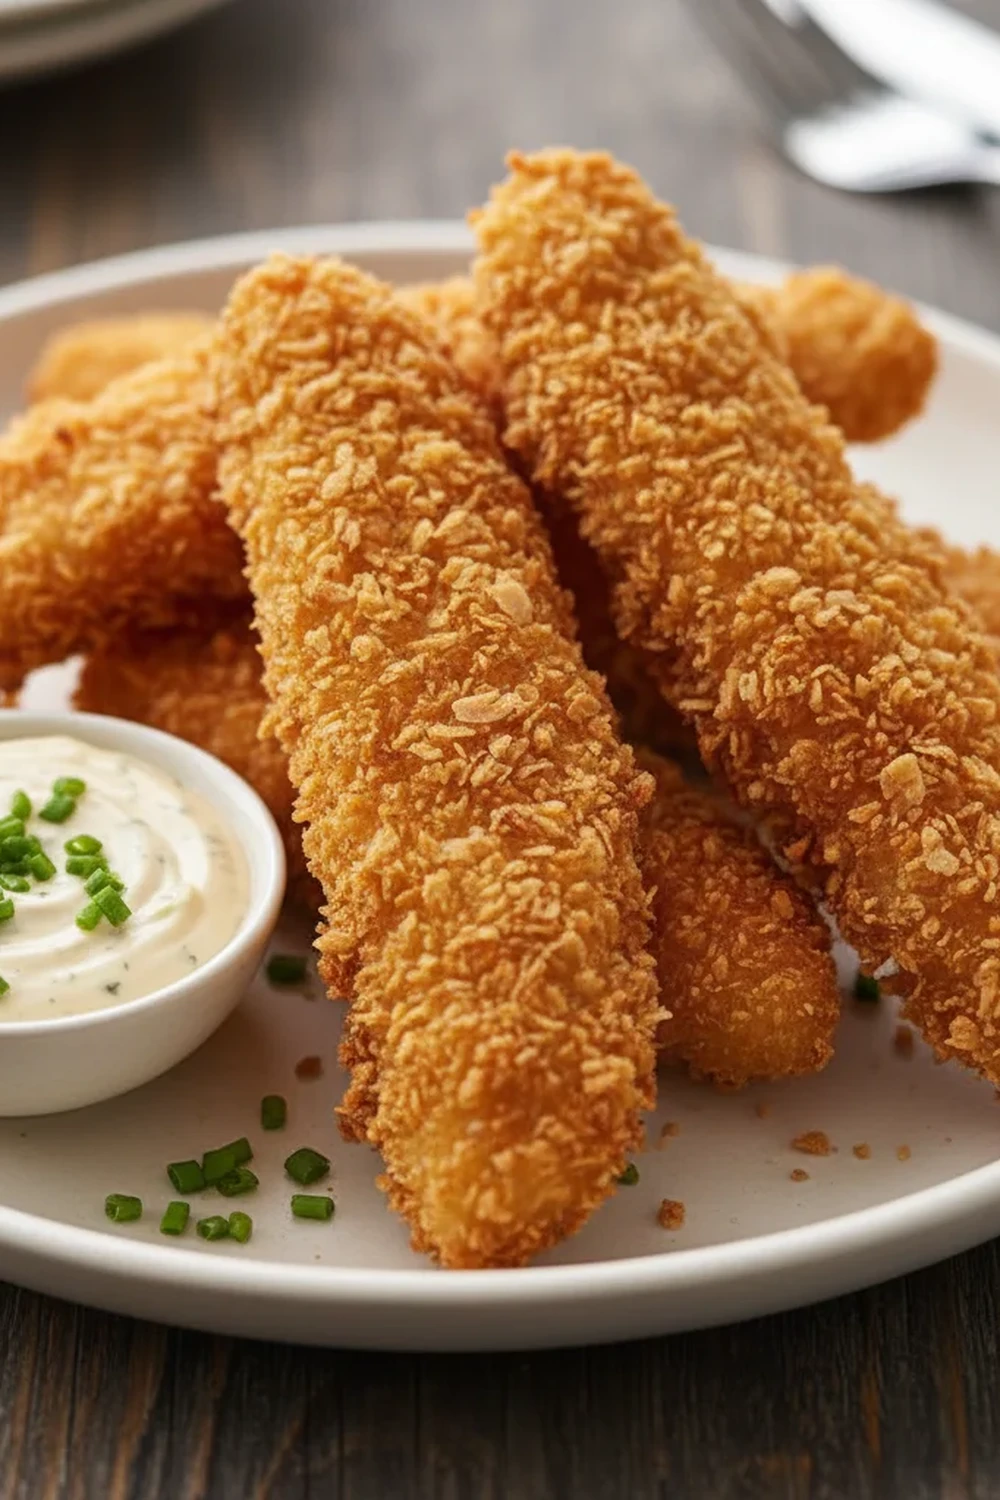
Crunchy Crispy Baked Chicken Tenders Recipe
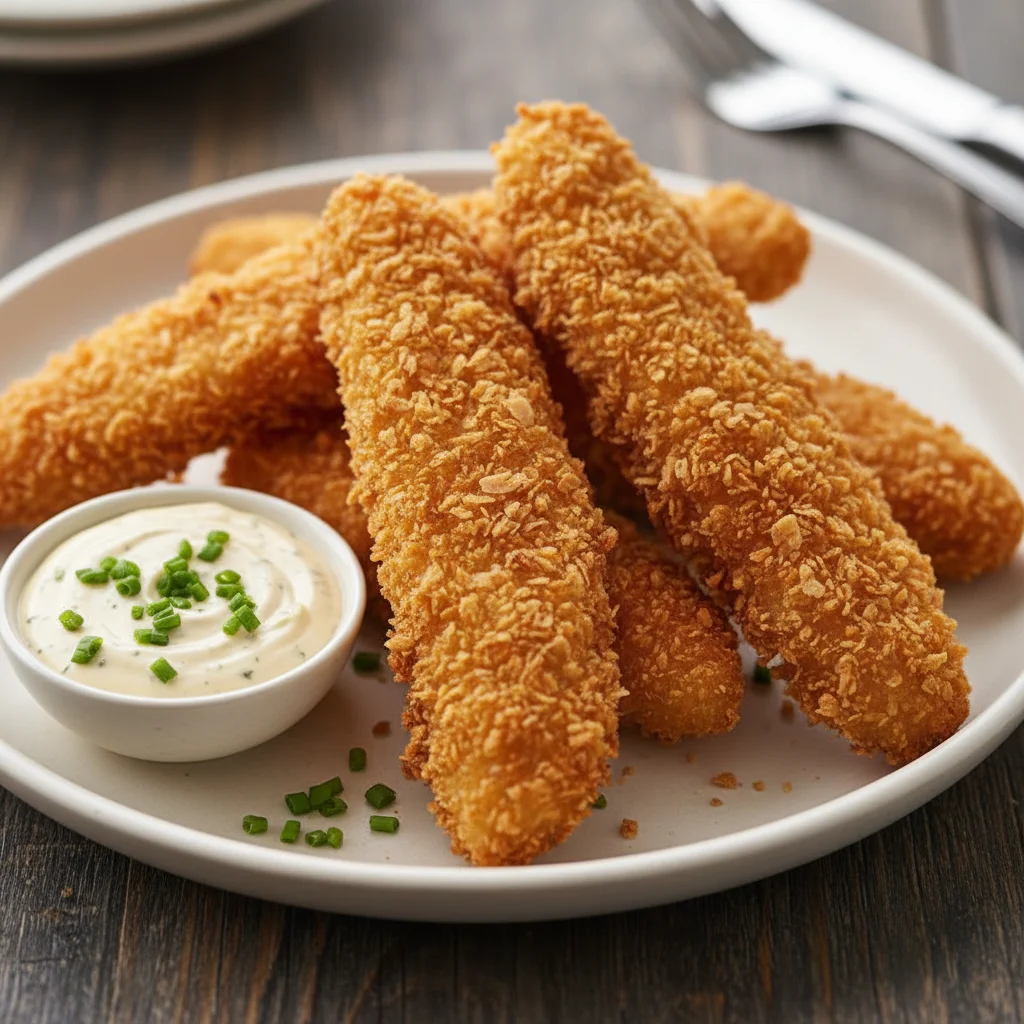
There’s something universally satisfying about a perfectly cooked chicken tender. That golden, crunchy exterior giving way to juicy, tender chicken inside is a texture and flavour combination that just works. For years, I assumed that achieving this level of crispiness meant a deep-fryer was non-negotiable. I’m happy to report that after much testing in my own kitchen, I’ve developed a crispy baked chicken tenders recipe that delivers all the crunch without the fuss and mess of frying. We’re talking oven-baked perfection that is genuinely, audibly crunchy.
I make this at least once a week – it’s become a family favourite. The secret lies in a few key steps: a well-seasoned, three-stage breading process and a high-heat bake on a wire rack that allows hot air to circulate all around the chicken. This method ensures the bottom doesn’t get soggy, giving you that all-over crispiness we all crave. It’s the kind of straightforward, rewarding cooking that makes a weeknight dinner feel a bit special.
This recipe is great for anyone looking for a healthier, but equally delicious, alternative to fried chicken. It works beautifully for a family meal served with some simple sides, or you can slice the tenders up to top a hearty salad. The kids love them with a simple tomato ketchup dip, while we adults often go for a spicy aioli. It’s a versatile dish that always gets a thumbs-up at our dinner table.
Recipe Overview
This Crispy Baked Chicken Tenders Recipe uses a simple three-step breading process with seasoned flour, egg, and panko breadcrumbs to create an exceptionally crunchy coating. The flavour is savoury and rich, with hints of smoked paprika and garlic, while the chicken inside remains wonderfully moist. My key testing discovery was that elevating the chicken on a wire rack during baking is absolutely essential for achieving that 360-degree crispiness.
- Prep Time: 15 minutes
- Cook Time: 20 minutes
- Total Time: 35 minutes
- Servings: 4 people
- Difficulty: Easy
Why You’ll Love This Crispy Baked Chicken Tenders Recipe
- Genuine Flavour: The seasoned panko breadcrumb coating isn’t just for texture; it’s packed with smoked paprika, garlic powder, and onion powder, creating a savoury crust that complements the succulent chicken perfectly.
- Ready in Under 40 Minutes: From start to finish, this entire meal comes together in about 35 minutes, making it ideal for those busy weeknights when you want something substantial without spending hours in the kitchen.
- Flexible Recipe: You can easily adjust the seasoning to your liking. Add a pinch of cayenne for a bit of heat, or mix in some dried Italian herbs for a different flavour profile. It’s a great base for experimentation.
- Great for Casual Dinners: This works wonderfully for a relaxed family dinner, a weekend lunch with friends, or even cut into smaller pieces and served with dips for a casual get-together.
- Family Tested: My children consistently ask for these chicken tenders. They adore dipping them, and I feel good knowing they’re baked, not fried. Friends always ask me for this recipe after trying it at our house.
Ingredients You’ll Need
For this recipe, the quality of your breadcrumbs really matters. I always use Japanese-style Panko breadcrumbs as they are lighter and flakier than traditional breadcrumbs, which helps create that signature crunchy texture. You can find them in most large supermarkets these days.
- 700g skinless, boneless chicken breasts, cut into 2-3 cm thick strips
- 100g plain flour
- 2 large free-range eggs
- 150g Panko breadcrumbs
- 1 tsp smoked paprika
- 1 tsp garlic powder
- 1 tsp onion powder
- ½ tsp dried oregano
- 1 tsp salt (or to taste)
- ½ tsp freshly ground black pepper
- 2 tbsp olive oil (or a light cooking oil spray)
Adam’s Tip: Don’t be shy with the salt and pepper in the flour mixture. This is your first opportunity to season the chicken itself, and it makes a huge difference to the final taste. A well-seasoned base layer is crucial.
How to Make Crispy Baked Chicken Tenders
The process is straightforward. We’ll set up a simple breading station and then let the oven do all the hard work. The key is to work methodically and ensure each tender is thoroughly coated.
- Preheat and Prepare: Preheat your oven to 200°C (180°C fan). Place a wire rack inside a large baking tray. Lightly grease the wire rack with a little oil or cooking spray to prevent sticking.
- Prepare the Chicken: If your chicken breasts are very thick, you can gently pound them to an even thickness before slicing. Cut the chicken into evenly sized strips, about 2-3 cm wide and 10-12 cm long. Pat them completely dry with a paper towel; this helps the flour stick.
- Set Up Your Breading Station: You’ll need three shallow dishes. In the first, mix the plain flour with the salt and pepper. In the second, whisk the two eggs until smooth. In the third, combine the Panko breadcrumbs, smoked paprika, garlic powder, onion powder, and dried oregano. Mix well so the spices are evenly distributed.
- Dredge the Chicken: Working with one chicken strip at a time, first coat it lightly in the seasoned flour, shaking off any excess. This dry layer is vital. Next, dip it into the whisked egg, letting the excess drip off.
- Coat with Breadcrumbs: Finally, press the egg-coated strip firmly into the Panko mixture, making sure it’s completely covered on all sides. I find that using one hand for the dry ingredients (flour/panko) and the other for the wet (egg) is the cleanest way to do this. Place the coated tender onto the prepared wire rack.
- Repeat: Continue this process with the remaining chicken strips, arranging them on the wire rack in a single layer. Make sure not to let them touch, as this will help them cook evenly.
- Bake to Perfection: Drizzle the coated chicken tenders with the olive oil or give them a good coating of cooking spray. Bake in the preheated oven for 20-22 minutes, flipping them halfway through, until the coating is a deep golden brown and the chicken is cooked through. The internal temperature should read at least 74°C on a meat thermometer, as recommended by the Food Standards Agency.
- Rest and Serve: Let the chicken tenders rest on the rack for a couple of minutes before serving. This allows the juices to redistribute and the coating to firm up slightly. Serve immediately with your favourite dipping sauces.
Tips From My Kitchen
- Temperature Control: A hot oven is non-negotiable. 200°C (180°C fan) is the sweet spot. If the oven isn’t hot enough, the breadcrumbs will absorb oil and become soggy rather than crisping up.
- The Secret Step: The wire rack is the game-changer. I learned that without it, the bottoms of the tenders steam against the baking tray and never get truly crispy. Elevating them allows hot air to circulate underneath for an even, crunchy finish.
- Make-Ahead: You can bread the chicken tenders up to 4 hours in advance. Arrange them on the wire rack set over the baking tray, cover loosely with cling film, and refrigerate until you’re ready to bake.
- Storage: Leftovers can be stored in an airtight container in the refrigerator for up to 3 days. To reheat and bring back the crunch, place them on a wire rack in an oven preheated to 180°C for 5-7 minutes, or use an air fryer.
Equipment You’ll Need
- Large baking tray
- Oven-safe wire rack
- Three shallow bowls or dishes for breading
- Sharp knife and cutting board
- Tongs for flipping
Common Mistakes to Avoid
- Overcrowding the pan: It’s tempting to squeeze all the tenders onto one tray, but this is a mistake. Overcrowding traps steam, which is the enemy of crispiness. Use two trays if necessary, ensuring there’s space between each tender.
- Wrong temperature: Baking at too low a temperature will result in pale, soft tenders. Baking too high can burn the panko before the chicken is cooked. Stick to 200°C (180°C fan) for the best results.
- Skipping the Rest Time: Don’t skip patting the chicken dry before you start. Any excess moisture will prevent the flour from sticking properly, causing the entire breading to slide off during cooking.
Delicious Variations to Try
Once you’ve mastered the basic recipe, it’s fun to start playing with the flavours. Here are a few ideas that we enjoy at home:
- Spicy Version: Add 1/2 teaspoon of cayenne pepper or chilli flakes to the panko breadcrumb mixture for a gentle, warming heat that builds with each bite.
- Parmesan & Herb: Mix 40g of finely grated Parmesan cheese and a tablespoon of chopped fresh parsley into the panko breadcrumbs for a cheesy, herby crust. This pairs beautifully with a simple pasta dish like our Creamy Garlic Penne Pasta.
- Different Protein: This breading technique works wonderfully for other proteins. Try it with thin pork loin steaks (schnitzel-style) or firm white fish fillets like cod or haddock, adjusting the cooking time accordingly.
What to Serve With Crispy Baked Chicken Tenders
These tenders are wonderfully versatile and pair well with a wide range of sides. Here are some of my go-to combinations:
- Homemade Potato Wedges: A classic pairing. Seasoned wedges, baked alongside the chicken, make for a complete and satisfying meal.
- A Fresh, Crisp Salad: To lighten things up, a simple green salad with a sharp vinaigrette is perfect. Our Classic House Salad with Red Wine Vinaigrette cuts through the richness of the chicken beautifully.
- Dipping Sauces: Offer a variety of dips! A homemade honey-mustard sauce, a smoky barbecue sauce, or a creamy garlic aioli are all fantastic choices.
- Drink Pairing: A crisp, cold lager or a zesty Sauvignon Blanc complements the savoury chicken without overpowering it. For a non-alcoholic option, a sparkling elderflower pressé is lovely.
Frequently Asked Questions
Crispy Baked Chicken Tenders Recipe
Ingredients
Method
- Preheat and Prepare: Preheat your oven to 200°C (180°C fan). Place a wire rack inside a large baking tray. Lightly grease the wire rack with a little oil or cooking spray to prevent sticking.
- Prepare the Chicken: If your chicken breasts are very thick, you can gently pound them to an even thickness before slicing. Cut the chicken into evenly sized strips, about 2-3 cm wide and 10-12 cm long. Pat them completely dry with a paper towel; this helps the flour stick.
- Set Up Your Breading Station: You'll need three shallow dishes. In the first, mix the plain flour with the salt and pepper. In the second, whisk the two eggs until smooth. In the third, combine the Panko breadcrumbs, smoked paprika, garlic powder, onion powder, and dried oregano. Mix well so the spices are evenly distributed.
- Dredge the Chicken: Working with one chicken strip at a time, first coat it lightly in the seasoned flour, shaking off any excess. This dry layer is vital. Next, dip it into the whisked egg, letting the excess drip off.
- Coat with Breadcrumbs: Finally, press the egg-coated strip firmly into the Panko mixture, making sure it's completely covered on all sides. I find that using one hand for the dry ingredients (flour/panko) and the other for the wet (egg) is the cleanest way to do this. Place the coated tender onto the prepared wire rack.
- Repeat: Continue this process with the remaining chicken strips, arranging them on the wire rack in a single layer. Make sure not to let them touch, as this will help them cook evenly.
- Bake to Perfection: Drizzle the coated chicken tenders with the olive oil or give them a good coating of cooking spray. Bake in the preheated oven for 20-22 minutes, flipping them halfway through, until the coating is a deep golden brown and the chicken is cooked through. The internal temperature should read at least 74°C on a meat thermometer, as recommended by the Food Standards Agency.
- Rest and Serve: Let the chicken tenders rest on the rack for a couple of minutes before serving. This allows the juices to redistribute and the coating to firm up slightly. Serve immediately with your favourite dipping sauces.
Notes
I really hope you give this Crispy Baked Chicken Tenders Recipe a try. It’s a staple in our home for a reason, and it proves that you don’t need a deep fryer to achieve a truly satisfying crunch. It’s rewarding, delicious, and a recipe everyone seems to love. If you make it, please let me know how it turned out in the comments below – I’d love to hear from you!
Happy cooking,
Adam Henderson