Bake This Bright Lemon Raspberry Cookies Recipe
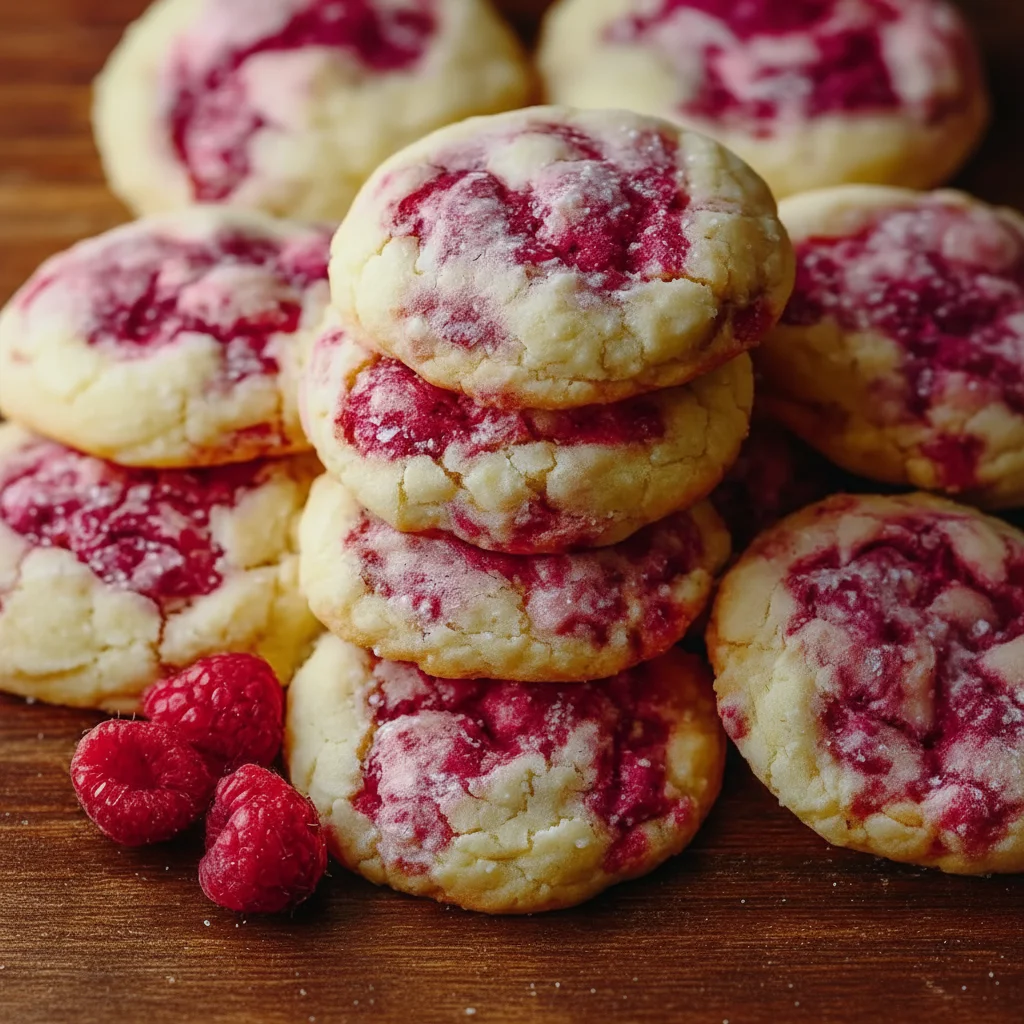
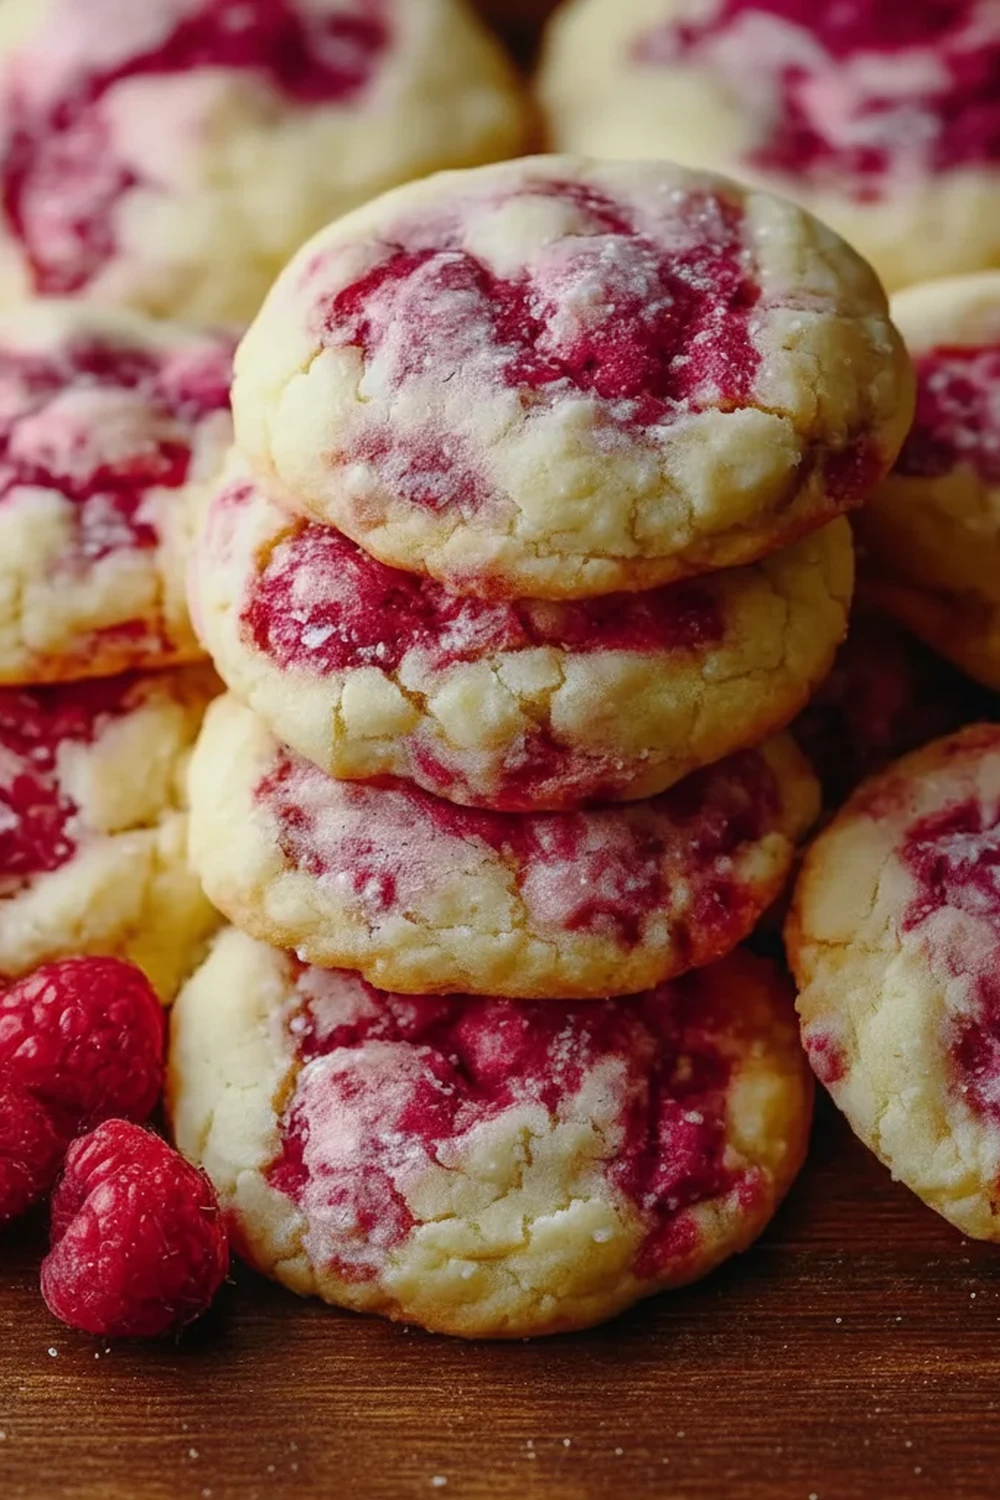
There’s something truly special about a biscuit tin filled with homemade treats, ready for when you fancy a little something with your afternoon tea. And for me, nothing quite says “spring is here” like the combination of sharp, zesty lemon and sweet, tangy raspberry. This Lemon Raspberry Cookies recipe produces wonderfully soft and chewy cookies, with slightly crisp edges and a vibrant flavour that brightens up any day. The scent that fills the kitchen as they bake is absolutely divine – a pure, zesty perfume that promises a delicious reward.
I stumbled upon this combination by accident one afternoon when I had a surplus of lemons and a punnet of raspberries about to turn. I decided to throw them into my favourite cookie dough base, and the result was better than I could have imagined. These aren’t just lemon cookies or raspberry cookies; they are a perfect marriage of the two. The lemon provides a fresh, citrus backbone, while the raspberries burst during baking, creating little jammy pockets throughout the cookie. They are a staple in our house now, ideal for popping into a lunchbox, sharing with friends, or simply enjoying a quiet moment to yourself.
This recipe is straightforward and uses ingredients you likely already have in your pantry and fridge. It’s a wonderful baking project for a lazy weekend. We’ll walk through how to get that perfect chewy texture and ensure your raspberries don’t turn the whole dough pink. Get your apron on, and let’s get baking.
Recipe Overview
This recipe will guide you to create soft, buttery cookies packed with bright lemon flavour and studded with tart raspberries. The dough requires a short chilling period, which is essential for developing the flavour and preventing the cookies from spreading too much in the oven. I once tried skipping this step in a hurry, and while still tasty, the cookies were much thinner and lost that satisfying chewiness. Chilling is the key!
- Prep Time: 20 minutes
- Chilling Time: 1 hour
- Cook Time: 12-15 minutes
- Total Time: 1 hour 35 minutes
- Servings: 24 cookies
- Difficulty: Easy
Why You’ll Love This Lemon Raspberry Cookies Recipe
- Genuine Flavour: We use the zest and juice of a whole lemon, which gives these cookies an authentic, bright citrus punch that cuts through the sweetness beautifully. The fresh raspberries add a tart, fruity burst that you just can’t replicate with artificial flavourings.
- Ready in Under 40 Minutes of Active Time: While the dough needs to chill, the actual hands-on time for mixing and baking is minimal. You can have a batch of warm cookies cooling on your counter with very little fuss.
- Flexible Recipe: This dough is a brilliant base for experimentation. If you don’t have raspberries, try swapping them for 150g of white chocolate chips for a classic lemon and white chocolate cookie, or even blueberries.
- Great for Afternoon Tea: These cookies are a wonderful addition to any afternoon tea spread. Their vibrant look and fresh taste work beautifully alongside a classic cuppa or a glass of lemonade. They also pack up nicely for picnics. For another teatime treat, you might enjoy my Banana Bread Recipe.
- Family Tested: My husband, who’s usually picky about fruity bakes and prefers plain chocolate chip, asked for seconds before the first batch was even fully cool! That’s when I knew this recipe was a real keeper.
Ingredients You’ll Need
For the best results, using fresh, good-quality ingredients makes all the difference. Room temperature butter and eggs are crucial for a smooth, well-emulsified dough. I always opt for a good block butter, as its flavour is far superior to baking spreads in cookies like these.
- 225g unsalted butter, softened to room temperature
- 200g caster sugar
- 100g light brown soft sugar
- 1 large free-range egg, at room temperature
- 1 tsp vanilla extract
- 1 large lemon, zest and juice
- 320g plain flour
- 1 tsp bicarbonate of soda
- ½ tsp salt
- 150g fresh or frozen raspberries
Adam’s Tip: For the most intense lemon flavour, add the lemon zest to the sugars and use your fingertips to rub it in. This action releases the fragrant oils from the zest, infusing the sugar and making the final cookies taste incredibly bright and zesty.
How to Make Lemon Raspberry Cookies
The process for making these cookies is simple and follows a classic creaming method. The most important part is to be gentle when adding the raspberries and not to skip the chilling time. Let’s get started.
- Cream the Butter and Sugars: In a large bowl, using an electric mixer or a stand mixer with the paddle attachment, beat the softened unsalted butter, caster sugar, and light brown soft sugar together on medium-high speed for about 3-4 minutes. The mixture should become light, pale, and fluffy.
- Add the Wet Ingredients: Add the egg, vanilla extract, and the zest and juice of one lemon to the butter mixture. Beat again on medium speed until everything is well combined, scraping down the sides of the bowl as needed to ensure it’s all incorporated.
- Combine the Dry Ingredients: In a separate bowl, whisk together the plain flour, bicarbonate of soda, and salt. This ensures the raising agent and salt are evenly distributed, which helps the cookies bake uniformly.
- Mix the Dough: Gradually add the dry ingredient mixture to the wet ingredients in two or three additions, mixing on low speed until just combined. Be careful not to overmix at this stage; stop as soon as you no longer see streaks of flour.
- Fold in the Raspberries: Gently fold the raspberries into the cookie dough using a spatula. What works best for me is using frozen raspberries, as they hold their shape better and are less likely to break apart and bleed into the dough. If using fresh, be extra gentle.
- Chill the Dough: Cover the bowl with cling film and refrigerate for at least 1 hour (or up to 3 days). This step is crucial! It solidifies the butter, which prevents the cookies from spreading into thin crisps while baking.
- Preheat and Prepare: When you’re ready to bake, preheat your oven to 180°C (160°C fan) and line two large baking trays with baking parchment.
- Scoop and Bake: Scoop rounded tablespoons of the chilled dough onto the prepared baking trays, leaving about 5-6cm of space between each one to allow for spreading. You should get about 24 cookies.
- Bake to Perfection: Bake for 12-15 minutes, or until the edges are lightly golden brown and the centres look soft and slightly underdone. They will continue to cook on the hot tray.
- Cool Completely: Leave the cookies to cool on the baking trays for 5-10 minutes before transferring them to a wire rack to cool completely. This helps them set and develop that perfect chewy texture.
Tips From My Kitchen
- Temperature Control: Your butter must be at room temperature – soft enough to press an indent into easily, but not greasy or melting. If it’s too soft, the cookies will spread excessively. If it’s too cold, it won’t cream properly with the sugar to create the light texture we want.
- The Secret Step: I learned that chilling the dough does more than just control spread. As the dough rests, the flour fully hydrates, and the flavours have time to meld and deepen. This process, explained well by food science experts at Serious Eats, results in a cookie with a more complex flavour and a better chew.
- Make-Ahead: The cookie dough can be made and stored in the fridge for up to 3 days. You can also scoop the dough into balls, place them on a tray, and freeze until solid. Then, transfer the frozen dough balls to a freezer bag. They can be baked straight from frozen for an extra 1-2 minutes.
- Storage: Store the cooled cookies in an airtight container at room temperature. They will stay fresh and chewy for up to 4 days.
Common Mistakes to Avoid
- Overcrowding the Baking Tray: It’s tempting to fit as many cookies as possible onto one tray, but this is a mistake. When placed too close together, the cookies will merge into one another and steam instead of bake, resulting in soft, pale edges instead of golden, crisp ones. Always leave ample space.
- An Inaccurate Oven Temperature: Many domestic ovens run hotter or colder than what the dial says. An inexpensive oven thermometer can be a game-changer for baking. If your cookies are burning on the bottom but raw in the middle, your oven is likely too hot.
- Skipping the Chill Time: I’ve mentioned it a few times because it’s that important. Rushing this step will result in cookies that spread too thinly. The chill time allows the butter to firm up, guaranteeing a thicker, chewier cookie with a much better texture.
Delicious Variations to Try
Once you’ve mastered the basic recipe, feel free to get creative! This dough is wonderfully versatile and works well with a few different additions.
- Lemon, Raspberry & White Chocolate: Reduce the raspberries to 100g and add 100g of white chocolate chips or chunks. The creamy sweetness of the white chocolate is a fantastic counterpoint to the sharp fruit and citrus.
- Lemon & Blueberry Cookies: Simply swap the raspberries for an equal amount of fresh or frozen blueberries. They offer a slightly sweeter, less tart fruit flavour that is just as delicious.
- Add a Simple Glaze: For an extra decorative touch and a sharper lemon hit, make a simple glaze. Whisk 150g of icing sugar with 2-3 tablespoons of fresh lemon juice until you have a smooth, pourable consistency. Drizzle it over the completely cooled cookies.
What to Serve With Lemon Raspberry Cookies
These cookies are truly a standalone treat, but they also pair wonderfully with a few simple things. They would make a delightful dessert after a comforting meal like my Garlic Parmesan Chicken Pasta.
- A Pot of Tea: A classic cup of Earl Grey or English Breakfast tea is the perfect companion. The bergamot in Earl Grey, in particular, enhances the citrus notes of the cookies.
- Vanilla Bean Ice Cream: For an easy yet impressive dessert, sandwich a scoop of good-quality vanilla bean ice cream between two cookies.
- A Glass of Cold Milk: Sometimes, you can’t beat the classics. A tall, cold glass of milk is the ultimate cookie-dunking beverage.
Frequently Asked Questions
Lemon Raspberry Cookies
Ingredients
Method
- Cream the Butter and Sugars: In a large bowl, using an electric mixer or a stand mixer with the paddle attachment, beat the softened unsalted butter, caster sugar, and light brown soft sugar together on medium-high speed for about 3-4 minutes. The mixture should become light, pale, and fluffy.
- Add the Wet Ingredients: Add the egg, vanilla extract, and the zest and juice of one lemon to the butter mixture. Beat again on medium speed until everything is well combined, scraping down the sides of the bowl as needed to ensure it's all incorporated.
- Combine the Dry Ingredients: In a separate bowl, whisk together the plain flour, bicarbonate of soda, and salt. This ensures the raising agent and salt are evenly distributed, which helps the cookies bake uniformly.
- Mix the Dough: Gradually add the dry ingredient mixture to the wet ingredients in two or three additions, mixing on low speed until just combined. Be careful not to overmix at this stage; stop as soon as you no longer see streaks of flour.
- Fold in the Raspberries: Gently fold the raspberries into the cookie dough using a spatula. What works best for me is using frozen raspberries, as they hold their shape better and are less likely to break apart and bleed into the dough. If using fresh, be extra gentle.
- Chill the Dough: Cover the bowl with cling film and refrigerate for at least 1 hour (or up to 3 days). This step is crucial! It solidifies the butter, which prevents the cookies from spreading into thin crisps while baking.
- Preheat and Prepare: When you're ready to bake, preheat your oven to 180°C (160°C fan) and line two large baking trays with baking parchment.
- Scoop and Bake: Scoop rounded tablespoons of the chilled dough onto the prepared baking trays, leaving about 5-6cm of space between each one to allow for spreading. You should get about 24 cookies.
- Bake to Perfection: Bake for 12-15 minutes, or until the edges are lightly golden brown and the centres look soft and slightly underdone. They will continue to cook on the hot tray.
- Cool Completely: Leave the cookies to cool on the baking trays for 5-10 minutes before transferring them to a wire rack to cool completely. This helps them set and develop that perfect chewy texture.
Notes
I really hope you enjoy baking this Lemon Raspberry Cookies recipe. They are such a joy to make and even more of a joy to eat. That balance of soft, chewy, sweet, and tart is just fantastic, and they always get compliments whenever I share them. Let me know how you get on in the comments below – I’d love to hear about your baking adventures. If you’re looking for another baking project, why not try this Moist Banana Bread Recipe? It’s another family favourite. Happy baking!
– Adam Henderson