Cook This Sticky Sweet Honey Garlic Shrimp Recipe
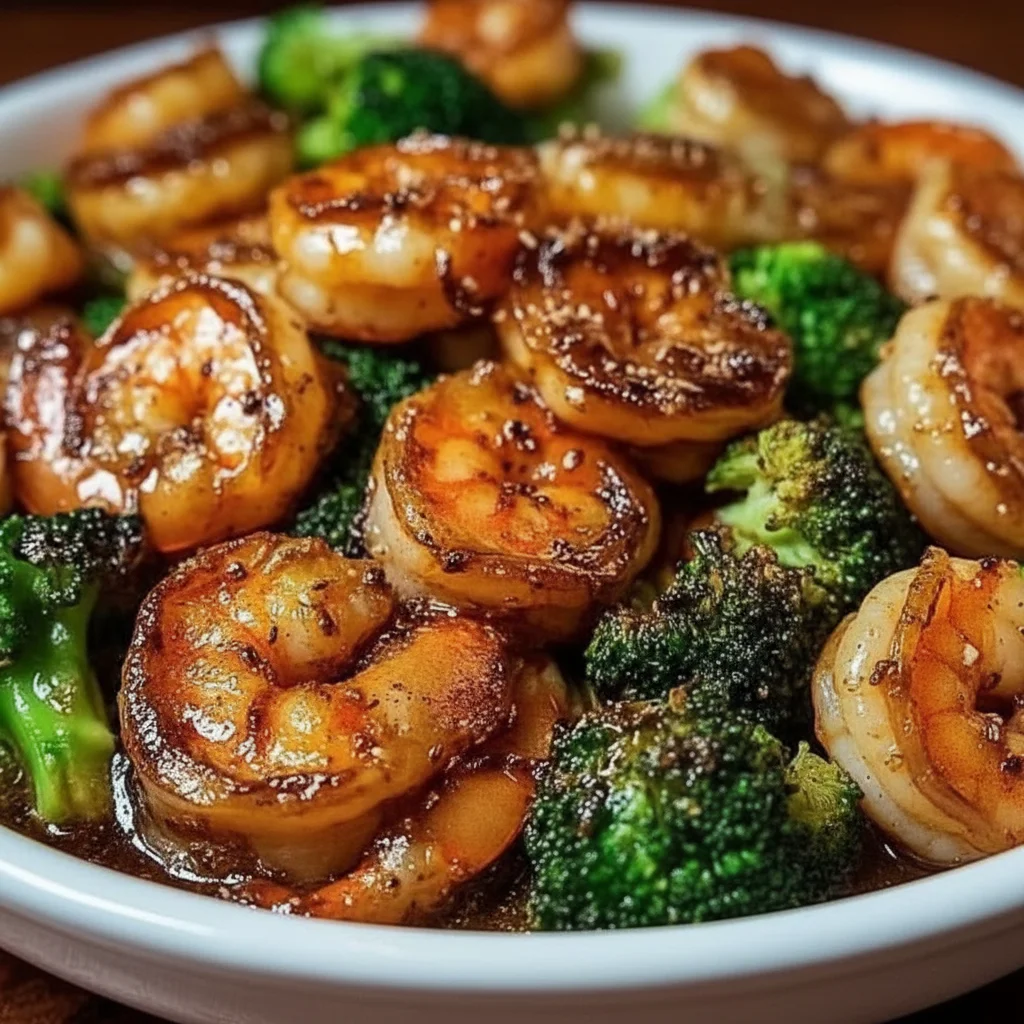
There are some meals that just hit the spot every single time, and for me, this Honey Garlic Shrimp recipe is at the very top of that list. We’re talking about plump, juicy prawns bathed in a glossy, sticky sauce that perfectly balances sweet honey with savoury soy and a generous hit of fragrant garlic. It’s the kind of dish that looks and tastes like it came from a fantastic restaurant, but secretly, it comes together in your own kitchen in about 20 minutes. This is my go-to recipe when I need something quick but impressive.
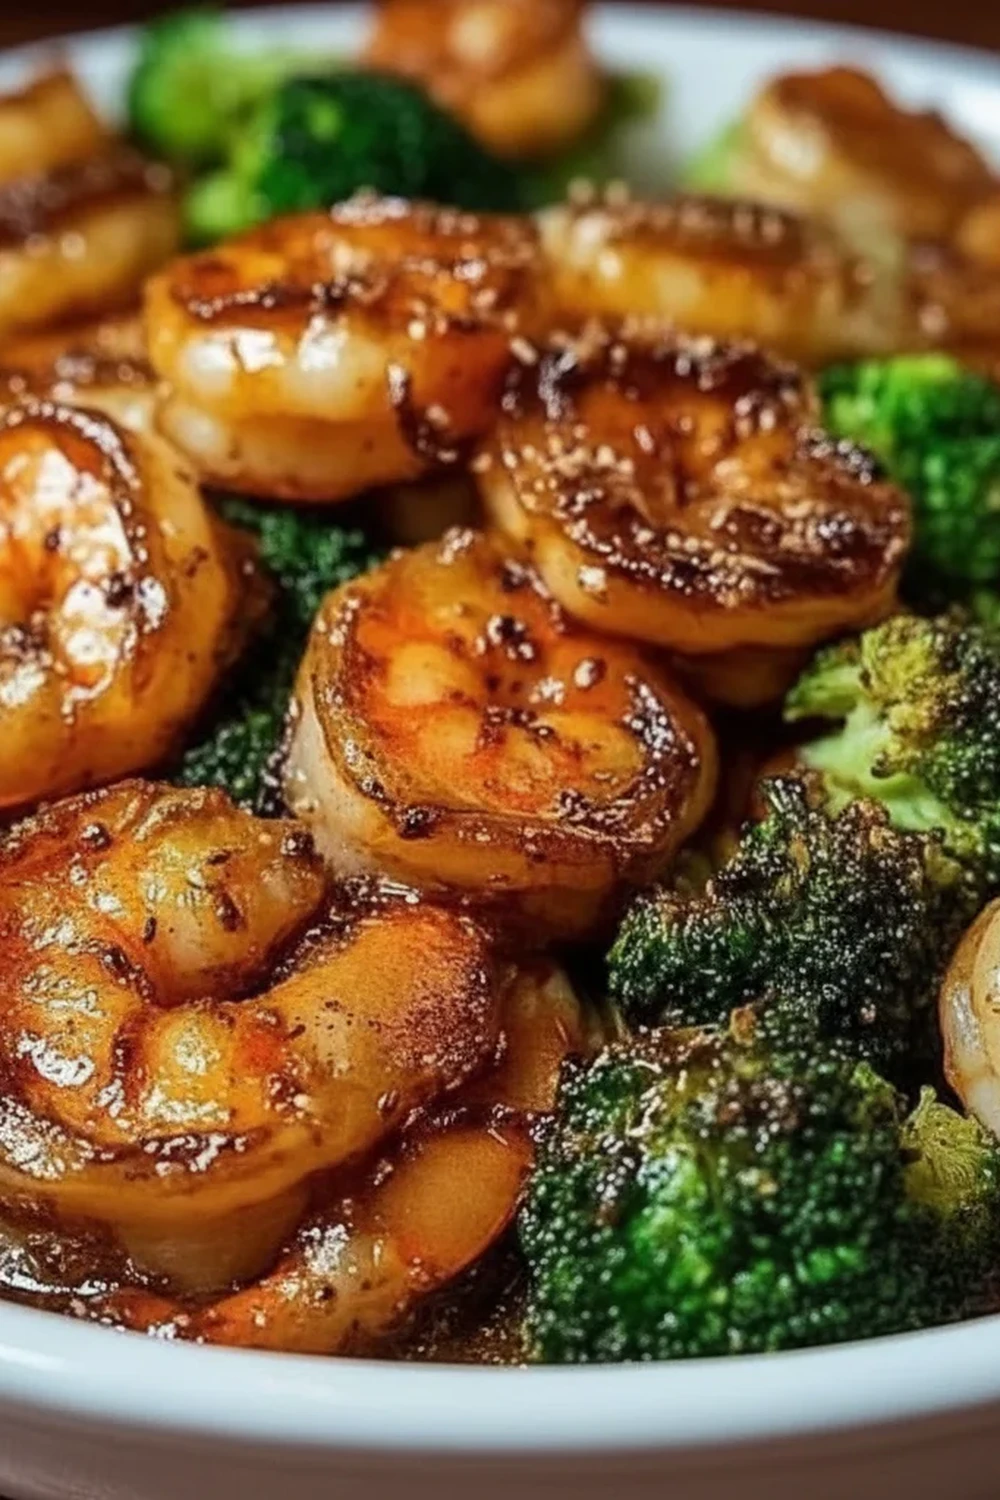
The magic is in the sauce. It’s not just a simple mix; it’s a glaze that clings beautifully to every single prawn. As it simmers in the pan, it thickens into a rich, aromatic coating that makes you want to savour every last bite. The sizzle of the garlic hitting the pan, followed by the sweet scent of honey, is one of the best smells to come out of my kitchen. It’s a seafood recipe that works wonderfully for a speedy midweek dinner when you’re short on time but still want something special. It’s also sophisticated enough to serve when you have friends over for a casual meal.
Whether you pile these gorgeous shrimp over a bed of fluffy rice or twirl them through some noodles, this dish is a guaranteed winner. It always gets compliments, and the simple, high-impact flavours appeal to just about everyone. Let’s get the pan on and make something truly delicious.
Recipe Overview
This Honey Garlic Shrimp recipe delivers succulent prawns in a beautifully balanced sweet and savoury sauce. The key is to get a good sear on the prawns before coating them in the sauce, which thickens to a perfect glaze in minutes. After testing this recipe five times, I finally got the sauce-to-shrimp ratio just right so that every piece is generously coated without being overly swimming in sauce.
- Prep Time: 10 minutes
- Cook Time: 10 minutes
- Total Time: 20 minutes
- Servings: 4 people
- Difficulty: Easy
Why You’ll Love This Honey Garlic Shrimp Recipe
- Genuine Flavour: We’re not using any shortcuts here. The taste comes from real ingredients working in harmony: the natural sweetness of runny honey, the salty, umami depth of dark soy sauce, the pungent warmth of freshly minced garlic, and a little tang from rice vinegar to cut through the richness. It’s a truly satisfying combination.
- Ready in Under 30 Minutes: From the moment you start chopping the garlic to the final sprinkle of sesame seeds, this dish is on the table in about 20 minutes. It’s a lifesaver on busy evenings when you crave a proper, home-cooked meal without the long wait.
- Flexible Recipe: This recipe is a fantastic base for customisation. You can add a teaspoon of freshly grated ginger along with the garlic for extra warmth, or stir in some steamed broccoli or sliced peppers at the end for a complete one-pan meal.
- Ideal for Midweek Meals: Because it’s so straightforward to make, it has become a staple in our weekly meal rotation. It feels a bit fancy, but the effort is minimal, making it an excellent choice for a Tuesday or Wednesday night treat.
- Family Tested: My family absolutely loves this seafood recipe. The moment I say I’m making garlic shrimp, everyone gets excited. The plates are always clean, and there’s usually a friendly squabble over who gets to mop up the last of the sauce with a bit of rice.
Ingredients You’ll Need
For this recipe, using good quality raw prawns is key – they’ll cook up tender and juicy. I always opt for a good runny honey, as it melts into the sauce more easily than set honey. For the soy sauce, I prefer Kikkoman’s All-Purpose Soy Sauce for its well-rounded, savoury flavour that isn’t overly salty.
- 500g raw king prawns, peeled and deveined
- 1 tbsp vegetable oil or sesame oil
- 6 cloves garlic, finely minced
- 80ml runny honey
- 60ml dark soy sauce
- 1 tbsp rice vinegar
- 1 tsp cornflour mixed with 2 tsp water (a cornflour slurry)
- Freshly ground black pepper, to taste
- 2 spring onions, finely sliced, for garnish
- 1 tsp toasted sesame seeds, for garnish
Adam’s Tip: Make sure your prawns are properly patted dry with a paper towel before they go into the pan. This removes excess moisture and helps them to sear and turn golden rather than steam, giving you a much better texture.
How to Make Honey Garlic Shrimp Recipe
The process for this garlic shrimp dish is very straightforward. We’ll make the sauce first, then cook the shrimp quickly before combining everything in the pan to create that irresistible glaze. The cooking part happens fast, so have all your ingredients ready to go before you start.
- Prepare the Prawns: If you haven’t already, peel and devein your prawns. If you need a refresher on the best way to do this, BBC Good Food has a great guide. Pat them completely dry with a paper towel and season lightly with black pepper. Set aside.
- Mix the Sauce: In a small bowl, whisk together the honey, soy sauce, and rice vinegar. Set this bowl near your hob, as you’ll need it shortly. In a separate, even smaller bowl, mix the cornflour with the water to create a slurry. This will be our thickening agent.
- Heat the Pan: Place a large frying pan or wok over a medium-high heat. Add the vegetable or sesame oil and let it get hot – you should see it shimmer slightly.
- Sauté the Garlic: Add the minced garlic to the hot pan and sauté for about 30-60 seconds until it becomes incredibly fragrant. Be careful not to let it burn, as burnt garlic will make the whole dish bitter. I find that stirring constantly is the best way to prevent this.
- Cook the Prawns: Add the prepared prawns to the pan in a single layer. Try not to overcrowd the pan; cook in two batches if necessary. Cook for 1-2 minutes on each side, until they turn pink and opaque. They cook very quickly!
- Add the Sauce: Pour the honey and soy sauce mixture over the prawns in the pan. Bring it to a gentle simmer, stirring to coat all the prawns. Let it bubble away for about 1-2 minutes.
- Thicken the Glaze: Give your cornflour slurry a quick re-stir, then pour it into the pan. Continue to stir and cook for another minute. You will see the sauce thicken almost immediately into a beautiful, glossy glaze that clings to the shrimp.
- Serve Immediately: Remove the pan from the heat. Garnish generously with the sliced spring onions and toasted sesame seeds. Serve hot straight away.
Tips From My Kitchen
- Temperature Control: The heat should be on medium-high for searing the prawns, but once you add the garlic and sauce, be ready to lower it to medium. Honey can burn quickly, so managing the temperature prevents the sauce from becoming bitter.
- The Secret Step: Don’t skip patting the prawns dry. I learned that this small step makes a huge difference. Dry prawns get a lovely caramelised sear, whereas wet prawns will just steam in the pan and can end up with a slightly rubbery texture.
- Make-Ahead: While the dish is best cooked fresh, you can definitely prep ahead. The sauce can be mixed and stored in an airtight container in the fridge for up to 3 days. You can also peel and devein the prawns a day in advance. This makes the final cooking process take less than 10 minutes.
- Storage: If you have leftovers, store them in an airtight container in the fridge for up to 2 days. Reheat gently in a pan over a low heat or in the microwave until just warmed through. Be careful not to overcook the prawns during reheating.
Equipment You’ll Need
You don’t need any fancy gadgets for this recipe, just some basic kitchen tools.
- Large frying pan or wok
- Sharp knife and cutting board
- Small mixing bowl for the sauce
- Whisk or fork
- Wooden spoon or spatula
Common Mistakes to Avoid
- Overcrowding the pan: Tipping all the prawns in at once might seem efficient, but it lowers the pan’s temperature and causes them to steam. For that perfect golden-pink sear, cook them in a single layer, even if it means doing it in two separate batches.
- Wrong temperature: Frying the garlic on a heat that’s too high is a common pitfall. It will go from fragrant to burnt in seconds. Keep the heat at medium and keep it moving in the pan. Similarly, a very high heat can cause the honey in the sauce to scorch.
- Overcooking the Shrimp: Prawns cook incredibly fast. We’re talking 3-4 minutes total. The moment they turn from grey and translucent to pink and opaque, they are done. Cooking them any longer will result in a tough, chewy texture. Remember they will cook a little more when you add the sauce.
Delicious Variations to Try
One of the best things about this recipe is how easily you can adapt it. Here are a few variations we enjoy at home:
- Spicy Honey Garlic Shrimp: Add 1-2 teaspoons of sriracha or a pinch of red chilli flakes to the sauce mixture for a lovely kick of heat that contrasts beautifully with the sweetness of the honey.
- Add Some Veggies: Turn this into a one-pan meal by adding some quick-cooking vegetables. Lightly steamed broccoli florets, sliced red peppers, or mangetout can be tossed in during the last minute of cooking.
- Different Protein: This glorious honey garlic sauce works beautifully with other proteins too. Try it with bite-sized pieces of chicken breast or thigh, or even with scallops for an extra-luxurious meal.
What to Serve With Honey Garlic Shrimp
This dish is versatile, but here are my favourite ways to serve it to make a complete and satisfying meal:
- Steamed Jasmine Rice: The simple, fragrant rice is perfect for soaking up every last drop of that delicious, sticky sauce.
- Noodles: Egg noodles or soba noodles work wonderfully. Just toss them with the shrimp and sauce before serving for an all-in-one bowl of goodness.
- A Crisp Salad: To balance the richness, serve it alongside a simple green salad. My Classic House Salad with Red Wine Vinaigrette offers a perfect, tangy contrast. For something with an Asian-inspired twist, this Crunchy Asian Chicken Salad with Peanut Dressing would also be a fantastic partner.
- Wine Pairing: A crisp, dry white wine like a Sauvignon Blanc or an unoaked Chardonnay cuts through the sweetness and complements the seafood beautifully.
Frequently Asked Questions
Honey Garlic Shrimp Recipe
Ingredients
Method
- Prepare the Prawns: If you haven't already, peel and devein your prawns. If you need a refresher on the best way to do this, BBC Good Food has a great guide. Pat them completely dry with a paper towel and season lightly with black pepper. Set aside.
- Mix the Sauce: In a small bowl, whisk together the honey, soy sauce, and rice vinegar. Set this bowl near your hob, as you'll need it shortly. In a separate, even smaller bowl, mix the cornflour with the water to create a slurry. This will be our thickening agent.
- Heat the Pan: Place a large frying pan or wok over a medium-high heat. Add the vegetable or sesame oil and let it get hot – you should see it shimmer slightly.
- Sauté the Garlic: Add the minced garlic to the hot pan and sauté for about 30-60 seconds until it becomes incredibly fragrant. Be careful not to let it burn, as burnt garlic will make the whole dish bitter. I find that stirring constantly is the best way to prevent this.
- Cook the Prawns: Add the prepared prawns to the pan in a single layer. Try not to overcrowd the pan; cook in two batches if necessary. Cook for 1-2 minutes on each side, until they turn pink and opaque. They cook very quickly!
- Add the Sauce: Pour the honey and soy sauce mixture over the prawns in the pan. Bring it to a gentle simmer, stirring to coat all the prawns. Let it bubble away for about 1-2 minutes.
- Thicken the Glaze: Give your cornflour slurry a quick re-stir, then pour it into the pan. Continue to stir and cook for another minute. You will see the sauce thicken almost immediately into a beautiful, glossy glaze that clings to the shrimp.
- Serve Immediately: Remove the pan from the heat. Garnish generously with the sliced spring onions and toasted sesame seeds. Serve hot straight away.
Notes
I really hope you enjoy making this Honey Garlic Shrimp recipe as much as I do. It’s a dish that proves a fantastic meal doesn’t need to be complicated or time-consuming. It’s full of flavour, looks brilliant, and always feels like a treat. If you give it a go, please drop a comment below and let me know how it turned out for you!
Happy cooking,
Adam Henderson