Try This Layered Mexican Pizza Recipe at Home
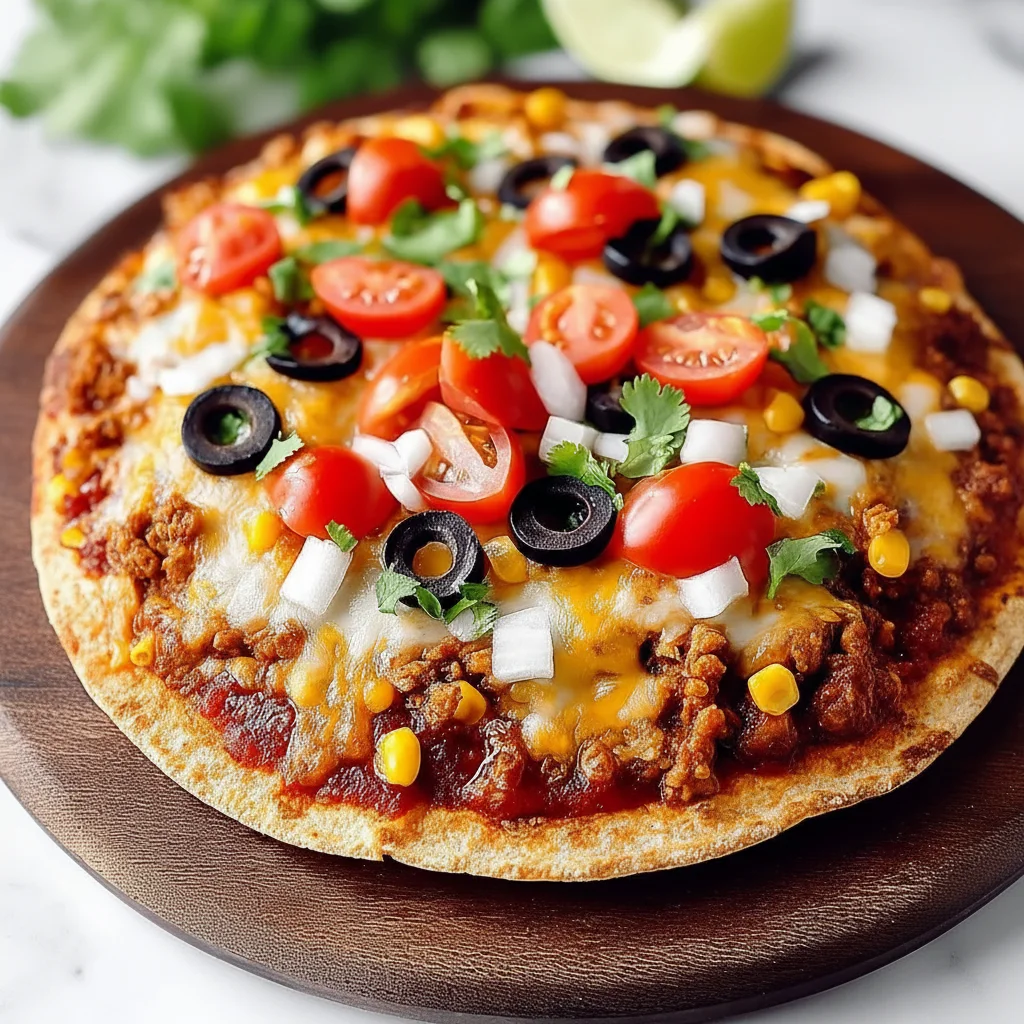
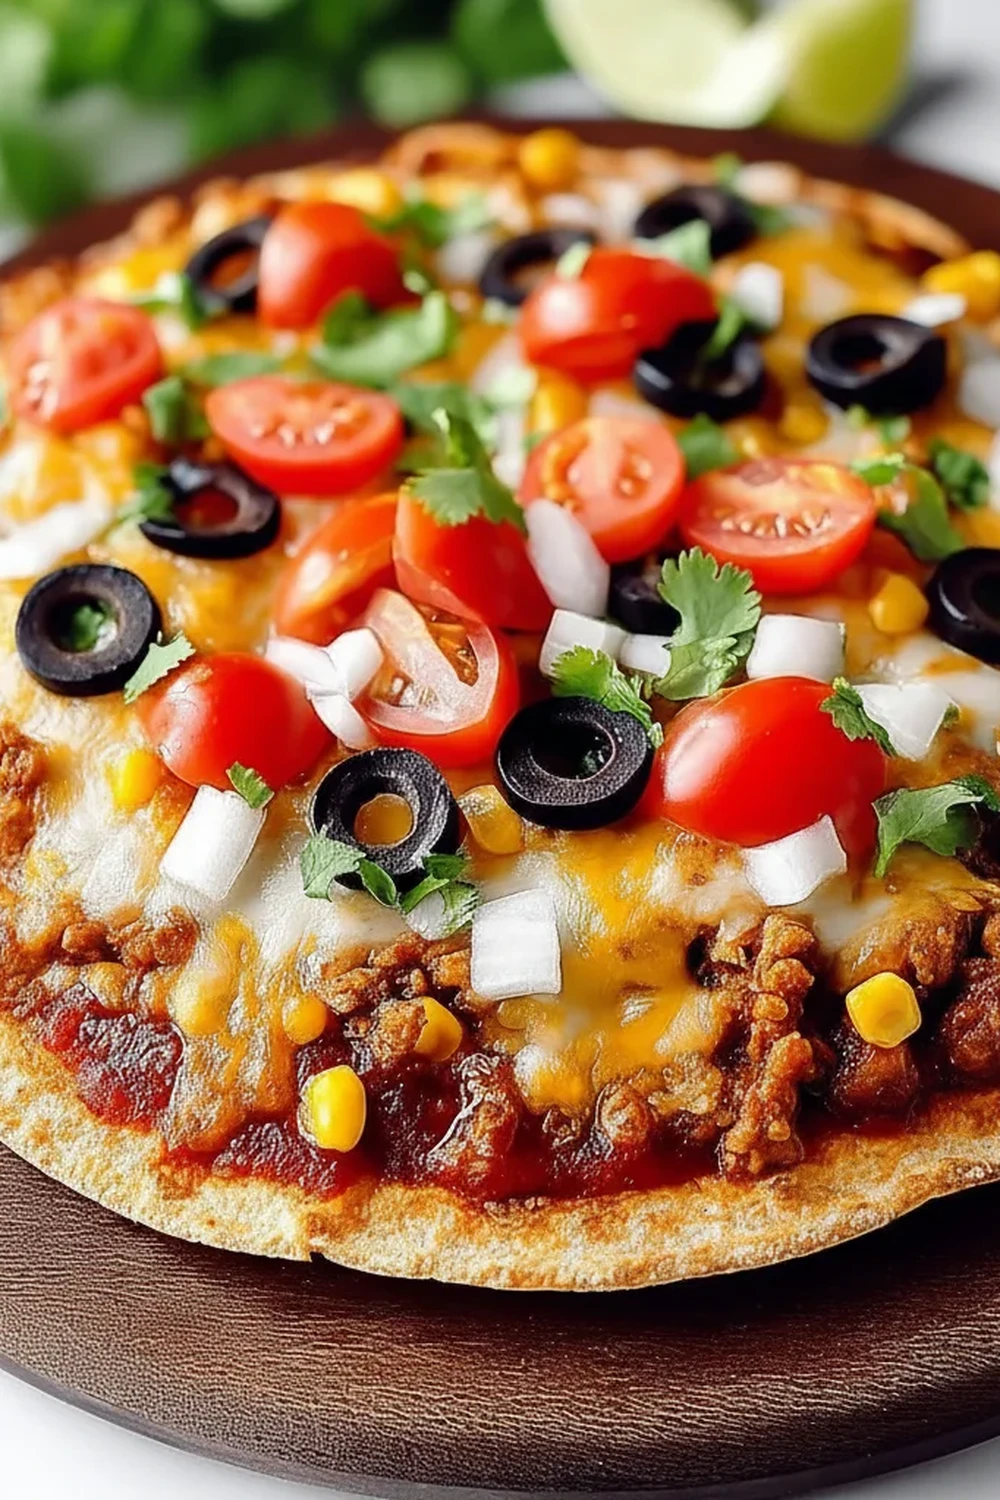
There are some dishes that just spark a bit of joy, and for me, the Mexican Pizza is one of them. It’s a fantastic hybrid, sitting somewhere between a crunchy tostada and a classic pizza, and this homemade version of the famous takeaway treat is a world away from what you get in a box. We’re talking about two layers of crisp, golden tortillas, sandwiching a savoury layer of refried beans. It’s then topped with perfectly spiced minced beef, a generous blanket of cheese that gets gloriously melty, and a final flourish of cool, fresh toppings. This is my go-to recipe when I need something that comes together fast but still feels like a proper event.
What I love most about making this at home is the control you have over the quality. You can choose great quality beef, season it just right, and use really good cheese that melts into a beautiful, gooey layer rather than turning oily. It’s a dish that relies on texture as much as flavour: the crunch of the tortilla base, the creaminess of the beans, the savoury beef, and the fresh bite of tomato and spring onion on top. It’s a wonderful combination that hits all the right notes.
This Mexican Pizza recipe is ideal when you want to shake up your weekly meal plan. It works beautifully for a fun Friday night dinner, a casual weekend lunch, or even when you have friends over and want to serve something relaxed and delicious. It’s a brilliant example of Tex-Mex cuisine, which is all about hearty, satisfying flavours that everyone seems to enjoy.
Recipe Overview
This layered Taco Pizza is all about building textures and flavours. You’ll start by frying tortillas until they’re crisp and golden, then layer them with seasoned beef and refried beans, and top it all with melted cheese and fresh garnishes. The end result is a satisfyingly crunchy, cheesy, and savoury dish. From my testing, I found that warming the refried beans slightly makes them much easier to spread without tearing the delicate tortilla base.
- Prep Time: 15 minutes
- Cook Time: 15 minutes
- Total Time: 30 minutes
- Servings: 4 individual pizzas
- Difficulty: Easy
Why You’ll Love This Mexican Pizza Recipe
- Genuine Flavour: The homemade taco seasoning gives the beef a rich, smoky depth that you just don’t get from shop-bought packets. Paired with the creamy beans and sharp cheese, every bite is packed with authentic taste.
- Ready in 30 Minutes: From start to finish, you can have these amazing layered pizzas on the table in about half an hour, making it a fantastic option for busy weeknights.
- Flexible Recipe: This recipe is incredibly adaptable. You can swap the beef for chicken or black beans, add different toppings like guacamole or jalapeños, or use different types of cheese.
- Great for Family Dinners: It’s a brilliant way to do a “make your own” dinner night. Lay out the toppings and let everyone assemble their own Mexican Pizza.
- Family Tested: My kids absolutely devour this every time I make it. They love the crunchy base and cheesy topping, and I love that it’s a meal we all get excited about.
Ingredients You’ll Need
For this recipe, I recommend using flour tortillas as they crisp up nicely while remaining a little bit chewy. When it comes to cheese, grating your own from a block of mature cheddar makes a huge difference to the melt. I find pre-grated cheeses often contain anti-caking agents that can stop them from melting as smoothly.
- 8 medium flour tortillas (about 15cm)
- 1 tbsp vegetable oil, plus extra for frying
- 400g lean beef mince
- 1 tbsp chilli powder
- 2 tsp ground cumin
- 1 tsp smoked paprika
- 1/2 tsp garlic powder
- 1/2 tsp onion powder
- 1/2 tsp dried oregano
- 1/2 tsp salt
- 1/4 tsp black pepper
- 100ml beef stock or water
- 400g can refried beans
- 200g mature cheddar cheese, grated
- For the Topping:
- 2 medium tomatoes, diced
- 4 spring onions, thinly sliced
- Sour cream, to serve
- Fresh coriander, chopped (optional)
Adam’s Tip: For an even richer flavour in the beef, add a tablespoon of tomato purée along with the spices. It adds a subtle sweetness and depth that complements the smokiness of the paprika.
How to Make Mexican Pizza
The process is straightforward: cook the beef, crisp the tortillas, and then assemble everything before a final, quick bake to melt the cheese. Let’s get started.
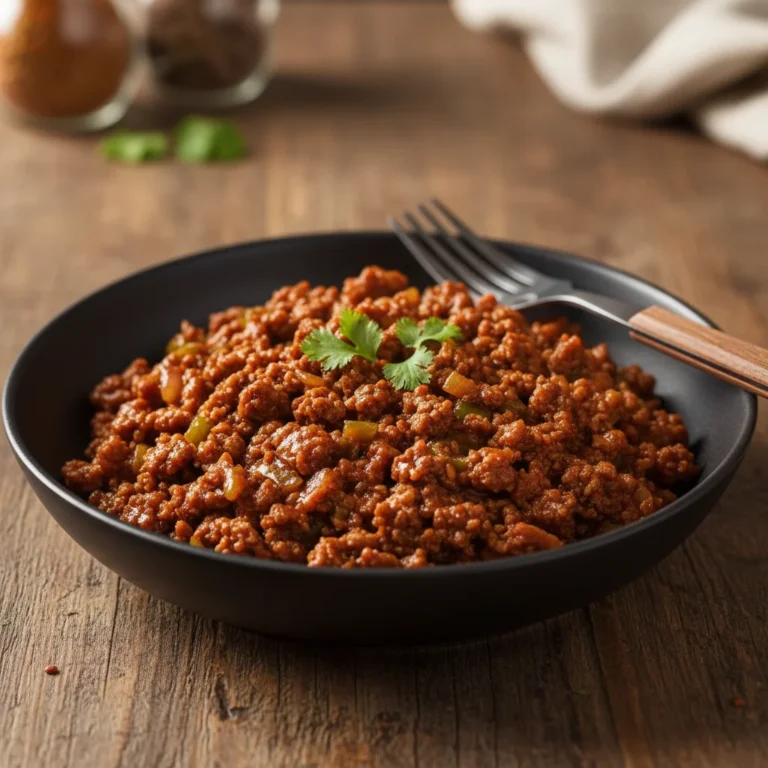
- Cook the Seasoned Beef: Heat 1 tablespoon of vegetable oil in a large frying pan over a medium-high heat. Add the beef mince and cook, breaking it up with a spoon, for 5-7 minutes until browned all over. Drain off any excess fat.
- Add Spices and Simmer: Stir in the chilli powder, cumin, smoked paprika, garlic powder, onion powder, oregano, salt, and pepper. Cook for one minute until fragrant. Pour in the beef stock or water, bring to a simmer, then reduce the heat and let it bubble away for 5 minutes, or until the liquid has mostly evaporated and the mixture has thickened. Set aside.
- Prepare the Beans: While the beef simmers, gently warm the refried beans in a small saucepan or in the microwave. This makes them much easier to spread.
- Crisp the Tortillas: Heat about 1cm of vegetable oil in a clean frying pan over a medium-high heat. Once hot, carefully fry the tortillas one at a time for about 30-60 seconds per side, until they are light golden brown and crisp. Use tongs to flip them. Place the fried tortillas on a wire rack to drain. I find that a wire rack works better than paper towels for keeping them super crispy.
- Preheat Your Oven/Grill: Position a rack in the upper third of your oven and preheat the grill to high. Alternatively, preheat your oven to 200°C (180°C fan).
- Assemble the First Layer: Place four of the crisp tortillas on a large baking tray. Spread a thin layer of warm refried beans over each one, followed by a layer of the seasoned beef mixture.
- Add the Second Layer: Place the remaining four tortillas on top of the beef. Spread a thin layer of refried beans on these top tortillas (this acts as a glue for the cheese).
- Top with Cheese and Bake: Divide the grated cheddar cheese evenly over the four pizzas, spreading it right to the edges. Place the baking tray under the preheated grill for 2-4 minutes, or in the oven for 5-7 minutes, until the cheese is completely melted, bubbling, and just starting to turn golden at the edges.
- Garnish and Serve: Carefully remove the pizzas from the oven. Top with the diced tomatoes and sliced spring onions. Add a dollop of sour cream in the middle and a sprinkle of fresh coriander if you like. Slice into quarters and serve immediately while hot and crunchy.
Tips From My Kitchen
- Oil Temperature Control: When frying the tortillas, make sure your oil is hot enough. If it’s too cool, the tortillas will absorb oil and become greasy rather than crisp. A small piece of tortilla should sizzle immediately when dropped in.
- The Secret to Easy Spreading: I learned that warming the refried beans is a game-changer. Cold, stiff beans will tear your delicate fried tortillas. A minute in the microwave makes them smooth and spreadable.
- Make-Ahead: You can cook the beef mixture up to 2 days in advance and store it in an airtight container in the fridge. You can also grate the cheese and chop the fresh toppings ahead of time. When you’re ready to eat, just warm the beef, fry the tortillas, and assemble.
- Storage: Mexican Pizza is definitely best enjoyed fresh. If you do have leftovers, store them in an airtight container in the fridge for up to 2 days. Reheat in an oven or air fryer at 180°C to help re-crisp the base. Microwaving will make it soft.
Common Mistakes to Avoid
- Overcrowding the Pan: When frying the tortillas, only cook one at a time. Overcrowding the pan will lower the oil temperature, leading to soggy, oily tortillas instead of crisp, golden ones.
- Using a Cool Oven/Grill: The final step under the grill or in a hot oven is just to melt the cheese quickly. If the temperature is too low, the pizza will sit for too long, and the steam from the fillings can soften the crisp tortilla base. Make sure it’s properly preheated.
- Using Cold Refried Beans: Trying to spread thick, cold refried beans onto a crisp tortilla is a recipe for disaster. It will crack and break. Gently warming them first makes them pliable and easy to glide over the surface.
Delicious Variations to Try
One of the best things about this Taco Pizza recipe is how easy it is to customise. Here are a few ideas we love in our house:
- Spicy Version: Add a pinch of cayenne pepper to the beef mixture and top the finished pizza with finely sliced fresh jalapeños or a drizzle of your favourite hot sauce.
- Vegetarian/Vegan Option: Swap the beef mince for a can of drained black beans or green lentils. Sauté them with the same spices. Use a vegan cheese alternative and skip the sour cream or use a plant-based version.
- Different Protein: This recipe works wonderfully with leftover shredded chicken (just toss it with the spices and a little stock) or even pulled pork for a smokier flavour profile.
What to Serve With Mexican Pizza
While this is a satisfying meal on its own, a few simple sides can round it out beautifully. It doesn’t need much, but a fresh element always works well.
- A Simple Green Salad: A crisp salad with a sharp vinaigrette cuts through the richness of the cheese and beef. This Classic House Salad with Red Wine Vinaigrette would be a fantastic partner.
- Guacamole and Salsa: Serve with bowls of homemade guacamole and a zesty tomato salsa for dipping or spooning on top.
- Drink Pairing: A cold, crisp lager or a pale ale complements the spicy notes perfectly. For a non-alcoholic option, a sparkling lime and mint water is wonderfully refreshing.
Frequently Asked Questions
Mexican Pizza Recipe
Ingredients
Method
- Cook the Seasoned Beef: Heat 1 tablespoon of vegetable oil in a large frying pan over a medium-high heat. Add the beef mince and cook, breaking it up with a spoon, for 5-7 minutes until browned all over. Drain off any excess fat.
- Add Spices and Simmer: Stir in the chilli powder, cumin, smoked paprika, garlic powder, onion powder, oregano, salt, and pepper. Cook for one minute until fragrant. Pour in the beef stock or water, bring to a simmer, then reduce the heat and let it bubble away for 5 minutes, or until the liquid has mostly evaporated and the mixture has thickened. Set aside.
- Prepare the Beans: While the beef simmers, gently warm the refried beans in a small saucepan or in the microwave. This makes them much easier to spread.
- Crisp the Tortillas: Heat about 1cm of vegetable oil in a clean frying pan over a medium-high heat. Once hot, carefully fry the tortillas one at a time for about 30-60 seconds per side, until they are light golden brown and crisp. Use tongs to flip them. Place the fried tortillas on a wire rack to drain. I find that a wire rack works better than paper towels for keeping them super crispy.
- Preheat Your Oven/Grill: Position a rack in the upper third of your oven and preheat the grill to high. Alternatively, preheat your oven to 200°C (180°C fan).
- Assemble the First Layer: Place four of the crisp tortillas on a large baking tray. Spread a thin layer of warm refried beans over each one, followed by a layer of the seasoned beef mixture.
- Add the Second Layer: Place the remaining four tortillas on top of the beef. Spread a thin layer of refried beans on these top tortillas (this acts as a glue for the cheese).
- Top with Cheese and Bake: Divide the grated cheddar cheese evenly over the four pizzas, spreading it right to the edges. Place the baking tray under the preheated grill for 2-4 minutes, or in the oven for 5-7 minutes, until the cheese is completely melted, bubbling, and just starting to turn golden at the edges.
- Garnish and Serve: Carefully remove the pizzas from the oven. Top with the diced tomatoes and sliced spring onions. Add a dollop of sour cream in the middle and a sprinkle of fresh coriander if you like. Slice into quarters and serve immediately while hot and crunchy.
Notes
I really hope you give this Mexican Pizza recipe a try. It’s a firm favourite in my kitchen for a reason – it’s fun, it’s full of flavour, and it always gets compliments. Let me know how you get on in the comments below; I’d love to hear about any twists you add to make it your own!
Happy cooking,
Adam Henderson