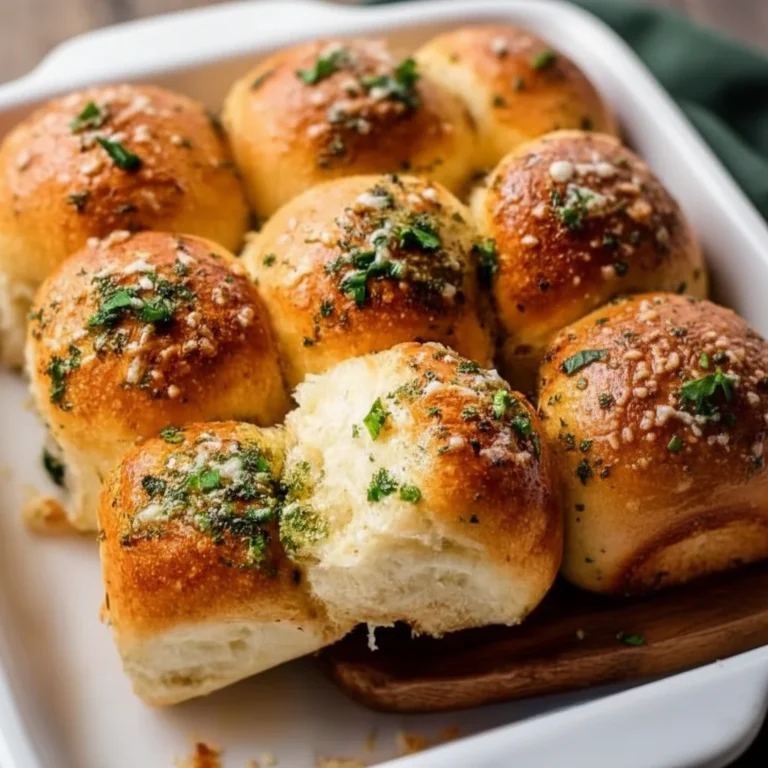
Cheesy Garlic Butter Bombs Recipe Appetizer
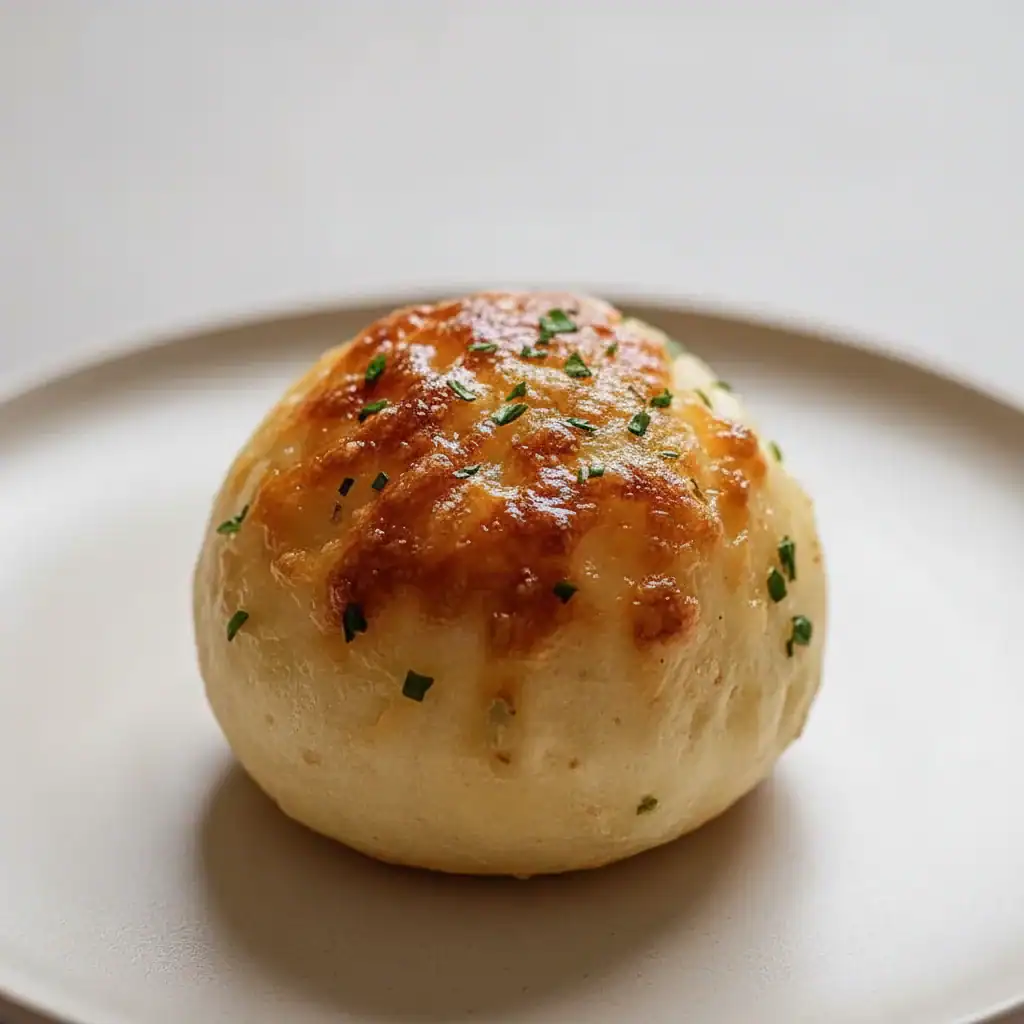
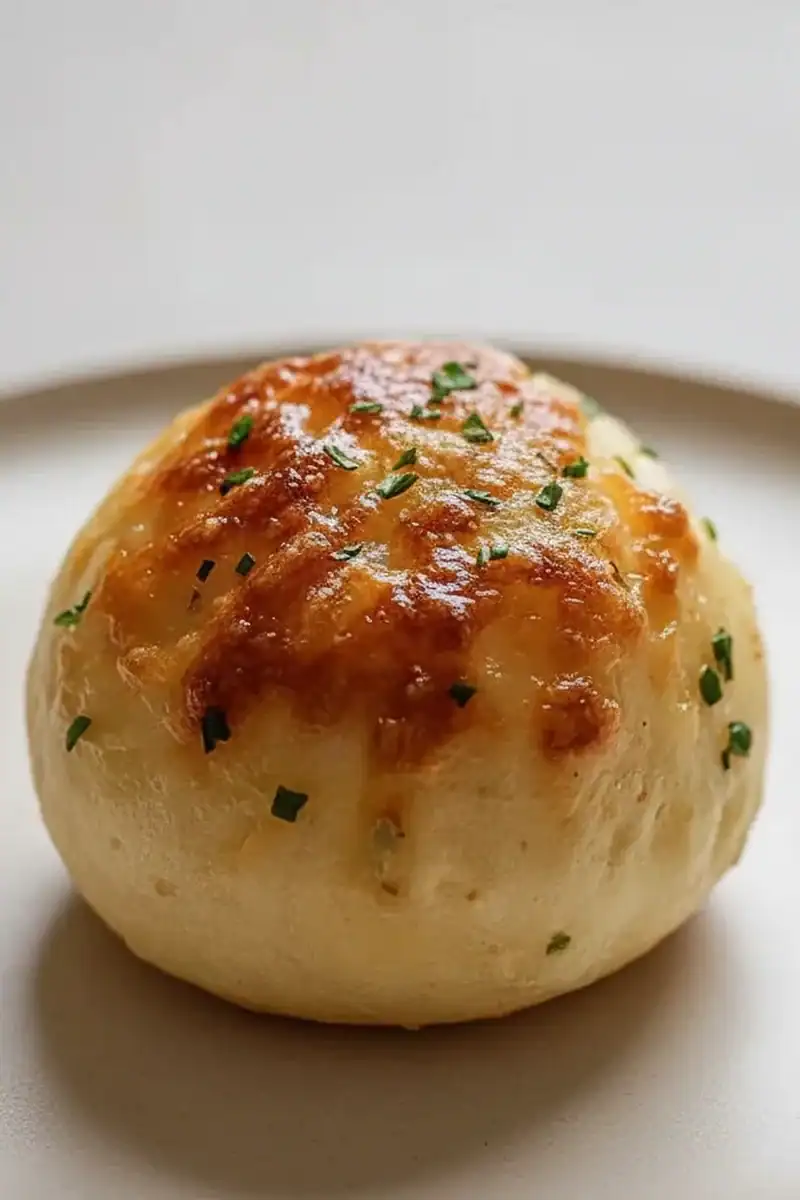
There’s a special kind of joy in tearing open a warm, soft dough ball to reveal a centre of gloriously melty cheese, all while being hit with the incredible aroma of garlic and butter. That’s exactly what this Cheesy Garlic Butter Bombs recipe delivers. These aren’t just any stuffed dough balls; they are little parcels of happiness, brushed with a rich garlic and herb butter that seeps into every nook and cranny as they bake to a perfect golden brown. They’re the kind of appetizer that has everyone reaching for another before the first one is even finished.
I’ve made countless versions of garlic bread over the years, but this pull-apart style is the one that truly stands out. Friends always ask me for this recipe after trying it at dinner parties, and I’m always happy to share it. It’s that combination of the soft, slightly chewy bread, the stringy, mild mozzarella core, and the savoury, punchy garlic butter coating that makes them so memorable. This is the ultimate shareable snack for a film night, a fantastic starter for a casual dinner, or the star of any party food table.
We’re using a simple, straightforward method that yields brilliant results every time. Whether you’re an experienced baker or just looking for a rewarding kitchen project, this Cheesy Garlic Butter Bombs Recipe Appetizer is a guaranteed win. Let’s get our hands doughy and make something truly special.
Recipe Overview
This recipe transforms simple pizza dough into an irresistible appetizer. Each dough ball is stuffed with a cube of mozzarella, sealed, and then generously brushed with a potent garlic, parsley, and Parmesan butter before being baked. The result is a golden, glistening cluster of soft, cheesy buns. I’ve found that using low-moisture mozzarella is key; it gives you that brilliant cheese pull without making the dough soggy from the inside.
- Prep Time: 20 minutes
- Cook Time: 18-22 minutes
- Total Time: 40-42 minutes
- Servings: Makes 16 bombs (serves 6-8)
- Difficulty: Easy
Why You’ll Love This Cheesy Garlic Butter Bombs Recipe Appetizer
- Layers of Flavour: You get the rich, savoury hit from the garlic butter, a salty bite from the Parmesan, and the creamy, mild flavour of the melted mozzarella core, all wrapped in soft, pillowy dough.
- Ready in Under 45 Minutes: From gathering your ingredients to pulling these golden beauties out of the oven, the whole process is wonderfully efficient and comes together in about 40 minutes.
- A Versatile Recipe: Feel free to stuff them with a bit of pepperoni for a pizza-like twist, or add a pinch of red pepper flakes to the butter for some gentle heat. You can also use different cheeses like cheddar or Monterey Jack.
- Great for Gatherings: These are ideal for sharing. Arrange them on a platter for game day, a family get-together, or as a delicious starter for a pasta night. They work wonderfully alongside my Garlic Parmesan Chicken Pasta.
- Family Tested: My whole family adores these, especially the children. They love the interactive fun of pulling the bombs apart and seeing who can get the longest cheese pull.
Ingredients You’ll Need
For this recipe, we rely on a few quality ingredients to do the heavy lifting. Using ready-made pizza dough is a fantastic time-saver, but if you have a favourite homemade recipe, that works beautifully too. I often use the Jus-Rol brand refrigerated dough as I find it has a great texture and is very reliable. For the cheese, make sure you get a block of low-moisture mozzarella and cube it yourself, as pre-shredded cheese doesn’t melt in the same satisfying way.
- For the Dough Balls:
- 600g ready-to-bake pizza dough (chilled)
- 200g low-moisture mozzarella cheese, cut into 16 cubes
- A little plain flour, for dusting
- For the Garlic Butter Topping:
- 120g unsalted butter
- 4-5 large cloves of garlic, minced (about 2 tablespoons)
- 30g grated Parmesan cheese
- 2 tbsp fresh flat-leaf parsley, finely chopped
- 1/2 tsp sea salt
- 1/4 tsp black pepper
Adam’s Tip: Don’t be tempted to use garlic powder or granules here. Freshly minced garlic provides a much brighter, more aromatic flavour that truly elevates the butter. If you don’t have a garlic press, finely mincing it with a sharp knife works just as well.
How to Make Cheesy Garlic Butter Bombs
The process for making these garlic bread bombs is straightforward. The key is to ensure each dough ball is sealed properly to keep all that lovely melted cheese inside. We’ll bake them nestled together in a dish so they bake into a single, pull-apart loaf.
- Preheat and Prep: Preheat your oven to 200°C (180°C fan). Lightly grease a 23cm (9-inch) round cake tin or a similar-sized cast-iron skillet.
- Prepare the Dough: Lightly flour your work surface. Roll out the pizza dough and divide it into 16 equal pieces. I find using a pizza cutter or a bench scraper is the cleanest way to do this. Roll each piece into a small ball.
- Stuff with Cheese: Take one ball of dough and flatten it into a small disc in the palm of your hand. Place a cube of mozzarella in the centre.
- Seal the Bombs: Bring the edges of the dough up and around the cheese, pinching them together firmly to create a tight seal. What works best for me is to roll the ball gently between my palms afterwards to ensure it’s perfectly round and the seam is secure. Repeat with the remaining dough and cheese.
- Arrange in the Pan: Place the stuffed dough balls seam-side down in your prepared tin or skillet. They should be nestled closely together but not squashed.
- Make the Garlic Butter: In a small saucepan, melt the butter over a low heat. Once melted, remove from the heat and stir in the minced garlic, grated Parmesan, chopped parsley, salt, and pepper.
- Brush and Bake: Using a pastry brush, generously brush about two-thirds of the garlic butter mixture over the tops and into the crevices of the dough balls. Reserve the rest for later.
- Bake to Perfection: Place the tin in the preheated oven and bake for 18-22 minutes, or until the tops are a deep golden brown and the cheese is bubbly. You can check for doneness by seeing if the centre dough balls are cooked through.
- Final Brush: As soon as you remove the bombs from the oven, brush them with the remaining garlic butter. This final step adds an extra layer of flavour and a beautiful sheen. Serve immediately while warm and gooey.
Tips From My Kitchen
- Dough Temperature Matters: Let your refrigerated dough sit at room temperature for about 15-20 minutes before you start. It will be much more pliable and easier to stretch and seal without tearing.
- The Double Brush Technique: I learned that brushing the garlic butter on both before and after baking is the secret to maximum flavour. The first brush bakes into the dough, while the second adds a fresh, potent garlic hit right before serving.
- Make-Ahead Method: You can assemble the cheese-stuffed dough balls a few hours ahead of time. Arrange them in the baking dish, cover tightly with cling film, and refrigerate. Make the garlic butter and store it separately. When ready to bake, let the dough sit at room temperature for 20 minutes, then brush with butter and bake as directed.
- Storing and Reheating: Leftovers are unlikely, but if you have any, store them in an airtight container in the fridge for up to 3 days. Reheat them in the oven at 160°C for 5-7 minutes, or until warmed through, to bring back that just-baked softness.
Common Mistakes to Avoid
- Overcrowding the Pan: While the bombs should be snuggled together, don’t pack them into a pan that’s too small. This prevents hot air from circulating, causing them to steam rather than bake, and you won’t get those lovely golden-brown sides. A 23cm dish is ideal for 16 bombs.
- Baking at the Wrong Temperature: If your oven is too hot, the tops will burn before the centre is cooked and the cheese has properly melted. Too cool, and the dough will be pale and dense. Stick to 200°C (180°C fan) for the best results.
- Using Poorly Sealed Dough: I used to struggle with cheese leaking out everywhere until I mastered the seal. Take that extra second to pinch the seams tightly. A little cheese leakage is fine, but a proper seal ensures most of it stays inside for that perfect cheesy core.
Delicious Variations to Try
One of the best things about this appetizer recipe is how easily it can be adapted. Once you have the basic technique down, you can get creative with the fillings and toppings.
- Spicy Garlic Bombs: Add 1/2 teaspoon of red pepper flakes to the garlic butter, or place a small slice of fresh jalapeño inside with the mozzarella cube for a fiery kick.
- Pepperoni Pizza Bombs: Add a small piece of chopped pepperoni or salami along with the mozzarella for a classic pizza flavour. Serve with a warm marinara dipping sauce.
- Herb Garden Bombs: Mix other fresh herbs into your butter. A little finely chopped fresh rosemary or thyme adds a wonderful woody, aromatic note that complements the garlic beautifully.
What to Serve With Cheesy Garlic Butter Bombs
These are fantastic on their own as party food, but they also work as a brilliant side dish. They can easily take the place of standard garlic bread at the dinner table.
- Dipping Sauces: A simple, warm marinara or arrabbiata sauce is the classic choice for dipping these cheesy bombs. A pesto-mayo or a creamy ranch dip also works very well.
- With Pasta: Serve them alongside a hearty bowl of pasta. They are magnificent for mopping up the last bits of sauce from a dish like this Creamy Garlic Penne Pasta.
- Alongside a Salad: For a lighter meal, pair the bombs with a fresh, crisp salad. A Classic House Salad with Red Wine Vinaigrette provides a lovely acidic contrast to the rich, buttery bombs.
- Drink Pairing: A crisp, cold lager or a pale ale cuts through the richness nicely. For wine lovers, a zesty Sauvignon Blanc or a light Pinot Grigio would be an excellent match.
Frequently Asked Questions
Cheesy Garlic Butter Bombs Recipe Appetizer
Ingredients
Method
- Preheat and Prep: Preheat your oven to 200°C (180°C fan). Lightly grease a 23cm (9-inch) round cake tin or a similar-sized cast-iron skillet.
- Prepare the Dough: Lightly flour your work surface. Roll out the pizza dough and divide it into 16 equal pieces. I find using a pizza cutter or a bench scraper is the cleanest way to do this. Roll each piece into a small ball.
- Stuff with Cheese: Take one ball of dough and flatten it into a small disc in the palm of your hand. Place a cube of mozzarella in the centre.
- Seal the Bombs: Bring the edges of the dough up and around the cheese, pinching them together firmly to create a tight seal. What works best for me is to roll the ball gently between my palms afterwards to ensure it's perfectly round and the seam is secure. Repeat with the remaining dough and cheese.
- Arrange in the Pan: Place the stuffed dough balls seam-side down in your prepared tin or skillet. They should be nestled closely together but not squashed.
- Make the Garlic Butter: In a small saucepan, melt the butter over a low heat. Once melted, remove from the heat and stir in the minced garlic, grated Parmesan, chopped parsley, salt, and pepper.
- Brush and Bake: Using a pastry brush, generously brush about two-thirds of the garlic butter mixture over the tops and into the crevices of the dough balls. Reserve the rest for later.
- Bake to Perfection: Place the tin in the preheated oven and bake for 18-22 minutes, or until the tops are a deep golden brown and the cheese is bubbly. You can check for doneness by seeing if the centre dough balls are cooked through.
- Final Brush: As soon as you remove the bombs from the oven, brush them with the remaining garlic butter. This final step adds an extra layer of flavour and a beautiful sheen. Serve immediately while warm and gooey.
Notes
I really hope you give this Cheesy Garlic Butter Bombs recipe a go. They are so satisfying to make and even more so to eat. The moment you pull them from the oven, glistening with garlic butter and smelling incredible, you’ll know it was worth it. They always get compliments and disappear in minutes whenever I make them.
If you try this recipe, please let me know how it turned out for you in the comments below. I love hearing about your kitchen adventures!
Happy cooking,
Adam Henderson