
Chocolate Chip Brownies Recipe Dessert
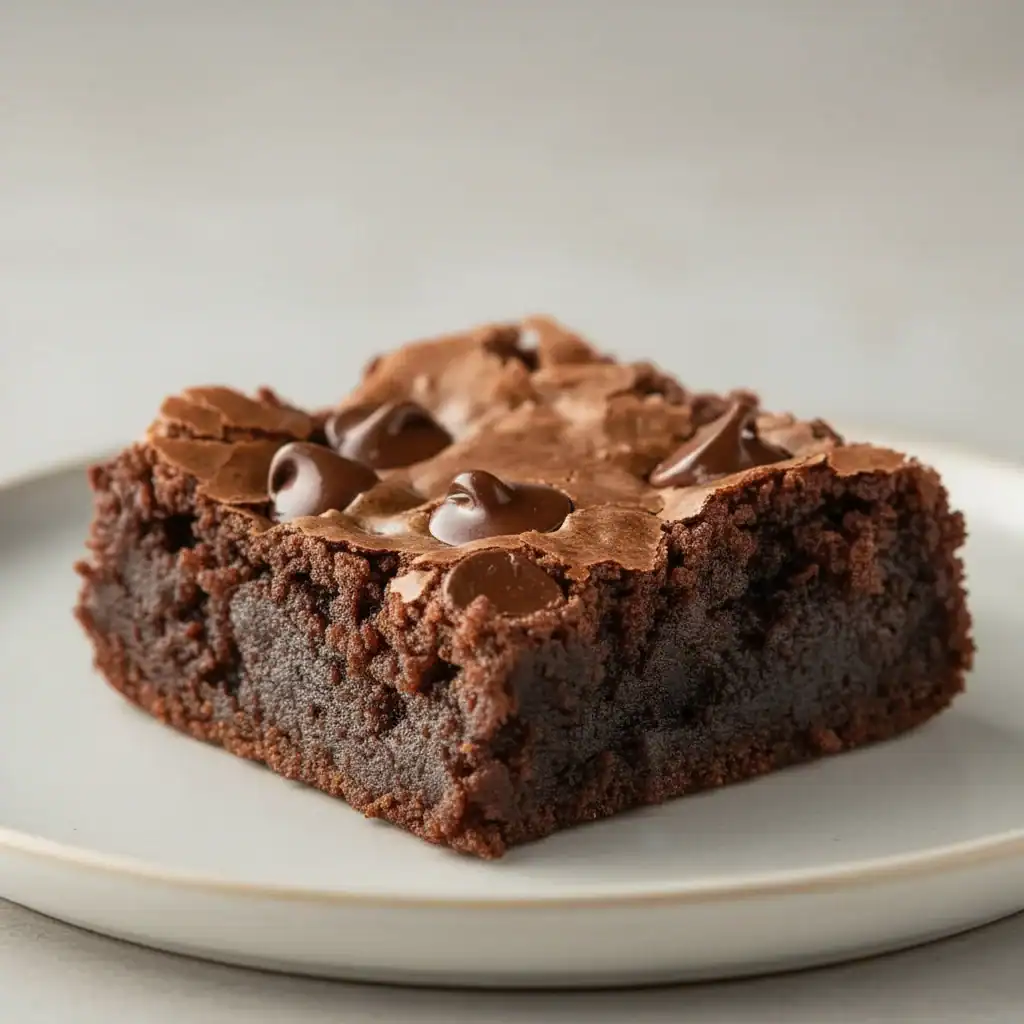
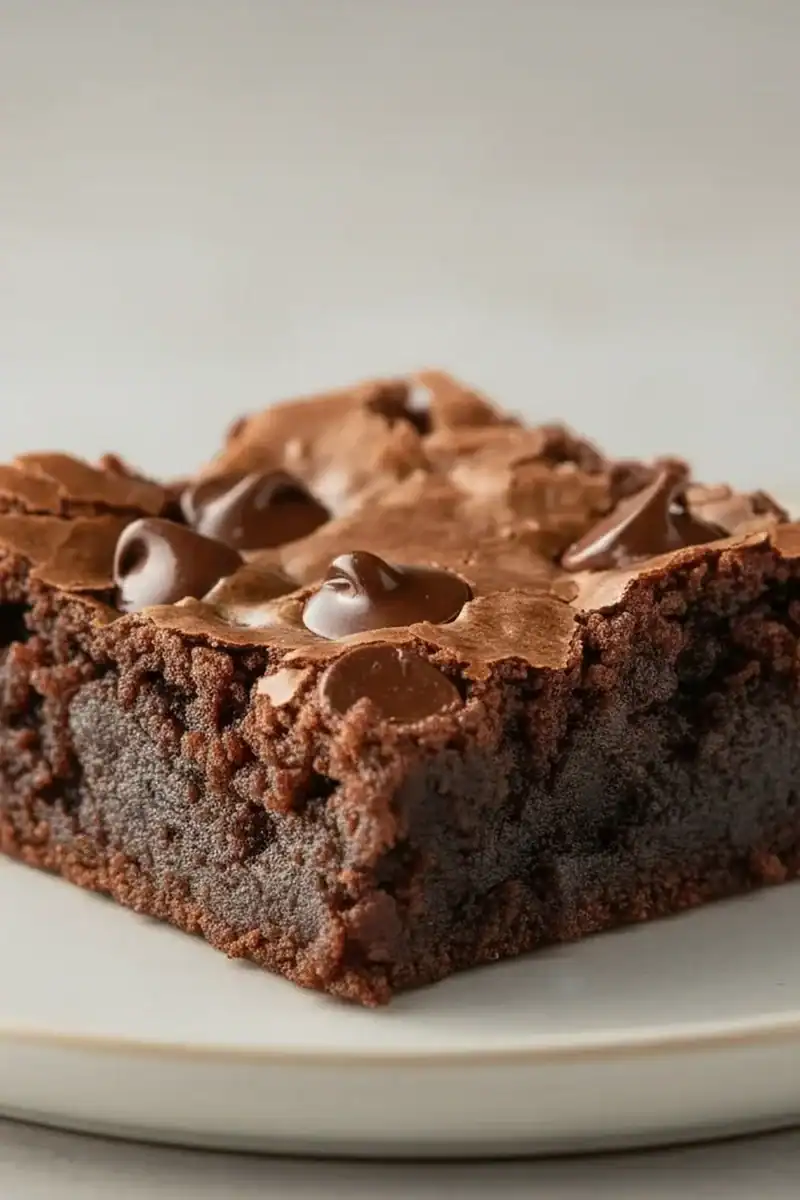
There is something genuinely magical about the aroma of chocolate baking in the oven. It fills the house with a sense of warmth and anticipation that few other things can match. For me, that smell is synonymous with this particular Chocolate Chip Brownies Recipe Dessert. This isn’t just another brownie recipe; it’s the one I’ve tweaked and perfected over years of testing in my own kitchen. It strikes that beautiful balance between a deeply fudgy, almost molten centre and a delicate, paper-thin crackly top that shatters ever so slightly with each bite.
What sets these homemade brownies apart is the depth of flavour. We use both high-quality dark chocolate and a good measure of cocoa powder, which creates a rich, complex chocolate taste that isn’t just one-note sweetness. Then, we stud the batter with generous handfuls of chocolate chips that become little pools of melted goodness. My husband, who’s usually picky about his desserts, asked for seconds the very first time he tried them, and that was all the validation I needed! This is the chocolate dessert I turn to for rainy Sunday afternoons, for a comforting treat after a long week, or when we have friends over and I want to serve something that feels both special and wonderfully familiar.
Whether you’re an experienced baker or just starting, this guide will walk you through creating the most satisfying chocolate chip brownies you’ve ever had. We’ll cover the little details that make all the difference, ensuring you get that perfect texture every single time. Get your apron on; you’re in for a real treat.
Recipe Overview
This recipe yields intensely rich and fudgy chocolate chip brownies with a signature crackly top. The texture is dense and moist, punctuated by pockets of melted chocolate. The key is in the technique—specifically, how we handle the eggs and sugar to build the structure and that desirable crust. I once tried rushing that step and the brownies were good, but they just didn’t have that same professional-looking sheen on top. It’s a small detail that makes a world of difference.
- Prep Time: 15 minutes
- Cook Time: 25-30 minutes
- Total Time: 45 minutes (plus cooling)
- Servings: 16 small brownies
- Difficulty: Easy
Why You’ll Love This Chocolate Chip Brownies Recipe Dessert
- Intense Chocolate Flavour: We use both 70% dark chocolate and unsweetened cocoa powder. This combination provides a layered chocolate experience—the dark chocolate brings richness and depth, while the cocoa powder adds a classic, robust chocolatey base note. It’s decadent without being overly sweet.
- Ready in Under an Hour: From gathering your ingredients to pulling the tin from the oven, the entire active process comes together in about 45 minutes. This makes it a brilliant recipe for when a sudden chocolate craving strikes.
- A Forgiving Recipe: This batter is wonderfully adaptable. You can swap the dark chocolate chips for milk or white chocolate, throw in a handful of chopped walnuts or pecans for a bit of crunch, or even add a swirl of peanut butter on top before baking.
- Ideal for Sharing: This recipe works beautifully for a bake sale, a potluck with friends, or simply as an after-dinner treat for the family. It’s the kind of dessert that always gets compliments and disappears quickly from the plate.
- Family Tested: This recipe is a firm favourite in our house. My kids absolutely devour this every time I make it, and it’s become my go-to for any special occasion or just a simple weekend treat. After you’ve mastered this, you might want to try another family favourite, our classic Banana Bread Recipe.
Ingredients You’ll Need
For the best fudgy brownies, the quality of your ingredients really matters, especially the chocolate. I recommend using a good quality dark chocolate with at least 70% cocoa solids. I often use Green & Black’s or Lindt, as their chocolate melts down beautifully and provides a fantastic flavour. Ensure your eggs are at room temperature, as this helps them incorporate better into the batter, which is crucial for the final texture.
- 185g unsalted butter, cubed
- 185g good quality dark chocolate (70% cocoa solids), roughly chopped
- 85g plain flour
- 40g unsweetened cocoa powder
- 275g caster sugar
- 3 large free-range eggs, at room temperature
- 1 tsp vanilla extract
- ¼ tsp fine sea salt
- 100g milk or dark chocolate chips
Adam’s Tip: If you forget to take your eggs out of the fridge ahead of time, simply place them in a bowl of warm (not hot) water for 5-10 minutes. This will bring them to room temperature quickly and ensure they whip up to their full volume.
How to Make This Chocolate Chip Brownies Recipe Dessert
The process for these homemade brownies is straightforward. The most important part is the whisking of the eggs and sugar—this is what creates the coveted crackly, meringue-like crust on top. Don’t be tempted to cut this step short!
- Preheat and Prep: First, preheat your oven to 180°C (160°C Fan/Gas Mark 4). Grease and line a 20cm (8-inch) square baking tin with baking parchment, leaving some overhang on the sides to act as handles. This will make it much easier to lift the brownies out later.
- Melt Chocolate and Butter: Place the cubed butter and chopped dark chocolate in a heatproof bowl. Set it over a small saucepan of simmering water (a bain-marie), making sure the bottom of the bowl doesn’t touch the water. Stir occasionally until everything is completely melted and smooth. Alternatively, you can melt them in the microwave in 30-second bursts, stirring in between. Set aside to cool slightly.
- Whisk Eggs and Sugar: In a large bowl, using a stand mixer or an electric hand mixer, whisk the eggs and caster sugar together on high speed for about 5-7 minutes. What works best for me is to keep going until the mixture is pale, very thick, and has at least doubled in volume. When you lift the whisk, it should leave a ribbon-like trail on the surface for a few seconds.
- Combine Wet Ingredients: Gently pour the slightly cooled chocolate-butter mixture into the whisked egg mixture. Add the vanilla extract and carefully fold everything together with a spatula until just combined. Be gentle here to avoid knocking out all the air you just incorporated.
- Sift and Add Dry Ingredients: Sift the plain flour, cocoa powder, and salt directly into the wet mixture. This prevents lumps and keeps the batter light.
- Fold the Batter: Using your spatula, gently fold the dry ingredients into the wet ingredients until you can see just a few floury streaks remaining. It’s crucial not to overmix at this stage; overmixing develops gluten and can lead to tough, cakey brownies instead of fudgy ones.
- Add Chocolate Chips: Tip in the 100g of chocolate chips and give the batter a final few folds to distribute them evenly and incorporate the last of the flour.
- Bake to Perfection: Pour the glossy batter into your prepared baking tin and smooth the top with your spatula. Bake on the middle shelf of the preheated oven for 25-30 minutes. The top should have formed a shiny, crackly crust, and the edges should be slightly set.
- Check for Doneness: To check if they’re ready, insert a skewer or cocktail stick into the centre. It should come out with moist, sticky crumbs attached, but not wet batter. This is the sign of a perfectly fudgy brownie.
- Cool Completely: This is perhaps the hardest step! You must let the brownies cool completely in the tin on a wire rack. They will be quite soft when they first come out of the oven and need this time to set properly. Cutting them while warm will result in a delicious, gooey mess. Once cool, use the parchment paper handles to lift the brownie slab out and cut it into 16 squares.
Tips From My Kitchen
- Temperature Control is Key: When melting your chocolate and butter, ensure the mixture doesn’t get too hot. If it’s too warm when you add it to the eggs, it can scramble them. Let it cool for about 5-10 minutes before combining.
- The Secret to the Crackly Top: I learned that the shiny, paper-thin crust on top of a good brownie is essentially a very thin layer of meringue. You create this by dissolving the sugar into the eggs through vigorous whisking, as we do in Step 3. As Serious Eats explains, this creates a stable foam that bakes into that signature crust. Don’t skip this step!
- Make-Ahead Magic: You can bake these brownies a day in advance. In fact, I find their fudgy texture improves and the flavour deepens overnight. Just store them in their tin, covered, at room temperature.
- Storage: Once cut, store the brownies in an airtight container at room temperature for up to 4 days. If you prefer a chewier texture, you can keep them in the fridge for up to a week.
Equipment You’ll Need
- Stand mixer or a reliable electric hand mixer
- 20cm (8-inch) square baking tin
- Baking parchment
- Wire cooling rack
- Heatproof bowl and a small saucepan (for a bain-marie)
Delicious Variations to Try
One of the best things about this homemade brownie recipe is how well it serves as a base for customisation. Here are a few ideas to get you started:
- Nutty Crunch: Add 75g of roughly chopped walnuts, pecans, or even hazelnuts to the batter along with the chocolate chips for a wonderful textural contrast.
- Salted Caramel Swirl: After pouring the batter into the tin, drizzle 3-4 tablespoons of good quality salted caramel sauce over the top. Use a skewer to gently swirl it through the batter before baking.
- Espresso Infusion: To intensify the chocolate flavour, dissolve 1 teaspoon of instant espresso powder into the melted butter and chocolate mixture. Coffee has a magical ability to make chocolate taste even more chocolatey. If you enjoy this combination, you should also try our Chocolate Peanut Butter Banana Bread, which also pairs beautifully with a coffee note.
–
What to Serve With These Chocolate Chip Brownies
While these fudgy brownies are a magnificent chocolate dessert all on their own, they can be elevated even further with the right accompaniment. Here are some of my favourite pairings:
- Classic Vanilla Ice Cream: Serve a brownie square slightly warmed with a generous scoop of vanilla bean ice cream. The contrast between the warm, rich brownie and the cold, creamy ice cream is absolutely divine.
- A Tangy Counterpart: A dollop of crème fraîche or a spoonful of fresh raspberries provides a lovely tartness that cuts through the richness of the chocolate, cleansing the palate with each bite.
- The Perfect Drink: A tall glass of cold milk is the quintessential pairing. For the adults, a strong cup of coffee or an espresso works brilliantly, or even a glass of dessert wine like a Ruby Port.
Frequently Asked Questions
Chocolate Chip Brownies Recipe Dessert
Ingredients
Method
- Preheat and Prep: First, preheat your oven to 180°C (160°C Fan/Gas Mark 4). Grease and line a 20cm (8-inch) square baking tin with baking parchment, leaving some overhang on the sides to act as handles. This will make it much easier to lift the brownies out later.
- Melt Chocolate and Butter: Place the cubed butter and chopped dark chocolate in a heatproof bowl. Set it over a small saucepan of simmering water (a bain-marie), making sure the bottom of the bowl doesn't touch the water. Stir occasionally until everything is completely melted and smooth. Alternatively, you can melt them in the microwave in 30-second bursts, stirring in between. Set aside to cool slightly.
- Whisk Eggs and Sugar: In a large bowl, using a stand mixer or an electric hand mixer, whisk the eggs and caster sugar together on high speed for about 5-7 minutes. What works best for me is to keep going until the mixture is pale, very thick, and has at least doubled in volume. When you lift the whisk, it should leave a ribbon-like trail on the surface for a few seconds.
- Combine Wet Ingredients: Gently pour the slightly cooled chocolate-butter mixture into the whisked egg mixture. Add the vanilla extract and carefully fold everything together with a spatula until just combined. Be gentle here to avoid knocking out all the air you just incorporated.
- Sift and Add Dry Ingredients: Sift the plain flour, cocoa powder, and salt directly into the wet mixture. This prevents lumps and keeps the batter light.
- Fold the Batter: Using your spatula, gently fold the dry ingredients into the wet ingredients until you can see just a few floury streaks remaining. It's crucial not to overmix at this stage; overmixing develops gluten and can lead to tough, cakey brownies instead of fudgy ones.
- Add Chocolate Chips: Tip in the 100g of chocolate chips and give the batter a final few folds to distribute them evenly and incorporate the last of the flour.
- Bake to Perfection: Pour the glossy batter into your prepared baking tin and smooth the top with your spatula. Bake on the middle shelf of the preheated oven for 25-30 minutes. The top should have formed a shiny, crackly crust, and the edges should be slightly set.
- Check for Doneness: To check if they're ready, insert a skewer or cocktail stick into the centre. It should come out with moist, sticky crumbs attached, but not wet batter. This is the sign of a perfectly fudgy brownie.
- Cool Completely: This is perhaps the hardest step! You must let the brownies cool completely in the tin on a wire rack. They will be quite soft when they first come out of the oven and need this time to set properly. Cutting them while warm will result in a delicious, gooey mess. Once cool, use the parchment paper handles to lift the brownie slab out and cut it into 16 squares.
Notes
I truly hope you enjoy making this chocolate chip brownies recipe dessert as much as my family and I enjoy eating them. There’s nothing quite like pulling a tray of these from the oven and anticipating that first fudgy bite. If you do give this recipe a go, I would love to hear how they turned out for you. Please leave a comment below and let me know! Happy baking.
All the best,
Adam Henderson


