
Classic Boston Cream Pie Recipe Dessert

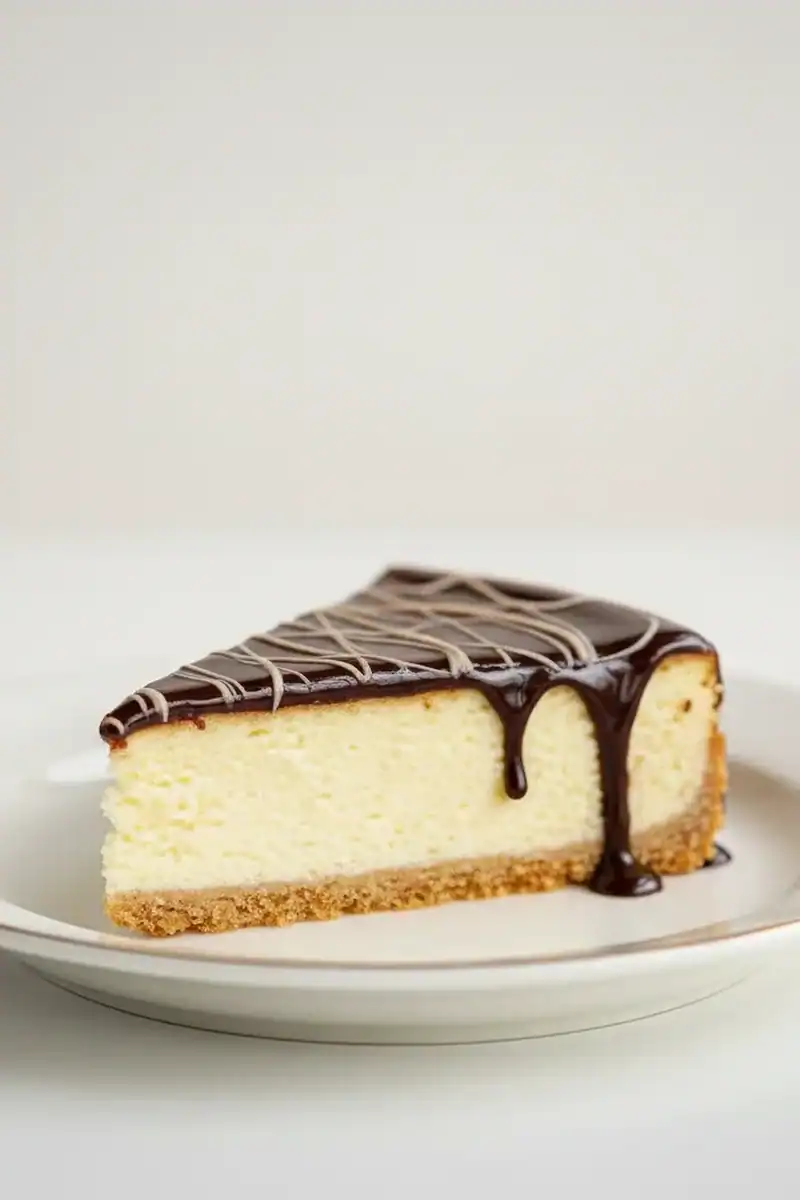
There’s something truly special about a dessert with distinct, delicious layers, and this Classic Boston Cream Pie Recipe Dessert is the epitome of that principle. It’s a culinary paradox, not a pie at all, but two layers of tender vanilla cake sandwiching a thick, velvety vanilla custard, all crowned with a glossy, rich chocolate glaze. It’s a dessert that feels both nostalgic and utterly sophisticated. I make this recipe whenever we have friends over for Sunday lunch; it always gets compliments and feels like a real treat without being overly complicated. The contrast between the cool, creamy custard and the soft, airy cake is just magnificent.
Despite its elegant appearance, this is a bake that any dedicated home cook can master. We’re not using any packet mixes or shortcuts here; we’re making each component from scratch, and the difference in taste is remarkable. The vanilla cake is light and buttery, the pastry cream is rich with egg yolks and real vanilla, and the chocolate glaze has a satisfying snap when you cut into it, before melting in your mouth. This Boston Cream Pie recipe is all about honouring a classic American dessert, which, according to culinary history, was created at Boston’s Parker House Hotel in 1856.
This dessert works wonderfully for afternoon tea, a birthday celebration, or simply when you want to put a smile on someone’s face. We’ll walk through each stage—the cake, the custard, and the glaze—step-by-step. Don’t be intimidated by the multiple components; we’ll break it down into manageable parts. Let’s get our aprons on and create something truly memorable.
Recipe Overview
This recipe guides you through creating a genuine Boston Cream Pie from scratch. You’ll bake a light vanilla sponge, whip up a classic crème pâtissière (pastry cream), and finish with a simple yet decadent chocolate glaze. I’ve tested various custards, and I find that using a combination of whole milk and double cream gives it a luxurious texture that holds its shape perfectly when sliced.
- Prep Time: 45 minutes
- Cook Time: 35 minutes
- Total Time: 1 hour 20 minutes (+ 3 hours chilling)
- Servings: 8-10 people
- Difficulty: Medium
Why You’ll Love This Classic Boston Cream Pie Recipe Dessert
- Genuine Flavour: We use real vanilla, good quality dark chocolate, and fresh eggs to create layers of authentic flavour. The cake is buttery and light, the custard is cool and creamy with a pronounced vanilla note, and the chocolate glaze provides a rich, slightly bitter counterpoint.
- A Satisfying Project: While it has a few steps, each part is straightforward. The entire dessert comes together in under 90 minutes of active time, with the rest being hands-off chilling.
- Flexible Recipe: You can infuse the custard with different flavours. A hint of orange zest or a splash of espresso in the chocolate glaze can add a lovely personal twist.
- Great for Special Occasions: This custard cake is ideal for birthdays, anniversaries, or even as an alternative to a traditional Christmas dessert. It looks impressive on any table.
- Family Tested: My kids always ask for this for their birthdays. They love the combination of cake, custard, and chocolate—it’s a trio that everyone seems to adore.
Ingredients You’ll Need
For the best results, use room-temperature ingredients for the cake, especially the eggs and butter. It makes a huge difference to the texture. For the chocolate, I always recommend using a good quality dark chocolate with at least 70% cocoa solids, like Green & Black’s or Lindt. The intensity is needed to balance the sweetness of the other components.
- For the Vanilla Cake:
- 200g plain flour
- 1 ½ tsp baking powder
- ½ tsp salt
- 115g unsalted butter, softened to room temperature
- 200g caster sugar
- 2 large free-range eggs, at room temperature
- 1 tsp vanilla extract
- 180ml whole milk, at room temperature
- For the Vanilla Custard (Crème Pâtissière):
- 3 large free-range egg yolks
- 100g caster sugar
- 30g cornflour
- 350ml whole milk
- 100ml double cream
- 1 tsp vanilla bean paste or 1 vanilla pod, split
- 25g unsalted butter, cold
- For the Chocolate Glaze:
- 120g good quality dark chocolate (70% cocoa), finely chopped
- 120ml double cream
- 1 tbsp golden syrup or liquid glucose (for shine)
Adam’s Tip: Using vanilla bean paste instead of extract in the custard provides those beautiful black specks and a much deeper, more aromatic vanilla flavour that really elevates the final dessert.
How to Make This Classic Boston Cream Pie Recipe Dessert
We’ll tackle this in three stages: first the custard so it can chill, then the cake, and finally the glaze and assembly. Organisation is key here, so read through the steps before you begin.
- Start with the Custard: In a medium bowl, whisk the egg yolks and caster sugar together until pale and creamy, about 2 minutes. Whisk in the cornflour until no lumps remain. Set aside.
- Heat the Milk: Pour the milk and double cream into a medium saucepan. If using a vanilla pod, scrape the seeds into the milk and add the pod. If using paste, add it now. Heat over a medium heat until it’s just simmering (you’ll see small bubbles around the edge). Do not let it boil.
- Temper the Eggs: This is a crucial step for smooth custard. Slowly pour about half of the hot milk mixture into the egg yolk bowl, whisking constantly. This gently raises the temperature of the eggs without scrambling them. I used to struggle with lumpy custard until I discovered this tempering technique. It guarantees a silky-smooth result every time.
- Cook the Custard: Pour the tempered egg mixture back into the saucepan with the remaining milk. Cook over a medium-low heat, whisking constantly, for about 5-7 minutes, until the custard thickens significantly. It should be thick enough to coat the back of a spoon. Remove from the heat and stir in the cold butter until it has melted completely.
- Chill the Custard: Strain the custard through a fine-mesh sieve into a clean bowl to remove any potential lumps (and the vanilla pod, if used). Press a piece of cling film directly onto the surface of the custard to prevent a skin from forming. Refrigerate for at least 2-3 hours, or until completely cold and set.
- Make the Vanilla Cake: Preheat your oven to 180°C (160°C fan) and grease and line two 20cm (8-inch) round cake tins. In a bowl, whisk together the plain flour, baking powder, and salt. In a separate large bowl, use an electric mixer to beat the softened butter and caster sugar until light and fluffy, about 3-4 minutes.
- Combine Cake Ingredients: Beat the eggs into the butter mixture one at a time, followed by the vanilla extract. Add the flour mixture in three additions, alternating with the milk in two additions, beginning and ending with the flour. Mix on a low speed until just combined – do not overmix.
- Bake the Cakes: Divide the batter evenly between the prepared tins and smooth the tops. Bake for 30-35 minutes, or until a skewer inserted into the centre comes out clean. Let the cakes cool in their tins for 10 minutes before turning them out onto a wire rack to cool completely.
- Assemble the Pie: Once the cakes are completely cool, place one layer on your serving plate. Give the chilled custard a good whisk to loosen it up, then spread it evenly over the bottom cake layer, leaving a small border around the edge. Carefully place the second cake layer on top. Chill the assembled cake for 30 minutes while you make the glaze.
- Make the Chocolate Glaze: Place the finely chopped chocolate in a heatproof bowl. Heat the double cream and golden syrup in a small saucepan until it just begins to simmer. Pour the hot cream over the chocolate and let it sit for 5 minutes without stirring. Then, whisk gently from the centre outwards until you have a smooth, glossy glaze.
- Glaze and Chill: Let the glaze cool for about 10-15 minutes, until it’s slightly thickened but still pourable. Pour it over the top of the chilled cake, using a spatula to gently spread it to the edges, allowing some to drip down the sides for a classic look. Return the cake to the fridge for at least 1 hour for the glaze to set before serving.
Tips From My Kitchen
- Temperature Control: For the custard, keep the heat on medium-low and never stop whisking. If it gets too hot too quickly, the eggs can scramble. If you see it starting to curdle, take it off the heat immediately and whisk vigorously.
- The Secret Step: Straining the custard is a non-negotiable step for me. No matter how careful you are, tiny bits of cooked egg can form. A quick pass through a sieve ensures a perfectly smooth, professional-quality filling. I learned that this small step makes all the difference.
- Make-Ahead: The custard and cake layers can be made a day in advance. Keep the custard covered in the fridge and wrap the cooled cake layers tightly in cling film at room temperature. Assemble and glaze on the day you plan to serve it for the best results.
- Storage: This cake must be stored in the fridge because of the dairy-based custard. It will keep well in an airtight container for up to 3 days. Let it sit at room temperature for about 20 minutes before serving to take the chill off.
Common Mistakes to Avoid
- A Runny Custard: This usually happens if the custard wasn’t cooked for long enough. You need to cook it, whisking constantly, until it’s properly thick. The cornflour needs to reach a certain temperature to activate its thickening properties. Be patient and trust the process.
- A Split or Greasy Glaze: If you overheat the cream or stir the ganache too aggressively while it’s still hot, the fat can separate. The key is to let the hot cream sit on the chocolate for a full 5 minutes to melt it gently before you start stirring.
- Assembling While Warm: Do not rush the cooling. If the cake or the custard is even slightly warm when you assemble, the custard will melt and ooze out the sides, creating a mess. Everything must be completely cool, or even chilled, before you begin layering. If you’re looking for a warm dessert, my Chocolate Peanut Butter Banana Bread is a great option straight from the oven.
What to Serve With This Classic Boston Cream Pie Recipe Dessert
This chocolate glaze cake is a complete dessert in its own right, but a few simple accompaniments can enhance the experience.
- Fresh Berries: A small handful of fresh raspberries or sliced strawberries alongside provides a tart, fresh contrast to the rich cake and custard.
- A Dollop of Cream: While there’s cream in the fillings, a little quenelle of softly whipped, unsweetened cream on the side can add another layer of texture.
- Coffee or Tea: This dessert works beautifully for an afternoon treat. A freshly brewed black coffee or a classic cup of Earl Grey tea is the ideal beverage pairing to cut through the richness.
Frequently Asked Questions
Classic Boston Cream Pie
Ingredients
Method
- Start with the Custard: In a medium bowl, whisk the egg yolks and caster sugar together until pale and creamy, about 2 minutes. Whisk in the cornflour until no lumps remain. Set aside.
- Heat the Milk: Pour the milk and double cream into a medium saucepan. If using a vanilla pod, scrape the seeds into the milk and add the pod. If using paste, add it now. Heat over a medium heat until it's just simmering (you'll see small bubbles around the edge). Do not let it boil.
- Temper the Eggs: This is a crucial step for smooth custard. Slowly pour about half of the hot milk mixture into the egg yolk bowl, whisking constantly. This gently raises the temperature of the eggs without scrambling them. I used to struggle with lumpy custard until I discovered this tempering technique. It guarantees a silky-smooth result every time.
- Cook the Custard: Pour the tempered egg mixture back into the saucepan with the remaining milk. Cook over a medium-low heat, whisking constantly, for about 5-7 minutes, until the custard thickens significantly. It should be thick enough to coat the back of a spoon. Remove from the heat and stir in the cold butter until it has melted completely.
- Chill the Custard: Strain the custard through a fine-mesh sieve into a clean bowl to remove any potential lumps (and the vanilla pod, if used). Press a piece of cling film directly onto the surface of the custard to prevent a skin from forming. Refrigerate for at least 2-3 hours, or until completely cold and set.
- Make the Vanilla Cake: Preheat your oven to 180°C (160°C fan) and grease and line two 20cm (8-inch) round cake tins. In a bowl, whisk together the plain flour, baking powder, and salt. In a separate large bowl, use an electric mixer to beat the softened butter and caster sugar until light and fluffy, about 3-4 minutes.
- Combine Cake Ingredients: Beat the eggs into the butter mixture one at a time, followed by the vanilla extract. Add the flour mixture in three additions, alternating with the milk in two additions, beginning and ending with the flour. Mix on a low speed until just combined – do not overmix.
- Bake the Cakes: Divide the batter evenly between the prepared tins and smooth the tops. Bake for 30-35 minutes, or until a skewer inserted into the centre comes out clean. Let the cakes cool in their tins for 10 minutes before turning them out onto a wire rack to cool completely.
- Assemble the Pie: Once the cakes are completely cool, place one layer on your serving plate. Give the chilled custard a good whisk to loosen it up, then spread it evenly over the bottom cake layer, leaving a small border around the edge. Carefully place the second cake layer on top. Chill the assembled cake for 30 minutes while you make the glaze.
- Make the Chocolate Glaze: Place the finely chopped chocolate in a heatproof bowl. Heat the double cream and golden syrup in a small saucepan until it just begins to simmer. Pour the hot cream over the chocolate and let it sit for 5 minutes without stirring. Then, whisk gently from the centre outwards until you have a smooth, glossy glaze.
- Glaze and Chill: Let the glaze cool for about 10-15 minutes, until it's slightly thickened but still pourable. Pour it over the top of the chilled cake, using a spatula to gently spread it to the edges, allowing some to drip down the sides for a classic look. Return the cake to the fridge for at least 1 hour for the glaze to set before serving.
Notes
I hope you enjoy making this Classic Boston Cream Pie Recipe Dessert as much as I do. It’s a wonderfully satisfying bake that brings together three simple elements to create something truly special. Let me know how you get on in the comments below – I’d love to hear about your baking adventures!


