Crispy Baked Chicken Tenders Recipe
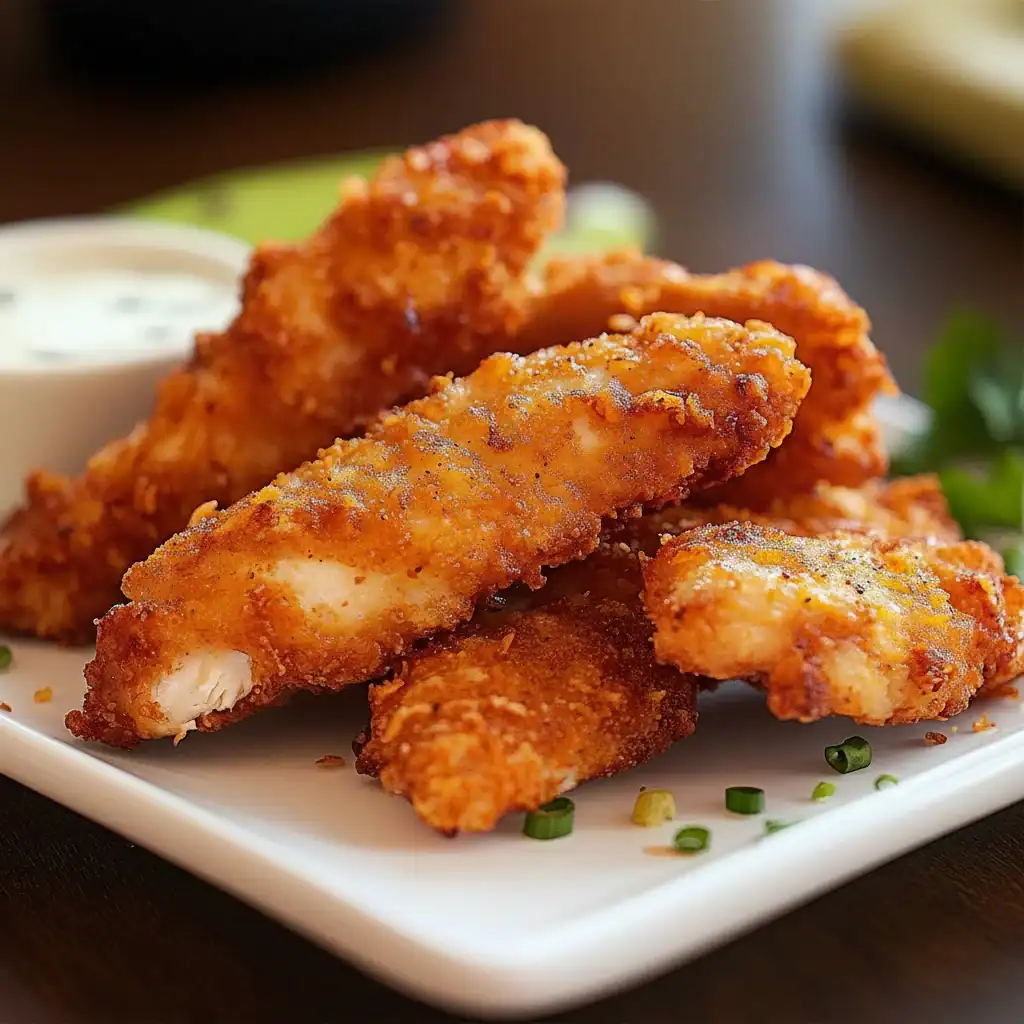
There’s a certain magic in pulling a tray of perfectly golden, crunchy chicken from the oven, especially when you know it’s a dish that everyone at the table will genuinely enjoy. These Baked Chicken Tenders are a staple in my kitchen for that very reason. They bridge the gap between a wholesome, healthy chicken dinner and that satisfying crunch we all crave from our favourite takeaway. This is my go-to recipe when I need something that comes together quickly but feels like a real treat.
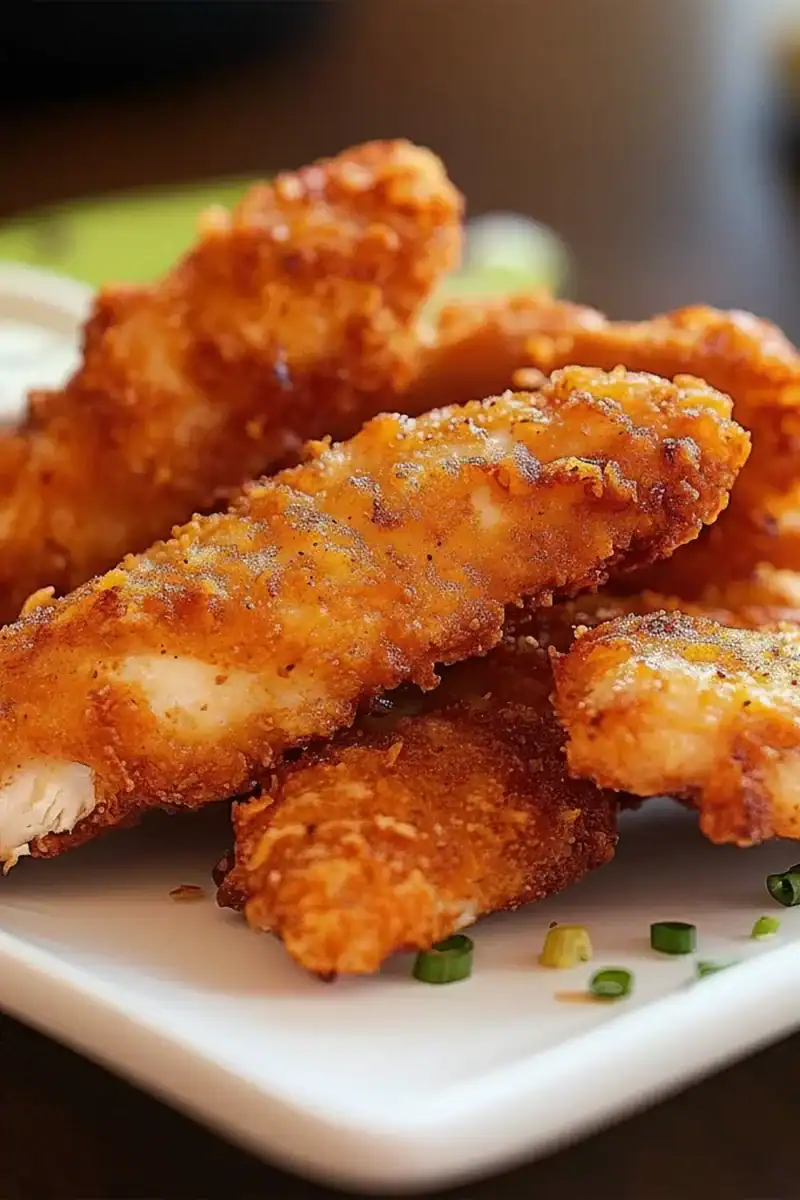
What makes these so special is the coating. We’re not just using any old breadcrumbs here. We use Japanese panko breadcrumbs, which are lighter and crispier than traditional ones, and mix them with finely grated Parmesan, smoked paprika, and a touch of garlic powder. The result is a deeply savoury, flavourful crust that stays wonderfully crisp, all without a drop of deep-frying oil. The chicken inside remains incredibly tender and juicy – a contrast that makes every bite fantastic.
This recipe works beautifully for a midweek family meal, a casual weekend lunch, or even as part of a larger spread for a get-together. Because they’re baked, not fried, they are a lighter option that doesn’t compromise on flavour. If you’re looking for a reliable, delicious way to prepare baked chicken, this is one you’ll come back to time and again.
Recipe Overview
This recipe delivers chicken tenders with a super crunchy, savoury crust and a moist, tender interior. The smoky paprika and salty Parmesan in the coating give them a robust flavour that’s much more interesting than a simple breading. After testing this with both panko and regular breadcrumbs, I can confirm that panko is the absolute key to achieving that signature, shatteringly crisp texture.
- Prep Time: 15 minutes
- Cook Time: 20-25 minutes
- Total Time: 35-40 minutes
- Servings: 4 people
- Difficulty: Easy
Why You’ll Love These Baked Chicken Tenders
- Genuine Flavour: The coating is a dynamic mix of textures and tastes. The panko gives an unbeatable crunch, the Parmesan melts slightly to add a nutty, salty depth, and the smoked paprika provides a lovely warm, smoky background note.
- Ready in Under 40 Minutes: From start to finish, this dish is on the table in about 35 minutes, making it ideal for those evenings when you want something satisfying without spending hours in the kitchen.
- Flexible Recipe: You can easily customise the spice blend. Add a pinch of cayenne for a bit of heat, or some dried oregano and basil for a more Italian-inspired flavour. They’re also brilliant for meal prep.
- Great for Family Dinners: This is a fantastic way to serve healthy chicken that feels like a treat. It works wonderfully for a straightforward family dinner, served with simple sides.
- Family Tested: My whole family adores these, from the little ones to the grown-ups. Friends always ask me for this recipe after trying it at dinner parties.
Ingredients You’ll Need
For this recipe, we’re using simple, high-quality ingredients. The star is, of course, the chicken. I recommend using good quality, free-range chicken breasts. This recipe is also easily adapted for Halal food requirements by simply using certified Halal chicken. The panko breadcrumbs are essential for the texture; I find brands like Yutaka give a consistently light and airy crunch.
- 600g skinless, boneless chicken breasts (use certified Halal chicken if preferred)
- 65g plain flour
- 2 large free-range eggs
- 150g panko breadcrumbs
- 50g Parmesan cheese, finely grated
- 1 tsp smoked paprika
- 1 tsp garlic powder
- ½ tsp onion powder
- ½ tsp salt
- ¼ tsp freshly ground black pepper
- 2 tbsp olive oil or rapeseed oil, for drizzling
Adam’s Tip: For an even crispier coating, I sometimes spread the panko breadcrumbs on a baking tray and toast them in the oven for 3-4 minutes before using them. It gives them a head start on becoming golden and guarantees an extra-crispy finish.
How to Make Baked Chicken Tenders
The process involves a simple three-stage “dredging” station, which is the key to getting that coating to stick perfectly. It’s a straightforward method that ensures every tender is evenly coated and ready for baking.
- Preheat and Prepare: First, preheat your oven to 200°C (180°C Fan). Line a large baking tray with baking parchment or lightly grease it. This stops the chicken from sticking and makes cleanup much easier.
- Cut the Chicken: Pat the chicken breasts completely dry with a paper towel. This is a crucial step for a crispy coating! Slice the chicken breasts lengthwise into strips about 2-3 cm thick. Try to keep them a similar size for even cooking.
- Set Up Your Station: You’ll need three shallow bowls or dishes. In the first, place the plain flour. In the second, lightly whisk the two eggs with a fork. In the third, combine the panko breadcrumbs, grated Parmesan, smoked paprika, garlic powder, onion powder, salt, and pepper. Give the breadcrumb mixture a good stir to combine everything.
- Dredge the Chicken: Now, we’ll coat the chicken. Take one chicken strip at a time and dip it into the flour, shaking off any excess. Next, dip it into the whisked egg, letting the excess drip off. Finally, press it firmly into the panko mixture, ensuring it’s completely coated on all sides. What works best for me is using one hand for the dry ingredients (flour, breadcrumbs) and the other for the wet (egg) to avoid getting my fingers clumpy.
- Arrange on the Tray: As you coat each tender, place it on the prepared baking tray. Make sure to leave a little space between each one. Overcrowding the pan will cause the chicken to steam instead of crisping up.
- Drizzle and Bake: Drizzle the tops of the chicken tenders with the olive oil. This helps them get golden and crispy.
- Bake to Perfection: Place the tray in the preheated oven and bake for 20-25 minutes, flipping the tenders halfway through cooking. They’re done when the coating is a deep golden brown and the chicken is cooked through. To be certain, you can check that the internal temperature has reached 74°C, as advised by the Food Standards Agency.
- Rest and Serve: Let the chicken tenders rest on the tray for a couple of minutes before serving. This allows the juices to settle, making them even more tender.
Tips From My Kitchen
- Temperature is Key: Ensure your oven is fully preheated. A hot oven hits the tenders immediately, crisping up the outside quickly and preventing them from becoming soggy. Don’t be tempted to bake them at a lower temperature.
- The Secret to a Sticking Coating: I learned that the most important step for a coating that doesn’t fall off is patting the chicken completely dry before you start. Any moisture on the surface will prevent the flour from sticking, which compromises the entire coating.
- Make-Ahead Method: You can bread the chicken tenders up to 4 hours ahead of time. Just lay them on the baking tray, cover them loosely with cling film, and keep them in the fridge. Bake them straight from the fridge, adding a couple of extra minutes to the cooking time.
- Storing and Reheating: Leftovers can be stored in an airtight container in the refrigerator for up to 3 days. To reheat and bring back the crispiness, place them on a baking tray in a 180°C oven for 5-7 minutes, or use an air fryer if you have one.
Equipment You’ll Need
- Large baking tray
- Baking parchment
- 3 shallow bowls or dishes for dredging
- Sharp knife and chopping board
Common Mistakes to Avoid
- Overcrowding the Tray: Giving each tender its own space is vital. If they’re too close together, they’ll trap steam, and the coating will turn soft instead of crispy. Use two trays if you need to.
- Incorrect Temperature: Baking these tenders at a temperature lower than 200°C (180°C Fan) will result in a less crispy, paler coating. The high heat is what gives them that lovely crunch.
- Skipping the ‘Pat Dry’ Step: I can’t stress this enough. Moisture is the enemy of a crispy crust. A few seconds with a paper towel makes all the difference, helping the flour adhere properly and creating a solid foundation for the other layers.
What to Serve With Baked Chicken Tenders
These versatile tenders pair well with so many things. Here are a few of my favourite combinations:
- Dips and Wedges: Serve them with homemade sweet potato wedges and a selection of dips like honey-mustard, barbecue sauce, or a simple soured cream and chive dip.
- A Fresh Salad: For a lighter meal, they are delicious sliced and served on top of a Classic House Salad with Red Wine Vinaigrette. The sharp vinaigrette cuts through the richness of the chicken beautifully.
- Pasta Dishes: The flavour profile of these tenders works well with simple pasta dishes. Try them alongside a bowl of Creamy Garlic Penne Pasta for a really substantial meal.
- Drink Pairing: A cold, crisp lager or a chilled glass of Sauvignon Blanc complements the savoury coating perfectly. For a non-alcoholic option, a sharp, cloudy lemonade is fantastic.
Frequently Asked Questions
Baked Chicken Tenders
Ingredients
Method
- Preheat and Prepare: First, preheat your oven to 200°C (180°C Fan). Line a large baking tray with baking parchment or lightly grease it. This stops the chicken from sticking and makes cleanup much easier.
- Cut the Chicken: Pat the chicken breasts completely dry with a paper towel. This is a crucial step for a crispy coating! Slice the chicken breasts lengthwise into strips about 2-3 cm thick. Try to keep them a similar size for even cooking.
- Set Up Your Station: You'll need three shallow bowls or dishes. In the first, place the plain flour. In the second, lightly whisk the two eggs with a fork. In the third, combine the panko breadcrumbs, grated Parmesan, smoked paprika, garlic powder, onion powder, salt, and pepper. Give the breadcrumb mixture a good stir to combine everything.
- Dredge the Chicken: Now, we'll coat the chicken. Take one chicken strip at a time and dip it into the flour, shaking off any excess. Next, dip it into the whisked egg, letting the excess drip off. Finally, press it firmly into the panko mixture, ensuring it's completely coated on all sides. What works best for me is using one hand for the dry ingredients (flour, breadcrumbs) and the other for the wet (egg) to avoid getting my fingers clumpy.
- Arrange on the Tray: As you coat each tender, place it on the prepared baking tray. Make sure to leave a little space between each one. Overcrowding the pan will cause the chicken to steam instead of crisping up.
- Drizzle and Bake: Drizzle the tops of the chicken tenders with the olive oil. This helps them get golden and crispy.
- Bake to Perfection: Place the tray in the preheated oven and bake for 20-25 minutes, flipping the tenders halfway through cooking. They’re done when the coating is a deep golden brown and the chicken is cooked through. To be certain, you can check that the internal temperature has reached 74°C, as advised by the Food Standards Agency.
- Rest and Serve: Let the chicken tenders rest on the tray for a couple of minutes before serving. This allows the juices to settle, making them even more tender.
Notes
I really hope you and your family enjoy these Baked Chicken Tenders as much as we do in my house. They are a genuinely satisfying and straightforward meal that always gets compliments. If you give them a try, I’d love to hear how they turned out for you. Please leave a comment and a rating below to let me know your thoughts!