Crispy Cheddar Chicken Recipe Dinner
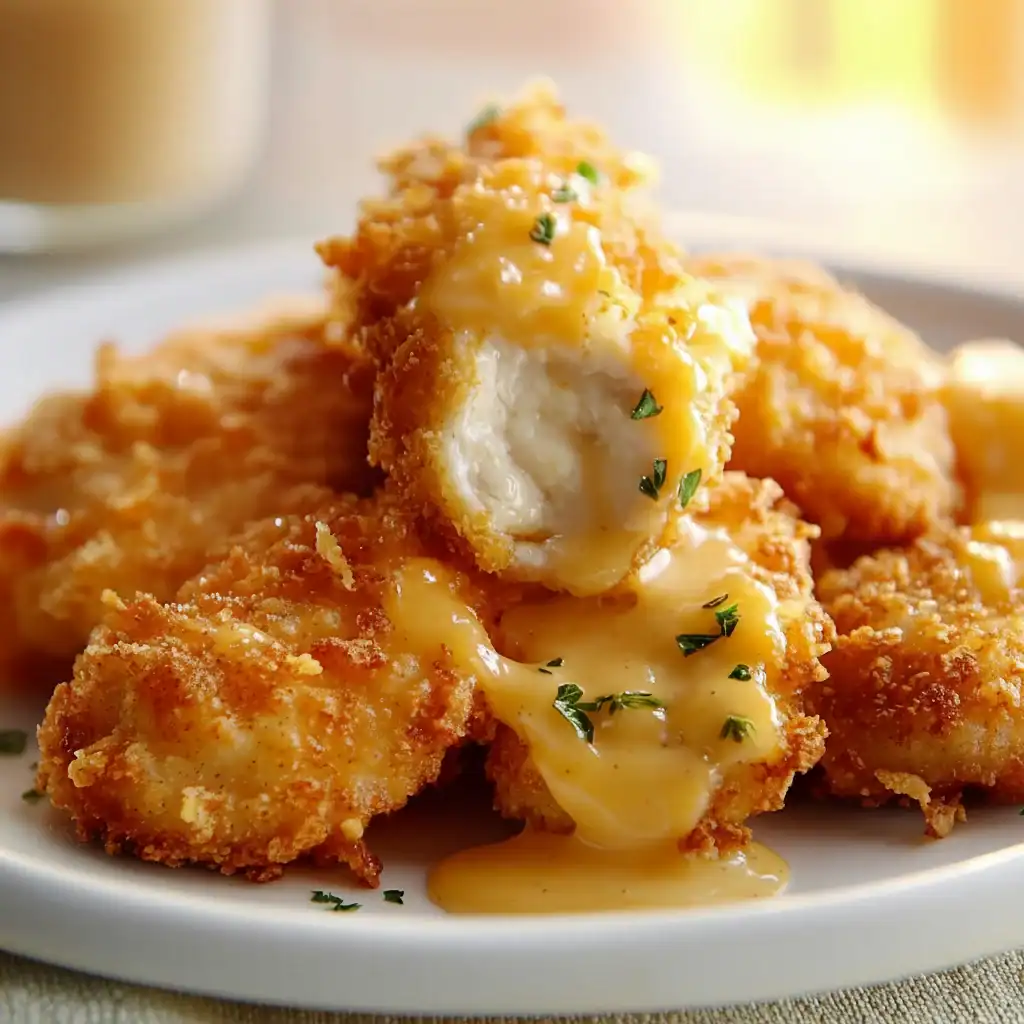
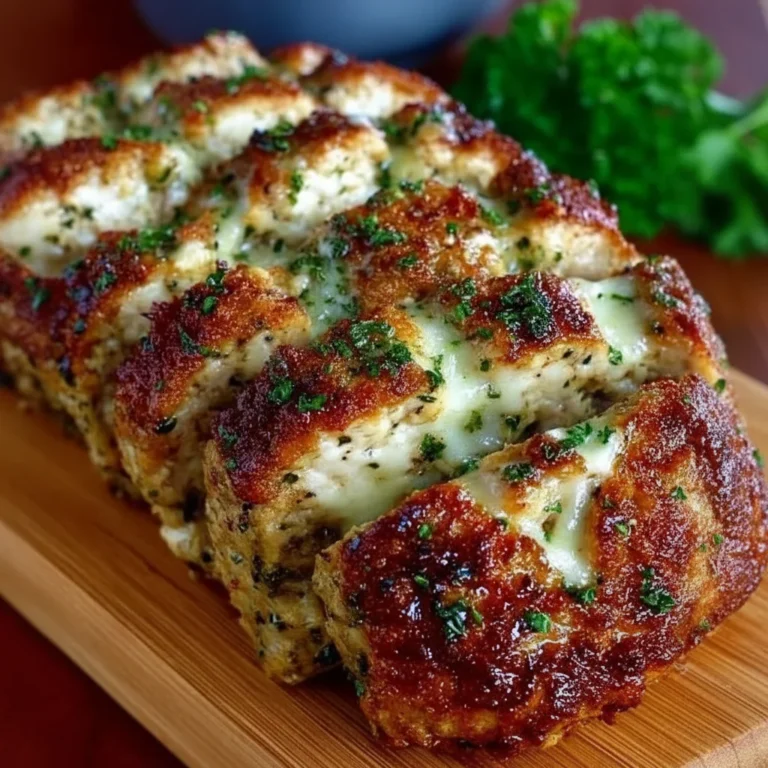
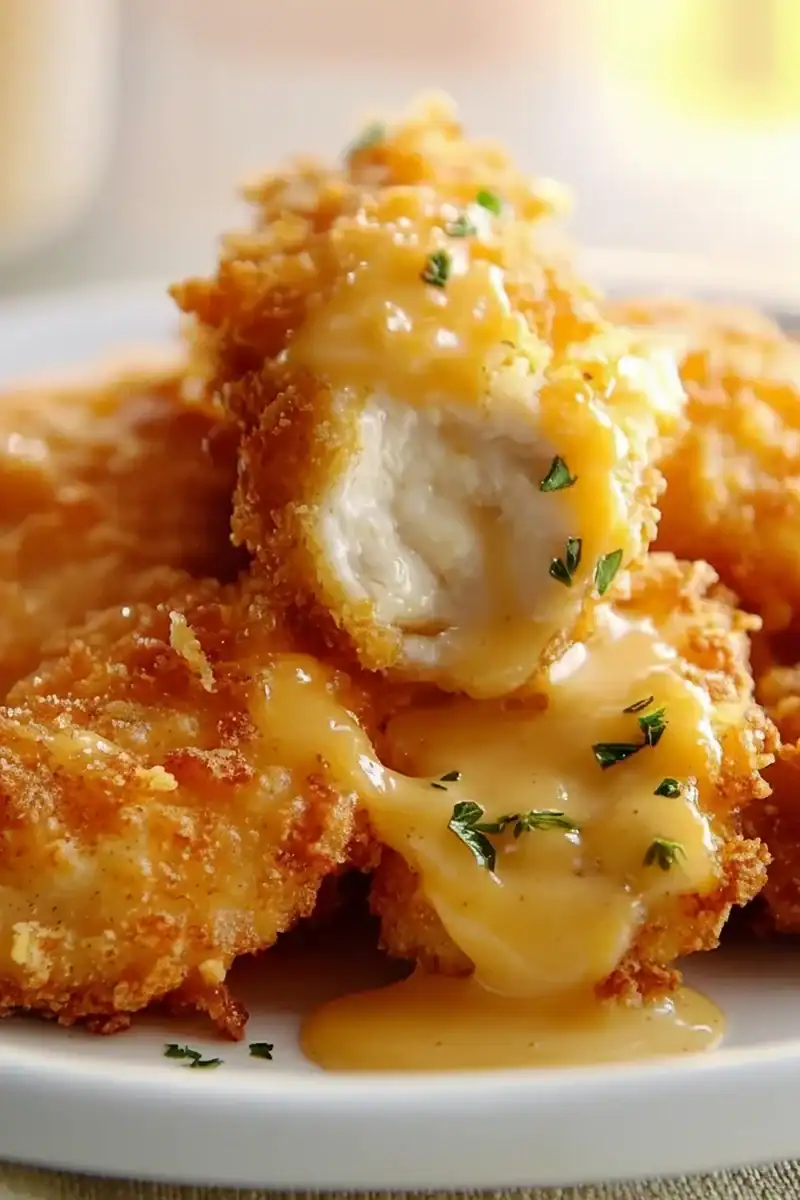
There’s a special kind of satisfaction that comes from pulling a tray of golden, bubbling, crispy chicken from the oven. The sound of the cheese crust crackling under a knife, the aroma of toasted cheddar and savoury spices filling the kitchen—it’s the signal that a truly good dinner is just moments away. This Crispy Cheddar Chicken recipe is one of those meals we turn to time and again, whether for a weeknight family dinner or a relaxed weekend meal with friends. It manages to feel both comforting and a little bit special, all at the same time.
This particular baked chicken dish came about through a bit of happy experimentation. I was trying to find a way to get a properly crunchy crust without deep-frying and wanted a flavour that went beyond the usual breadcrumbs. A block of sharp, mature cheddar was sitting in the fridge, and the rest is history. I stumbled upon this combination by accident, and it’s been a hit ever since. The sharp, nutty flavour of the cheddar melts and toasts into the panko breadcrumbs, creating a savoury, cheesy crust that’s utterly irresistible while keeping the chicken inside wonderfully moist and tender.
It’s a straightforward meal to prepare that delivers impressive results, making it ideal when you want a delicious dinner without spending hours in the kitchen. We often serve it with a simple salad or some steamed green beans, letting the cheese crust chicken be the star of the show. It’s the kind of recipe that reliably gets cleaned plates and happy sighs from everyone at the table.
Recipe Overview
This recipe creates tender chicken breasts with a phenomenally crunchy and flavourful cheese crust. We achieve this by using a two-stage cooking process: a quick pan-sear to build an initial golden crust, followed by baking to cook the chicken through perfectly. I’ve found that adding a little smoked paprika to the breadcrumb mix gives the crust a beautiful colour and a subtle, smoky depth that works brilliantly with the sharp cheddar.
- Prep Time: 15 minutes
- Cook Time: 20-25 minutes
- Total Time: 35-40 minutes
- Servings: 4 people
- Difficulty: Easy
Why You’ll Love This Crispy Cheddar Chicken Recipe Dinner
- Genuine Flavour: The combination of sharp, mature cheddar cheese with smoky paprika and garlic powder creates a deeply savoury crust. The cheese doesn’t just sit on top; it bakes right into the breadcrumbs, becoming nutty and gloriously crisp.
- Ready in Under 45 Minutes: From start to finish, this dish comes together in about 40 minutes, making it a fantastic option for a weeknight meal when you want something substantial and delicious.
- Flexible Recipe: You can easily adapt the spices. Don’t have smoked paprika? A pinch of cayenne pepper adds a nice warmth. You could also use different hard cheeses, like a Red Leicester or even a mix with Parmesan.
- Works Beautifully for Casual Gatherings: This feels elevated enough for guests but is simple enough not to cause you any stress. It’s a brilliant main course for a casual dinner party or a family Sunday lunch.
- Family Tested: My kids, who can be fussy about textures, absolutely love the crunchy coating on this chicken. It always gets compliments and is one of the most requested meals in our house.
Ingredients You’ll Need
The key here is to use a good, strong-flavoured mature cheddar. It makes all the difference. I often use a block of British Cheddar cheese like a West Country Farmhouse Cheddar and grate it myself; pre-grated cheese often has anti-caking agents that can prevent it from melting and crisping up as nicely.
- 4 boneless, skinless chicken breasts (about 150-170g each)
- 75g plain flour
- 2 large free-range eggs
- 1 tbsp Dijon mustard
- 120g panko breadcrumbs
- 100g mature cheddar cheese, finely grated
- 1 tsp smoked paprika
- 1 tsp garlic powder
- ½ tsp onion powder
- ½ tsp salt
- ¼ tsp freshly ground black pepper
- 2 tbsp olive oil
- 1 tbsp unsalted butter
Adam’s Tip: Don’t skip the Dijon mustard in the egg wash. It doesn’t make the chicken taste overtly of mustard, but it adds a subtle tangy depth that cuts through the richness of the cheese and helps the coating adhere beautifully.
How to Make Crispy Cheddar Chicken
The process involves setting up a simple dredging station. Taking a moment to get your bowls lined up in the right order makes the whole process smooth and mess-free. This method ensures every piece of chicken is evenly coated for maximum crunch.
- Prepare the Chicken: Preheat your oven to 200°C (180°C fan). Place the chicken breasts on a cutting board, cover with cling film, and use a rolling pin or meat mallet to gently pound them to a uniform thickness of about 1.5cm (just over half an inch). This is crucial for even cooking. Pat them completely dry with a paper towel.
- Set Up Your Dredging Stations: You’ll need three shallow dishes. In the first, mix the plain flour with the salt and black pepper. In the second, whisk the eggs and Dijon mustard together until smooth. In the third dish, combine the panko breadcrumbs, grated cheddar, smoked paprika, garlic powder, and onion powder. Mix well with your fingers to ensure everything is evenly distributed.
- Coat the Chicken: Working with one chicken breast at a time, first dredge it in the seasoned flour, shaking off any excess. Next, dip it into the egg mixture, allowing any extra to drip off. Finally, press it firmly into the cheddar and breadcrumb mixture on both sides. I find that really pressing the coating on helps it stick during cooking. Place the coated chicken on a clean plate.
- Sear for Colour: Heat the olive oil and butter in a large, oven-safe frying pan or skillet over a medium-high heat. Once the butter is melted and foaming, carefully place the coated chicken breasts in the pan. Be sure not to overcrowd it; cook in two batches if necessary.
- Develop the Crust: Fry for 2-3 minutes on each side, until the coating is a deep golden brown and crisp. This step is purely to build the crust, not to cook the chicken through.
- Finish in the Oven: Transfer the entire oven-safe skillet to the preheated oven. If your pan isn’t oven-safe, move the seared chicken to a baking tray. Bake for 12-15 minutes, or until the chicken is cooked through and the cheese is completely melted and bubbling. The internal temperature should reach 74°C (165°F) on a meat thermometer.
- Rest Before Serving: Remove the chicken from the oven and let it rest in the pan or on the tray for at least 5 minutes before serving. This allows the juices to redistribute, ensuring a tender, moist result.
Tips From My Kitchen
- Temperature Control: Ensure your pan isn’t screaming hot when you start searing. If the heat is too high, the breadcrumbs and cheese will burn before the chicken has a chance to cook. A medium-high heat is just right.
- The Secret Step: The most important technique here is pressing the breadcrumb coating firmly onto the chicken. I learned that a gentle pat isn’t enough. Use the palm of your hand to really press it on. This creates a compact layer that won’t fall off in the pan.
- Make-Ahead: You can prepare and coat the chicken breasts up to 4 hours in advance. Lay them on a tray lined with baking parchment, cover, and store in the fridge until you’re ready to cook. This is great for getting ahead with dinner party prep.
- Storage: Leftovers can be stored in an airtight container in the fridge for up to 3 days. Reheat in the oven at 180°C for 10-12 minutes to help re-crisp the coating. I would avoid reheating it in the microwave, as the crust will become soggy.
Equipment You’ll Need
- Large oven-safe frying pan or skillet
- Sharp knife and cutting board
- Three shallow bowls or dishes for dredging
- Meat mallet or rolling pin
- Tongs for flipping
- Digital meat thermometer (highly recommended)
Common Mistakes to Avoid
- Overcrowding the pan: Placing too many chicken breasts in the pan at once lowers the temperature of the oil, causing the coating to absorb grease and become soggy instead of crisp. Always cook in batches if your pan isn’t large enough, leaving space around each piece.
- Wrong oven temperature: If the oven is too cool, the chicken will take too long to cook and may dry out. If it’s too hot, the cheesy crust could burn before the inside is cooked. Stick to 200°C (180°C fan) for that perfect balance. You can verify your oven’s accuracy with an oven thermometer.
- Skipping the rest time: It’s tempting to slice into the chicken straight away, but resting is vital. As explained by food science experts on sites like Serious Eats, this 5-minute pause allows the muscle fibres to relax and reabsorb the juices, resulting in much more tender meat.
What to Serve With This Crispy Cheddar Chicken Recipe Dinner
This cheesy baked chicken is quite versatile and pairs well with a variety of sides. We like to balance the rich, savoury flavour of the chicken with something fresh and green.
- A Simple Green Salad: A crisp Classic House Salad with Red Wine Vinaigrette offers a lovely, sharp contrast to the rich cheddar crust.
- Steamed Vegetables: Tenderstem broccoli or green beans, steamed and tossed with a little butter and lemon zest, work beautifully.
- Creamy Mash or Potatoes: For a heartier meal, serve with creamy mashed potatoes or some roasted new potatoes seasoned with rosemary.
- Wine Pairing: A lightly oaked Chardonnay or a crisp Sauvignon Blanc would be an excellent match. For red wine drinkers, a light-bodied Pinot Noir won’t overwhelm the chicken.
Frequently Asked Questions
Crispy Cheddar Chicken Dinner
Ingredients
Method
- Prepare the Chicken: Preheat your oven to 200°C (180°C fan). Place the chicken breasts on a cutting board, cover with cling film, and use a rolling pin or meat mallet to gently pound them to a uniform thickness of about 1.5cm (just over half an inch). This is crucial for even cooking. Pat them completely dry with a paper towel.
- Set Up Your Dredging Stations: You'll need three shallow dishes. In the first, mix the plain flour with the salt and black pepper. In the second, whisk the eggs and Dijon mustard together until smooth. In the third dish, combine the panko breadcrumbs, grated cheddar, smoked paprika, garlic powder, and onion powder. Mix well with your fingers to ensure everything is evenly distributed.
- Coat the Chicken: Working with one chicken breast at a time, first dredge it in the seasoned flour, shaking off any excess. Next, dip it into the egg mixture, allowing any extra to drip off. Finally, press it firmly into the cheddar and breadcrumb mixture on both sides. I find that really pressing the coating on helps it stick during cooking. Place the coated chicken on a clean plate.
- Sear for Colour: Heat the olive oil and butter in a large, oven-safe frying pan or skillet over a medium-high heat. Once the butter is melted and foaming, carefully place the coated chicken breasts in the pan. Be sure not to overcrowd it; cook in two batches if necessary.
- Develop the Crust: Fry for 2-3 minutes on each side, until the coating is a deep golden brown and crisp. This step is purely to build the crust, not to cook the chicken through.
- Finish in the Oven: Transfer the entire oven-safe skillet to the preheated oven. If your pan isn't oven-safe, move the seared chicken to a baking tray. Bake for 12-15 minutes, or until the chicken is cooked through and the cheese is completely melted and bubbling. The internal temperature should reach 74°C (165°F) on a meat thermometer.
- Rest Before Serving: Remove the chicken from the oven and let it rest in the pan or on the tray for at least 5 minutes before serving. This allows the juices to redistribute, ensuring a tender, moist result.
Notes
I hope you enjoy making this Crispy Cheddar Chicken as much as we do. It’s a real go-to recipe in my kitchen, and it’s one that always feels like a treat. If you’re looking for other satisfying meals that use similar savoury flavours, our Garlic Parmesan Chicken Pasta is another family favourite. Give this one a try, and please do let me know how it turns out in the comments below. Happy cooking!
– Adam Henderson