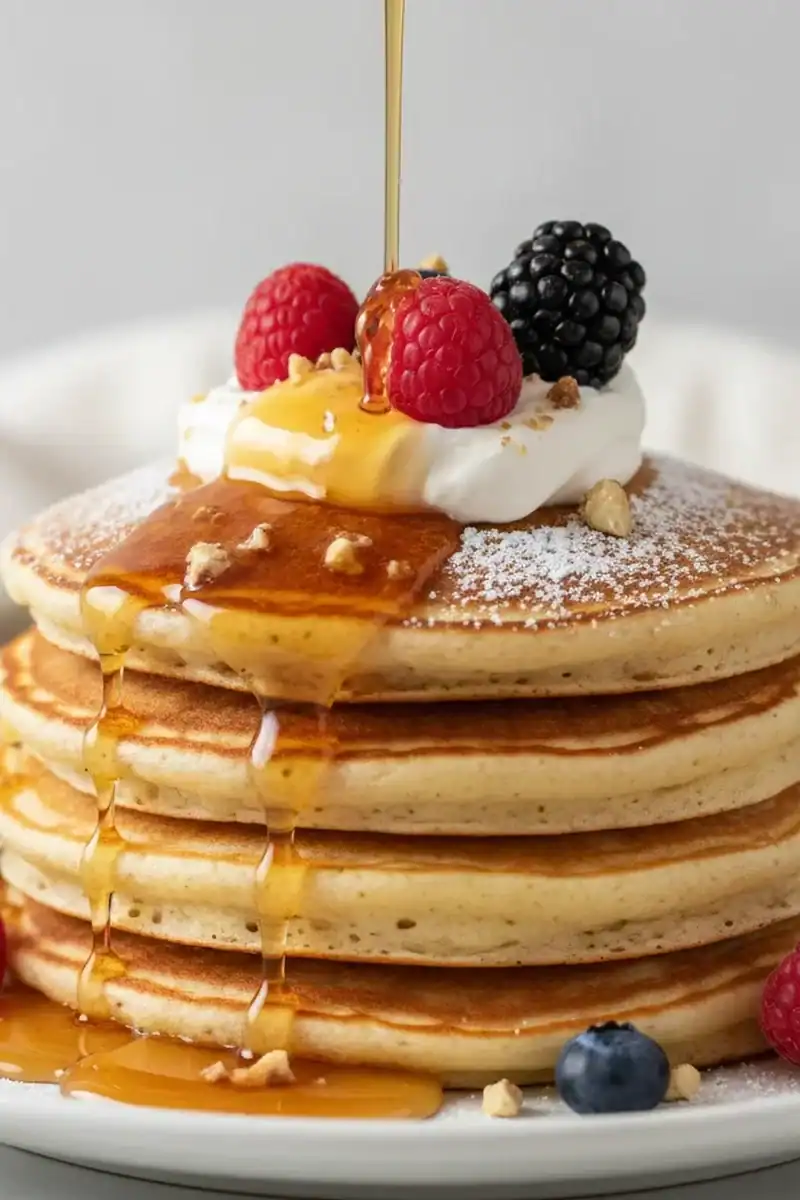
Fluffy Bisquick Pancakes Breakfast
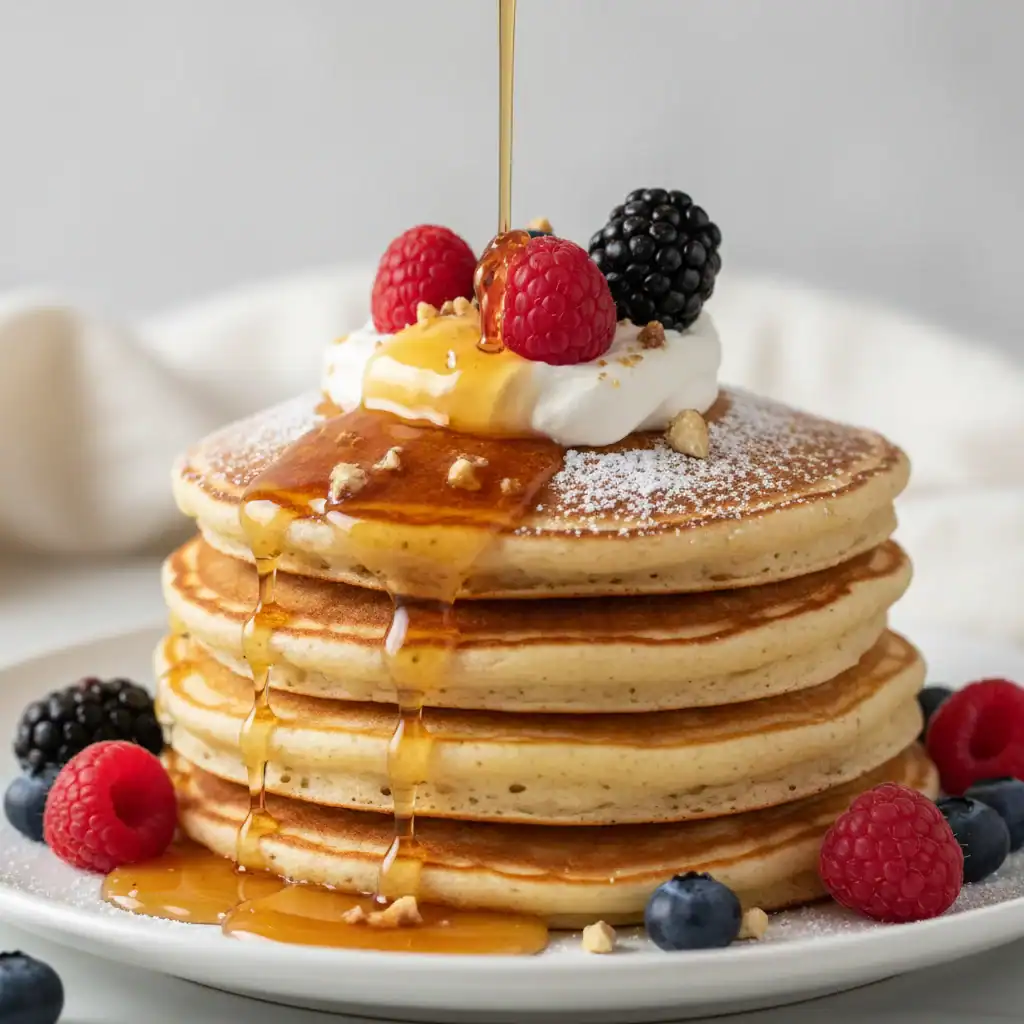
There’s a certain magic to a slow weekend morning, especially when it involves the gentle sizzle of batter hitting a warm pan. For years, I strived for that perfect, sky-high pancake stack – the kind you see in American diners, light as a cloud and wonderfully golden. My breakthrough came not from a complicated, from-scratch recipe, but from a cheerful yellow box I’d often overlooked: Bisquick. Using this brilliant baking mix, we can create truly exceptional, fluffy pancakes that taste like they took hours, but come together in minutes. I make this at least once a week – it’s become a family favourite.
These aren’t just any pancakes. By following a few simple techniques, we elevate the standard box recipe into something special. We’re talking about a pancake with a delicate, tender crumb, a subtle buttermilk-like tang, and edges that get just the right amount of crispness. The beauty of this recipe lies in its reliability. It delivers consistently fluffy results every single time, removing the guesswork from your breakfast routine.
This recipe is for anyone who wants a spectacular breakfast without the fuss. It’s ideal for relaxed Saturday mornings with the family, a celebratory brunch with friends, or even a ‘breakfast for dinner’ night. The straightforward process means even the kids can get involved with the mixing, turning a simple meal into a cherished memory. Get ready to build your own perfect pancake stack.
Recipe Overview
This recipe transforms the classic Bisquick baking mix into the fluffiest pancakes you’ve ever had from a box. The secret lies in a couple of small but crucial steps, like letting the batter rest. I’ve found that this simple pause allows the leavening agents to get to work, which is the key to achieving that coveted airy texture. The resulting pancakes have a wonderful, slightly sweet flavour that pairs beautifully with both sweet and savoury toppings.
- Prep Time: 5 minutes
- Cook Time: 15 minutes
- Total Time: 20 minutes
- Servings: Makes about 12 pancakes (serves 4)
- Difficulty: Easy
Why You’ll Love These Bisquick Pancakes
- Sublime Texture and Flavour: These pancakes are exceptionally light and airy, with a tender crumb that melts in your mouth. The flavour is gently sweet with a pleasant tang, making them a perfect base for your favourite toppings.
- Ready in Under 30 Minutes: From gathering your ingredients to stacking the final pancake, the entire process takes about 20 minutes. It’s a genuinely fast route to a very satisfying breakfast.
- A Wonderfully Flexible Recipe: Feel free to add your own spin. A handful of fresh blueberries, a scatter of chocolate chips, or a dash of cinnamon can be stirred into the batter just before cooking.
- Great for Weekend Brunch: This is my go-to recipe when I need something quick but impressive for a weekend get-together. They work beautifully alongside savoury items like bacon and eggs.
- Family Tested and Approved: My children adore these pancakes, and they always get compliments when we have guests over. It’s one of those recipes that everyone seems to love.
Ingredients You’ll Need
The beauty of this recipe is its short and simple ingredient list, centred around the baking mix. I always use the original Betty Crocker Bisquick Original Pancake & Baking Mix, as I find it gives the most reliable results. Make sure your baking mix is fresh; an old, open box may have lost some of its leavening power.
- 250g Bisquick Original baking mix
- 240ml whole milk
- 2 large free-range eggs
- 1 tbsp caster sugar (optional, for a slightly sweeter pancake)
- 2 tbsp unsalted butter, melted, plus extra for the pan
Adam’s Tip: For the fluffiest possible pancakes, make sure your milk and eggs are at room temperature. Cold ingredients can inhibit the leavening agents and result in a denser texture. I usually take them out of the fridge about 20 minutes before I start.
How to Make Bisquick Pancakes
The process is wonderfully straightforward. The most important thing to remember is not to overmix the batter. A few lumps are perfectly fine – in fact, they’re a sign you’ve done it right! Overmixing develops gluten, which can lead to tough, chewy pancakes instead of light, fluffy ones.
- Combine Ingredients: In a large mixing bowl, add the Bisquick mix and the optional caster sugar. In a separate jug, whisk together the whole milk and the two large eggs until just combined.
- Mix the Batter (Gently!): Pour the wet ingredients into the dry ingredients. Using a whisk or a fork, mix everything together until just moistened. The batter should be lumpy – do not be tempted to whisk it until smooth.
- Stir in the Butter: Gently stir in the 2 tablespoons of melted butter. Again, mix only until it’s just incorporated.
- Rest the Batter: This is the crucial step. Let the batter rest at room temperature for 5-10 minutes. You might see a few bubbles start to form on the surface. This rest period allows the gluten to relax and the baking powder in the mix to activate, which is essential for a fluffy result.
- Heat Your Pan: Place a large, non-stick frying pan or griddle over a medium heat. Add a small knob of butter or a light slick of neutral oil and let it heat up. What works best for me is to test the heat by flicking a tiny drop of water onto the pan – if it sizzles and evaporates immediately, the pan is ready.
- Cook the Pancakes: Using a ladle or a 60ml (1/4 cup) measure, pour the batter onto the hot pan to form pancakes about 10cm in diameter. Leave plenty of space between them.
- Watch for Bubbles: Cook for 2-3 minutes on the first side. You’ll know it’s time to flip when you see bubbles appearing and popping on the surface and the edges look set and slightly dry.
- Flip and Finish: Using a thin spatula, confidently flip the pancakes over. Cook for another 1-2 minutes on the second side, until it’s beautifully golden brown.
- Keep Warm: Transfer the cooked pancakes to a plate and keep them warm in a low oven (around 100°C) while you cook the remaining batter, adding a little more butter to the pan between batches as needed.
Tips From My Kitchen
- Temperature Control is Key: The pan must be at a consistent medium heat. Too high, and the outside will burn before the inside is cooked. Too low, and the pancakes won’t get that golden colour and can become greasy. Adjust the heat as you go if you notice them cooking too quickly or too slowly.
- The Secret Step: Don’t Skip the Rest!: I learned that letting the batter rest is non-negotiable for achieving a fluffy pancake stack. This simple 10-minute pause makes a world of difference, allowing the baking powder to work its magic. For a deep dive into the science, the team at Serious Eats explains the chemistry behind a perfect rise.
- Make-Ahead Batter?: Frankly, no. Pancake batter is best made and used straight away (after its brief rest). The leavening agents start to lose their power over time. If you want to get ahead, you can have your wet and dry ingredients measured out in separate bowls.
- Storage and Reheating: Store leftover pancakes in an airtight container in the fridge for up to 3 days. To reheat, you can pop them in the toaster for a minute, or place them on a baking tray in a 180°C oven for about 5 minutes until warmed through. They also freeze brilliantly – just stack them with a piece of baking parchment between each one.
Equipment You’ll Need
You don’t need any fancy gadgets for this recipe, just a few kitchen basics.
- Large mixing bowl
- Whisk or fork
- Measuring jug and cups
- Large non-stick frying pan or electric griddle
- Spatula or fish slice
Delicious Variations to Try
While the classic pancake is a thing of beauty, it’s also a fantastic canvas for other flavours. Here are a few variations we love in our house.
- Fruity Pancakes: Gently fold about 100g of fresh blueberries, raspberries, or chopped banana into the batter right at the end, just before cooking.
- Vegan-Friendly Option: This works well with a plant-based milk like oat or soya milk in a 1:1 substitution. For the eggs, use a commercial egg replacer or two “flax eggs” (2 tbsp ground flaxseed mixed with 6 tbsp water, left to sit for 5 minutes).
- Warming Spices: For a cosy autumn breakfast, add 1/2 teaspoon of ground cinnamon and a pinch of nutmeg to the dry Bisquick mix before adding the wet ingredients. It’s a simple change that reminds me of our favourite Banana Bread Recipe.
What to Serve With Bisquick Pancakes
A glorious pancake stack deserves some equally glorious accompaniments. Here are some of my favourite ways to serve them up for a full breakfast spread.
- Classic Maple Syrup & Butter: You simply can’t beat the timeless combination of a knob of melting butter and a generous drizzle of good-quality maple syrup.
- Fresh Berries & Yoghurt: A handful of fresh strawberries and blueberries with a dollop of thick Greek yoghurt adds a lovely freshness and a slight tang that cuts through the richness.
- The Full English Breakfast Experience: Serve a smaller stack alongside crispy streaky bacon, sizzling sausages, and a perfectly fried egg.
- A Hot Drink: A freshly brewed pot of coffee or a strong cup of English breakfast tea is the ideal companion to wash it all down.
Frequently Asked Questions
Bisquick Pancakes
Ingredients
Method
- Combine Ingredients: In a large mixing bowl, add the Bisquick mix and the optional caster sugar. In a separate jug, whisk together the whole milk and the two large eggs until just combined.
- Mix the Batter (Gently!): Pour the wet ingredients into the dry ingredients. Using a whisk or a fork, mix everything together until just moistened. The batter should be lumpy – do not be tempted to whisk it until smooth.
- Stir in the Butter: Gently stir in the 2 tablespoons of melted butter. Again, mix only until it's just incorporated.
- Rest the Batter: This is the crucial step. Let the batter rest at room temperature for 5-10 minutes. You might see a few bubbles start to form on the surface. This rest period allows the gluten to relax and the baking powder in the mix to activate, which is essential for a fluffy result.
- Heat Your Pan: Place a large, non-stick frying pan or griddle over a medium heat. Add a small knob of butter or a light slick of neutral oil and let it heat up. What works best for me is to test the heat by flicking a tiny drop of water onto the pan – if it sizzles and evaporates immediately, the pan is ready.
- Cook the Pancakes: Using a ladle or a 60ml (1/4 cup) measure, pour the batter onto the hot pan to form pancakes about 10cm in diameter. Leave plenty of space between them.
- Watch for Bubbles: Cook for 2-3 minutes on the first side. You'll know it's time to flip when you see bubbles appearing and popping on the surface and the edges look set and slightly dry.
- Flip and Finish: Using a thin spatula, confidently flip the pancakes over. Cook for another 1-2 minutes on the second side, until it's beautifully golden brown.
- Keep Warm: Transfer the cooked pancakes to a plate and keep them warm in a low oven (around 100°C) while you cook the remaining batter, adding a little more butter to the pan between batches as needed.
Notes
There you have it – the path to a truly magnificent pancake stack, made astonishingly simple with a little help from a kitchen classic. I hope you and your family enjoy this breakfast recipe as much as we do. It’s a simple joy that never fails to start the day off on the right foot.
Give these Bisquick pancakes a try this weekend, and let me know how you get on in the comments below. I’d love to hear what toppings you chose!
Happy cooking,
Adam Henderson