
Frosted Animal Cookie Cheesecake Recipe
There’s something wonderfully nostalgic about frosted animal cookies. Those little pink and white iced biscuits, covered in colourful sprinkles, take me straight back to childhood. I wanted to capture that pure, simple joy in a dessert that was a little more grown-up but still packed all the fun. The result is this Frosted Animal Cookie Cheesecake Recipe, a dessert that’s as delightful to look at as it is to eat. Friends always ask me for this recipe after trying it at dinner parties, and seeing their faces light up is just the best feeling.
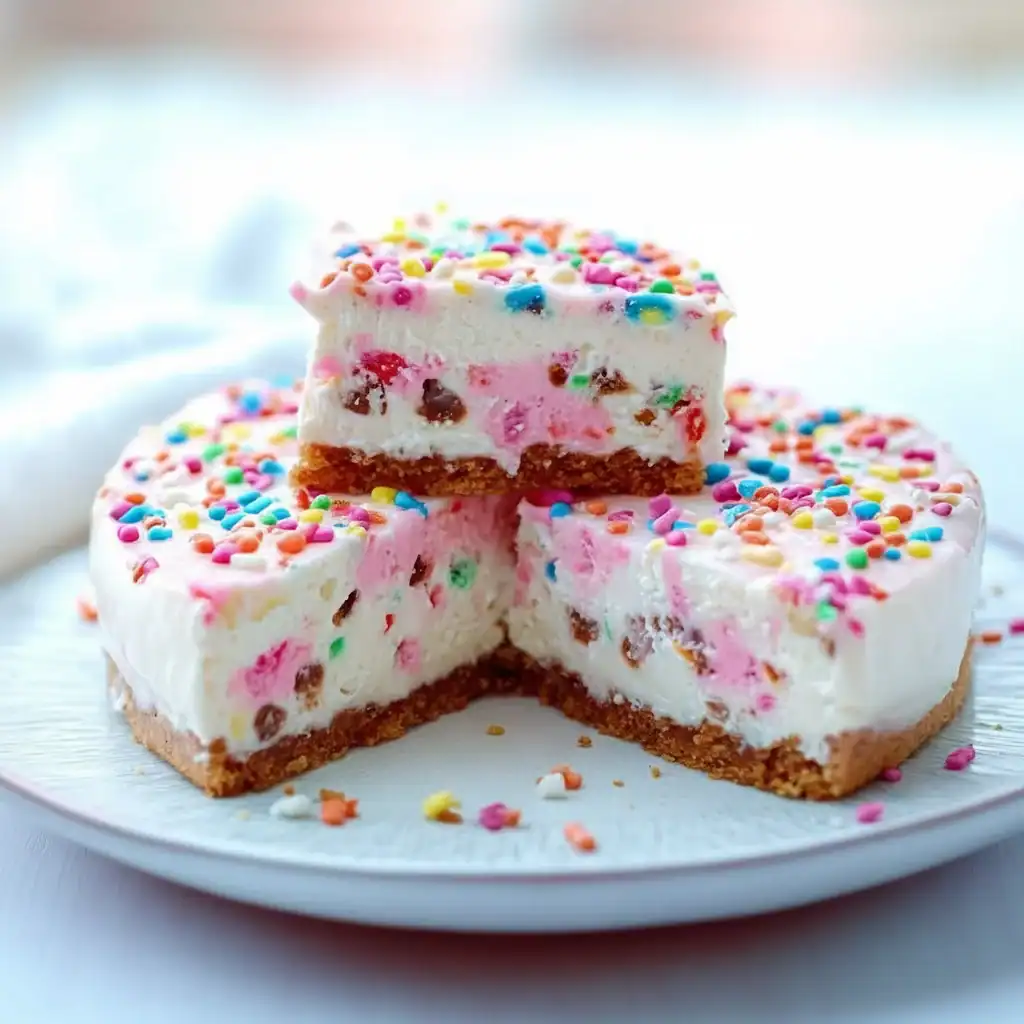
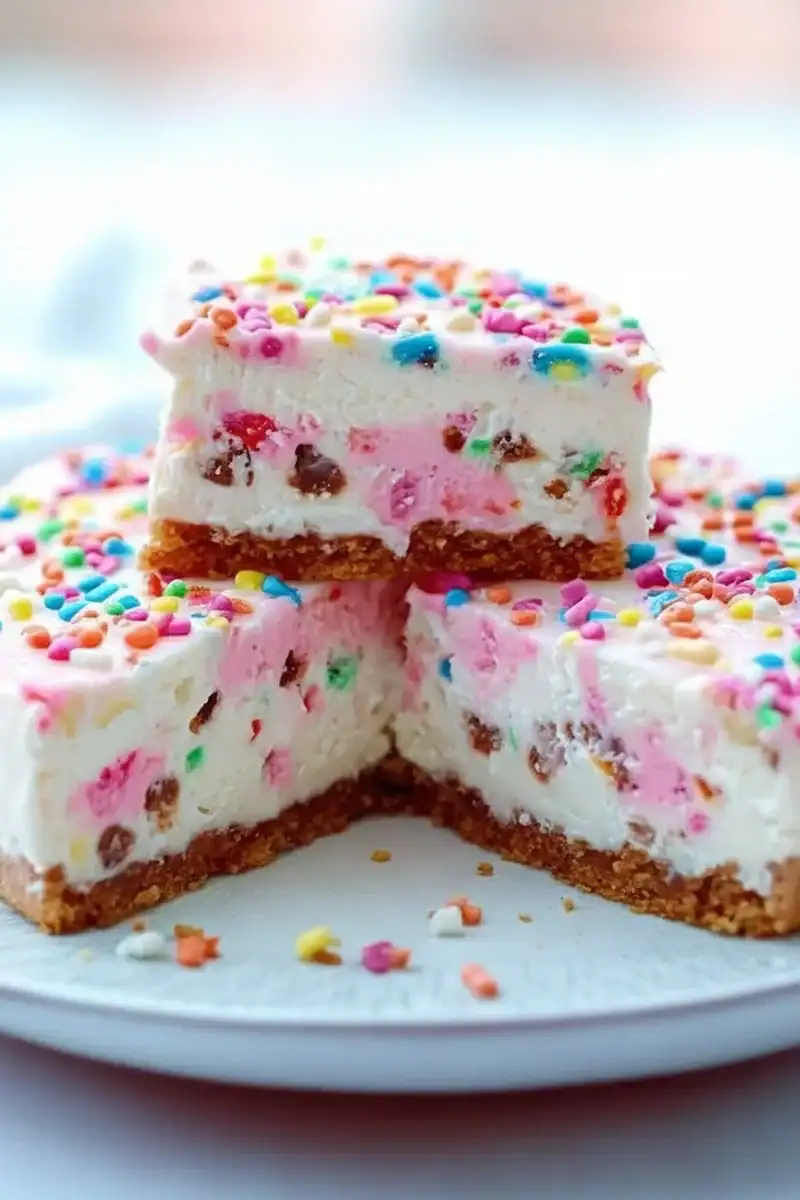
This isn’t just a standard cheesecake with some biscuits thrown on top. We’re infusing that signature sweet, slightly waxy icing flavour right into the heart of the dessert. The crust is made from the animal cookies themselves, creating a buttery, crunchy base with a hint of spice. The filling is unashamedly rich and creamy, tinted a lovely pastel pink, and has a smooth, luxurious texture that melts in the mouth. It’s then topped with a white chocolate ganache, more crushed cookies, and a generous scattering of nonpareils.
This animal cookie dessert is ideal for birthday celebrations, spring gatherings, or any time you need a centrepiece that brings a genuine smile to everyone’s face. It’s a fantastic kid friendly dessert, but I’ve found adults are often the ones most charmed by it. It’s a bit of fun, a bit of nostalgia, and a whole lot of deliciousness rolled into one.
Recipe Overview
This recipe creates a stunningly vibrant pink cheesecake with a distinct animal cookie flavour throughout. You can expect a buttery, sweet biscuit base, an ultra-creamy and tangy cream cheese filling, and a sweet white chocolate topping adorned with more cookies and sprinkles. When I was testing this, I found that letting the cheesecake cool completely in the oven with the door ajar was the secret to a perfectly smooth, crack-free top every single time.
- Prep Time: 30 minutes
- Cook Time: 1 hour 15 minutes
- Chilling Time: 6 hours (or overnight)
- Total Time: 7 hours 45 minutes
- Servings: 12-16 slices
- Difficulty: Medium
Why You’ll Love This Frosted Animal Cookie Cheesecake Recipe
- Wonderful Nostalgic Flavour: The buttery, slightly spiced crust made from the animal cookies provides a fantastic foundation for the rich, tangy cream cheese filling, which is sweet but beautifully balanced. The white chocolate ganache on top mimics the classic icing perfectly.
- Straightforward Process: While it looks impressive, the active preparation comes together in about 30 minutes. The rest is simply baking and patience while it chills to perfection.
- Flexible Recipe: Don’t have frosted animal cookies? A crust made from Digestive biscuits or shortbread works wonderfully too. You can also skip the food colouring for a classic white cheesecake with a colourful topping.
- Great for Celebrations: This sprinkles cheesecake is brilliant for birthdays, baby showers, or any festive occasion. Its bright, cheerful appearance makes it a natural centrepiece.
- Family Tested: My husband, who’s usually picky about desserts, asked for seconds! The kids absolutely adore the colours and the familiar cookie taste, making it a recipe our whole family enjoys.
Ingredients You’ll Need
For the best results, use full-fat block cream cheese, not the spreadable kind in a tub. I always reach for Philadelphia as its firm texture and tangy flavour are second to none for a classic cheesecake. All your dairy and eggs should be at room temperature to ensure a smooth, lump-free filling.
- For the Crust:
- 300g frosted animal cookies
- 100g unsalted butter, melted
- Pinch of salt
- For the Cheesecake Filling:
- 900g full-fat cream cheese, at room temperature
- 250g caster sugar
- 200g soured cream, at room temperature
- 1 tbsp plain flour
- 2 tsp vanilla extract
- 4 large free-range eggs, at room temperature
- A few drops of pink or red food colouring gel
- For the Topping:
- 150g good quality white chocolate, finely chopped
- 75ml double cream
- 50g frosted animal cookies, roughly chopped
- 2 tbsp multi-coloured sprinkles (nonpareils work best)
Adam’s Tip: Don’t be shy with the food colouring, but add it gradually. Gel colours are much more potent than liquid ones. I add a drop at a time until I get a lovely pastel pink – you can always add more, but you can’t take it away!
How to Make This Frosted Animal Cookie Cheesecake
The process involves three main stages: creating the crust, mixing the filling, and baking it gently in a water bath. The water bath is a key step that ensures the cheesecake bakes evenly and stays moist, preventing cracks. It might sound fiddly, but it’s a straightforward technique that makes a world of difference.
- Prepare the Tin and Oven: Preheat your oven to 160°C (140°C fan). Grease and line the base of a 23cm (9-inch) springform cake tin. To prepare it for the water bath, wrap the outside of the tin in a double layer of heavy-duty tin foil, ensuring it comes high up the sides to prevent any water from seeping in.
- Make the Crust: Place the 300g of frosted animal cookies into a food processor and pulse until they form fine crumbs. Alternatively, place them in a zip-top bag and crush with a rolling pin. Transfer the crumbs to a bowl, add the pinch of salt, and pour in the melted butter. Mix with a fork until the crumbs are evenly moistened, like damp sand.
- Form the Crust: Tip the buttery crumbs into your prepared tin. Use the back of a spoon or the flat bottom of a glass to press the mixture firmly and evenly across the base and slightly up the sides. Bake for 10-12 minutes, then set aside to cool while you make the filling.
- Start the Filling: In a large mixing bowl, beat the room temperature cream cheese with an electric mixer on a low speed until it’s completely smooth and free of lumps. This can take about 2-3 minutes. Scrape down the sides and bottom of the bowl frequently.
- Combine Wet and Dry Ingredients: Add the caster sugar and plain flour, and mix on low speed until just combined. Add the soured cream and vanilla extract, mixing again until smooth. What works best for me is to keep the mixer on a low setting throughout this process to avoid incorporating too much air, which can cause cracks later.
- Add Eggs and Colour: Add the eggs one at a time, mixing on low speed only until the yellow of the yolk disappears into the batter. Do not overmix. After the last egg is incorporated, add a few drops of pink food colouring and mix briefly until you have an even pastel colour.
- Bake the Cheesecake: Pour the filling over your cooled crust and smooth the top with a spatula. Place the springform tin into a larger roasting tin. Carefully pour boiling water into the roasting tin until it comes about halfway up the sides of the cheesecake tin. Bake for 1 hour to 1 hour and 15 minutes. The cheesecake is ready when the edges are set but the centre still has a slight wobble.
- Cool Slowly: Turn off the oven and leave the door closed for 1 hour. Then, crack the oven door open with a wooden spoon and let the cheesecake cool completely inside the oven. This slow cooling process is another key to a perfect, crack-free surface. Once at room temperature, remove from the water bath, take off the foil, and chill in the fridge for at least 6 hours, or preferably overnight.
- Decorate and Serve: Once fully chilled, make the topping. Place the chopped white chocolate in a heatproof bowl. Gently heat the double cream in a small saucepan until it’s just simmering. Pour the hot cream over the chocolate and let it sit for 2 minutes before stirring until you have a smooth, glossy ganache. Let it cool for 10-15 minutes until it has thickened slightly.
- Final Touches: Pour the cooled ganache over the top of the chilled cheesecake, spreading it to the edges. Immediately decorate with the chopped animal cookies and a generous shower of sprinkles. Return to the fridge for 30 minutes for the ganache to set before slicing and serving.
Tips From My Kitchen
- Temperature is Everything: Using room temperature ingredients, especially cream cheese, is non-negotiable. Cold cream cheese will result in a lumpy batter no matter how much you mix it. I take my ingredients out of the fridge a good 2-3 hours before I start.
- The Secret to a Smooth Top: I learned that the combination of a water bath and slow cooling is the ultimate guarantee against cracks. Don’t be tempted to rush the cooling process; it’s what allows the cheesecake to set gently and evenly.
- Make-Ahead Magic: This cheesecake is an ideal dessert to make in advance. You can bake and chill the cheesecake, undecorated, for up to 2 days. Keep it covered in the fridge. Prepare the ganache and decorate an hour or two before you plan to serve it for the best results.
- Storage: Leftover cheesecake will keep beautifully in the fridge for up to 5 days. Store it in an airtight container or cover the springform tin tightly with cling film to keep it fresh and prevent it from absorbing any fridge odours.
Delicious Variations to Try
While this pink cheesecake is a joy as it is, you can easily adapt it to suit your tastes. Here are a few ideas we’ve enjoyed at home:
- Golden Oreo Crust: For a different flavour profile, swap the animal cookies in the crust for Golden Oreos (filling and all). The vanilla flavour of the Oreos complements the tangy filling beautifully.
- Strawberry Swirl: For a fruity twist, gently warm 100g of strawberry jam until it’s pourable. After pouring the cheesecake batter into the crust, dollop the warm jam over the top and use a skewer to create a gentle swirl pattern before baking.
- No-Bake Alternative: If you’re short on time, try a no-bake version. Omit the eggs and flour from the filling. Instead, whip 300ml of double cream to stiff peaks and gently fold it into the cream cheese, sugar, and soured cream mixture. Pour into the prepared crust and chill for at least 8 hours until firm. It’s a different texture, but still delicious! For another great no-oven treat, our Moist Banana Bread Recipe is always a hit.
What to Serve With This Frosted Animal Cookie Cheesecake
This dessert is quite rich and sweet, so it stands proudly on its own. However, if you want to add a little something extra on the side, here are a few suggestions:
- Fresh Berries: A small bowl of fresh raspberries or sliced strawberries provides a lovely, sharp contrast that cuts through the richness of the cheesecake.
- Whipped Cream: A simple, unsweetened dollop of freshly whipped double cream can lighten each bite and balance the sweetness of the ganache.
- A Good Coffee: A freshly brewed espresso or a strong Americano is the perfect beverage pairing. The slight bitterness of the coffee works wonderfully with the sweet dessert.
Frequently Asked Questions
Frosted Animal Cookie Cheesecake Recipe
Ingredients
Method
- Prepare the Tin and Oven: Preheat your oven to 160°C (140°C fan). Grease and line the base of a 23cm (9-inch) springform cake tin. To prepare it for the water bath, wrap the outside of the tin in a double layer of heavy-duty tin foil, ensuring it comes high up the sides to prevent any water from seeping in.
- Make the Crust: Place the 300g of frosted animal cookies into a food processor and pulse until they form fine crumbs. Alternatively, place them in a zip-top bag and crush with a rolling pin. Transfer the crumbs to a bowl, add the pinch of salt, and pour in the melted butter. Mix with a fork until the crumbs are evenly moistened, like damp sand.
- Form the Crust: Tip the buttery crumbs into your prepared tin. Use the back of a spoon or the flat bottom of a glass to press the mixture firmly and evenly across the base and slightly up the sides. Bake for 10-12 minutes, then set aside to cool while you make the filling.
- Start the Filling: In a large mixing bowl, beat the room temperature cream cheese with an electric mixer on a low speed until it’s completely smooth and free of lumps. This can take about 2-3 minutes. Scrape down the sides and bottom of the bowl frequently.
- Combine Wet and Dry Ingredients: Add the caster sugar and plain flour, and mix on low speed until just combined. Add the soured cream and vanilla extract, mixing again until smooth. What works best for me is to keep the mixer on a low setting throughout this process to avoid incorporating too much air, which can cause cracks later.
- Add Eggs and Colour: Add the eggs one at a time, mixing on low speed only until the yellow of the yolk disappears into the batter. Do not overmix. After the last egg is incorporated, add a few drops of pink food colouring and mix briefly until you have an even pastel colour.
- Bake the Cheesecake: Pour the filling over your cooled crust and smooth the top with a spatula. Place the springform tin into a larger roasting tin. Carefully pour boiling water into the roasting tin until it comes about halfway up the sides of the cheesecake tin. Bake for 1 hour to 1 hour and 15 minutes. The cheesecake is ready when the edges are set but the centre still has a slight wobble.
- Cool Slowly: Turn off the oven and leave the door closed for 1 hour. Then, crack the oven door open with a wooden spoon and let the cheesecake cool completely inside the oven. This slow cooling process is another key to a perfect, crack-free surface. Once at room temperature, remove from the water bath, take off the foil, and chill in the fridge for at least 6 hours, or preferably overnight.
- Decorate and Serve: Once fully chilled, make the topping. Place the chopped white chocolate in a heatproof bowl. Gently heat the double cream in a small saucepan until it's just simmering. Pour the hot cream over the chocolate and let it sit for 2 minutes before stirring until you have a smooth, glossy ganache. Let it cool for 10-15 minutes until it has thickened slightly.
- Final Touches: Pour the cooled ganache over the top of the chilled cheesecake, spreading it to the edges. Immediately decorate with the chopped animal cookies and a generous shower of sprinkles. Return to the fridge for 30 minutes for the ganache to set before slicing and serving.
Notes
I hope you have as much fun making (and eating!) this Frosted Animal Cookie Cheesecake as we do. It’s a wonderfully cheerful bake that never fails to get compliments and bring a bit of playful nostalgia to the table. If you try it, I’d love for you to leave a comment below and let me know how it turned out. Happy baking!
– Adam Henderson


