Healthy Chia Seed Pudding Recipe Snack
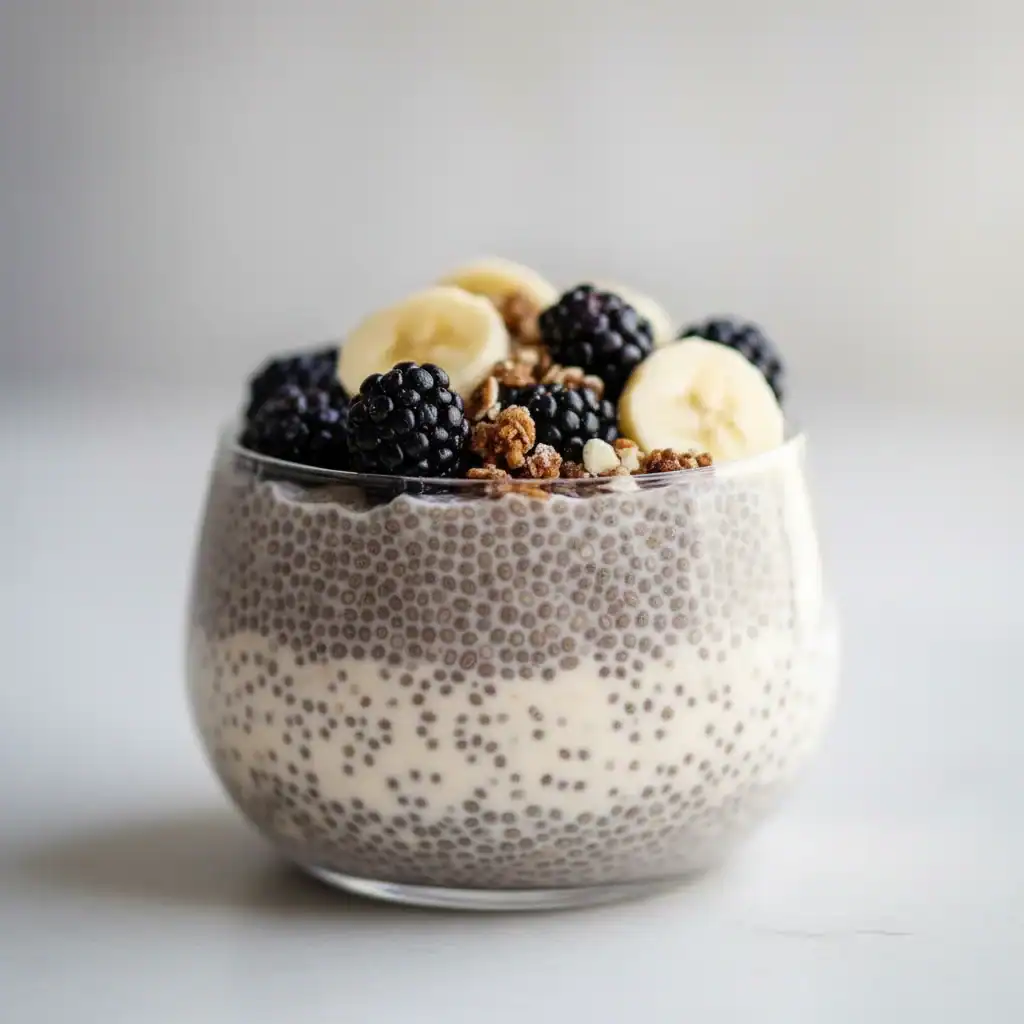
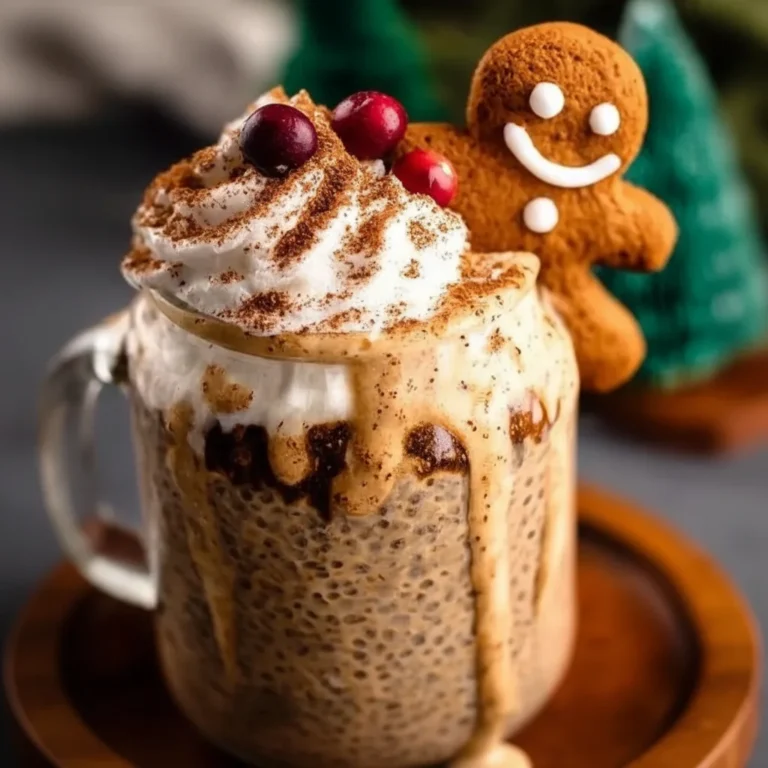
There are some recipes that just slot so perfectly into a busy week, they feel less like cooking and more like a clever life hack. This healthy chia seed pudding recipe is precisely that. It’s my go-to for a nourishing breakfast, a mid-afternoon snack, or even a light dessert when I want something satisfying without the fuss. It’s a wonderfully creamy, tapioca-like pot of goodness that you can prepare the night before, waking up to a delicious, ready-to-eat treat.
The beauty of this chia pudding lies in its simplicity and its versatility. At its core, it’s a blank canvas. This version, with vanilla bean and a touch of maple, is the one I make most often. I’ve been making this for over 3 years, and it never disappoints. The tiny chia seeds work their magic overnight, transforming a simple plant-based milk into a thick, luscious pudding that’s packed with fibre, protein, and healthy fats. We’re talking about a superfood recipe that genuinely tastes like a treat.
This is a recipe for anyone who needs to make their mornings a little smoother. It’s ideal for busy professionals, parents juggling school runs, or anyone looking to add a healthy, vegan snack into their routine. The texture is sublime – thick enough to hold its shape on a spoon, but soft enough to melt in your mouth. The flavour is delicately sweet, allowing the fragrant vanilla to be the star. Let’s get into how we make it.
Recipe Overview
This chia seed pudding recipe is all about creating a creamy, flavourful base that you can customise with your favourite toppings. The final texture is a rich, thick pudding, with the subtle pop of the hydrated chia seeds. After a bit of trial and error, I found that a second whisk after a few minutes of initial soaking is the key to a perfectly smooth, clump-free result every time.
- Prep Time: 5 minutes
- Cook Time: 0 minutes
- Total Time: 4 hours 5 minutes (includes setting time)
- Servings: 2 people
- Difficulty: Easy
Why You’ll Love This Healthy Chia Seed Pudding Recipe Snack
- Genuine Flavour: This isn’t a bland health food. The combination of high-quality vanilla bean paste and pure maple syrup creates a flavour that is genuinely indulgent, with a warm, aromatic sweetness that beautifully complements the earthy chia seeds.
- Ready in 5 Minutes of Prep: The hands-on time for this recipe is just 5 minutes. You simply whisk the ingredients together, and the refrigerator does all the hard work, making it an excellent choice for meal prep.
- Flexible Recipe: You can easily adapt this to your taste. Swap the almond milk for coconut milk for a richer, tropical flavour, or use agave nectar instead of maple syrup. The possibilities for toppings are endless.
- Great for Meal Prep: This recipe is designed to be made ahead. It’s brilliant for preparing on a Sunday evening to have healthy breakfasts or snacks ready for the first few days of the week, saving you time on busy mornings.
- Family Tested: My whole family enjoys this, especially when they can add their own toppings. It’s one of those rare snacks that feels like a treat but is secretly packed with nutrients. Everyone seems to love this when I make it for guests, too.
Ingredients You’ll Need
The quality of your ingredients really shines through in a recipe this simple. I always opt for a good vanilla bean paste over extract for those beautiful black flecks and a more intense flavour. For the milk, I find that a creamy oat milk, like Oatly Barista Edition, gives the most luxurious texture, but almond or soya work wonderfully too.
- 480ml unsweetened almond milk (or other plant-based milk of your choice)
- 60g black chia seeds
- 2 tbsp pure maple syrup (adjust to your preferred sweetness)
- 1 tsp vanilla bean paste or pure vanilla extract
- ⅛ tsp fine sea salt
- For Serving (Optional):
- A handful of fresh berries (raspberries, blueberries, strawberries)
- 1 tbsp toasted coconut flakes
- 1 tbsp chopped nuts (almonds, pecans, or walnuts)
- A dollop of coconut yoghurt
Adam’s Tip: Don’t skip the pinch of salt! It might seem like a tiny amount, but it makes a huge difference. Salt is a flavour enhancer, and it balances the sweetness of the maple syrup and brings out the warm notes of the vanilla.
How to Make This Healthy Chia Seed Pudding Recipe Snack
The process for making this chia pudding is incredibly straightforward. The most important part is the mixing – ensuring the chia seeds are fully incorporated and don’t clump together is the secret to a perfect pudding.
- In a medium mixing bowl or a large jar, add the almond milk, maple syrup, vanilla bean paste, and salt.
- Whisk these liquid ingredients together until the maple syrup and vanilla are completely combined.
- Add the chia seeds to the liquid mixture. Whisk vigorously for about a minute to ensure all the seeds are submerged and starting to separate.
- Let the mixture sit at room temperature for 5-10 minutes. You’ll notice it has already started to thicken slightly.
- This next step is vital for a smooth texture. Whisk the mixture again, very thoroughly, for another full minute. I find this second whisk is what breaks up any clumps that have formed and guarantees a silky pudding.
- Cover the bowl or seal the jar and place it in the refrigerator to set. It needs a minimum of 4 hours, but I prefer to leave it overnight for the best texture.
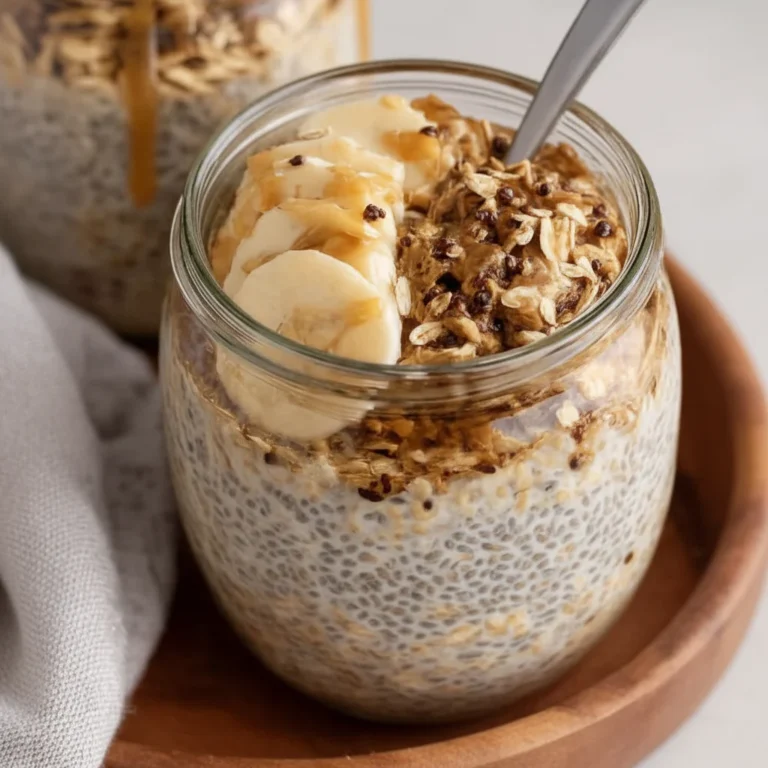
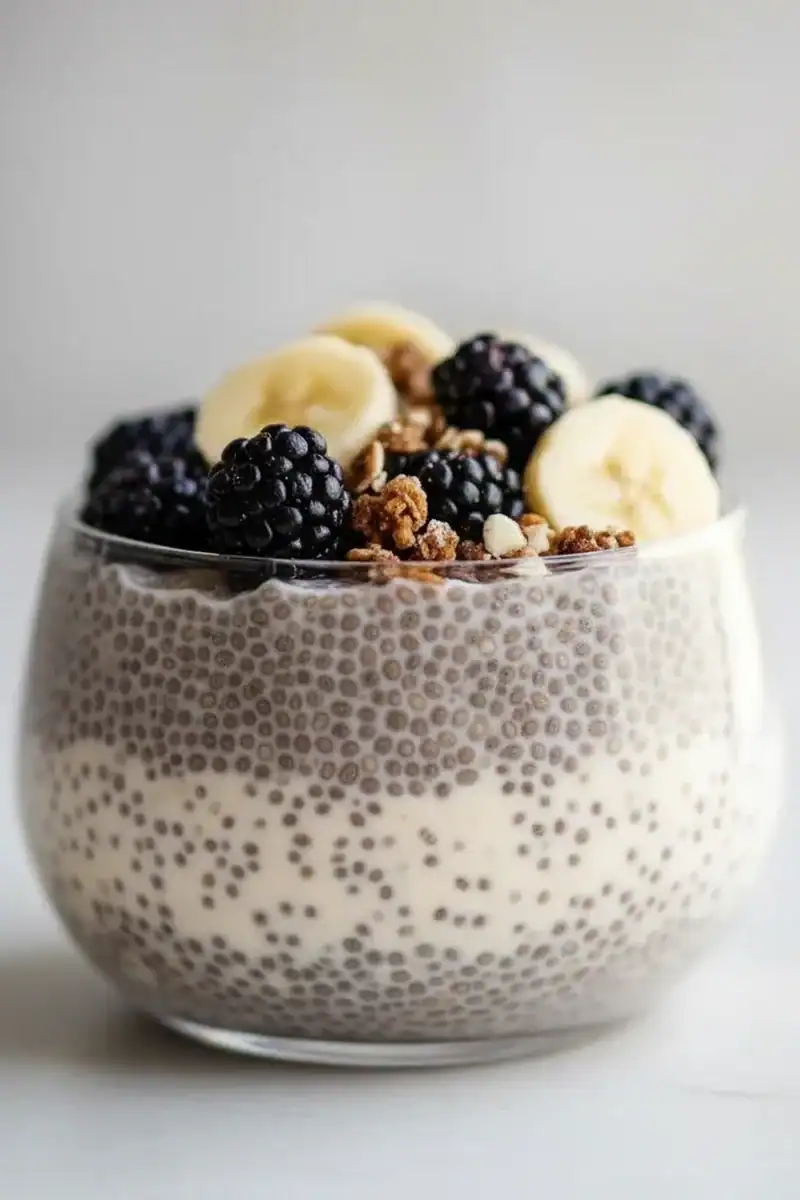
- When you’re ready to serve, give the pudding a final stir. It will be thick and spoonable.
- Divide the pudding between two bowls or jars. Add your favourite toppings like fresh berries, nuts, or a drizzle of extra maple syrup, and enjoy immediately.
Tips From My Kitchen
- Liquid Temperature Matters: Always use cold or room temperature liquid. Hot liquid can cause the chia seeds to clump together instantly and can affect their ability to gel properly.
- The Secret Step: The Double Whisk. I learned that the difference between a clumpy pudding and a perfectly smooth one is patience. Letting the pudding sit for 10 minutes after the first mix, then whisking it again before refrigerating, is non-negotiable in my kitchen. It allows the seeds to hydrate evenly.
- Make-Ahead Magic: This recipe is a meal-prepper’s dream. You can make a large batch and portion it into individual airtight containers. It makes grabbing a healthy snack on the go so simple. It’s a fantastic part of a weekly prep session, alongside making a main dish like my Creamy Garlic Penne Pasta for work lunches.
- Storage: Store the chia pudding in an airtight container in the refrigerator for up to 5 days. The pudding will continue to thicken slightly as it sits. If it becomes too thick for your liking, just stir in a splash of milk before serving.
Equipment You’ll Need
You don’t need any fancy gadgets for this recipe, which is part of its charm. Just a few kitchen basics will do.
- Medium-sized mixing bowl
- Whisk
- Measuring cups and spoons
- Airtight containers or jars for storage (I like using jam jars)
Common Mistakes to Avoid
- Incorrect Ratio: Using too many chia seeds will result in a pudding that is overly thick and dense. Too few, and it will be runny. The 1:4 ratio (by volume, so about 4 tablespoons of chia to 1 cup of liquid) is a reliable starting point.
- Insufficient Mixing: Simply stirring the seeds in once is not enough. This often leads to a layer of seeds stuck at the bottom and a watery top. The double-whisk method outlined in the instructions is essential for preventing clumps. For a more detailed look at the science of hydration, this Serious Eats article is a great read.
- Not Enough Setting Time: Chia seeds need time to absorb the liquid and create that signature gel. Be patient! While it starts to thicken after an hour or two, letting it set for at least 4 hours (or ideally overnight) yields the creamiest, most satisfying texture.
Delicious Variations to Try
Once you have the base recipe down, it’s so much fun to experiment with different flavours. This is how you can keep this snack interesting week after week.
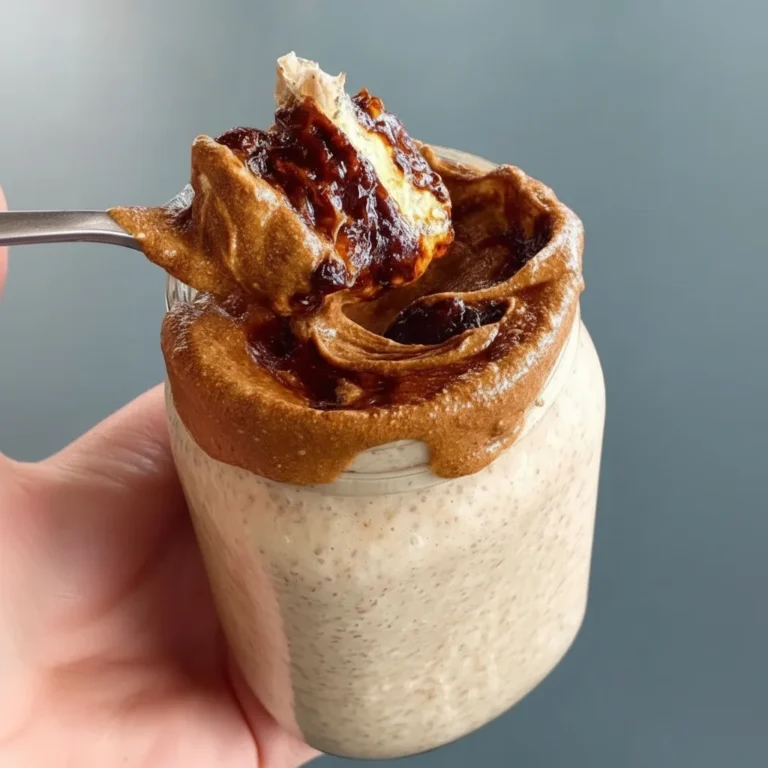
- Double Chocolate Version: For a more decadent vegan snack, whisk in 2 tablespoons of unsweetened cocoa powder along with the other ingredients. Top with chocolate shavings and raspberries.
- Matcha Chia Pudding: Add 1-2 teaspoons of high-quality matcha powder to the liquid ingredients for an earthy, vibrant, and energising breakfast.
- Tropical Mango & Coconut: Use full-fat coconut milk instead of almond milk and top the finished pudding with a layer of pureed mango and toasted coconut flakes. This variation was inspired by a dish I had at a little café in Thailand.
What to Serve With This Healthy Chia Seed Pudding
This pudding is a star on its own, but it also pairs beautifully with other breakfast and brunch items.
- Fresh Fruit Compote: A simple berry compote, made by simmering fresh or frozen berries with a splash of water and maple syrup, adds a lovely warmth and tartness.
- Crunchy Granola: A sprinkle of your favourite granola adds a fantastic textural contrast to the creamy pudding.
- Alongside Baked Goods: For a more substantial breakfast, I love a small bowl of this pudding next to a warm slice of my Moist Banana Bread Recipe.
Frequently Asked Questions
Healthy Chia Seed Pudding Snack
Ingredients
Method
- In a medium mixing bowl or a large jar, add the almond milk, maple syrup, vanilla bean paste, and salt.
- Whisk these liquid ingredients together until the maple syrup and vanilla are completely combined.
- Add the chia seeds to the liquid mixture. Whisk vigorously for about a minute to ensure all the seeds are submerged and starting to separate.
- Let the mixture sit at room temperature for 5-10 minutes. You’ll notice it has already started to thicken slightly.
- This next step is vital for a smooth texture. Whisk the mixture again, very thoroughly, for another full minute. I find this second whisk is what breaks up any clumps that have formed and guarantees a silky pudding.
- Cover the bowl or seal the jar and place it in the refrigerator to set. It needs a minimum of 4 hours, but I prefer to leave it overnight for the best texture.
- When you're ready to serve, give the pudding a final stir. It will be thick and spoonable.
- Divide the pudding between two bowls or jars. Add your favourite toppings like fresh berries, nuts, or a drizzle of extra maple syrup, and enjoy immediately.
Notes
I truly hope this healthy chia seed pudding recipe becomes a staple in your kitchen, just as it has in mine. It’s a small bit of prep that pays off with delicious, nourishing rewards throughout the week. Give it a try, and I’d love for you to leave a comment below letting me know what flavour combinations and toppings you came up with!
– Adam