
Homemade Apple Pie Filling Recipe For Baking
There’s something uniquely comforting about the aroma of apples and cinnamon simmering away on the hob. It fills the kitchen with a warmth that instantly makes a house feel like a home. This apple pie filling recipe is the heart of that feeling. It’s not just about making a component for a pie; it’s about creating a spoonful of pure, unadulterated joy. This is my go-to recipe when the first autumn chill hits the air and I need something that feels like a hug in a bowl. It’s a beautifully balanced filling where the apples remain the star, supported by a gentle chorus of spice and a rich, buttery caramel sauce.
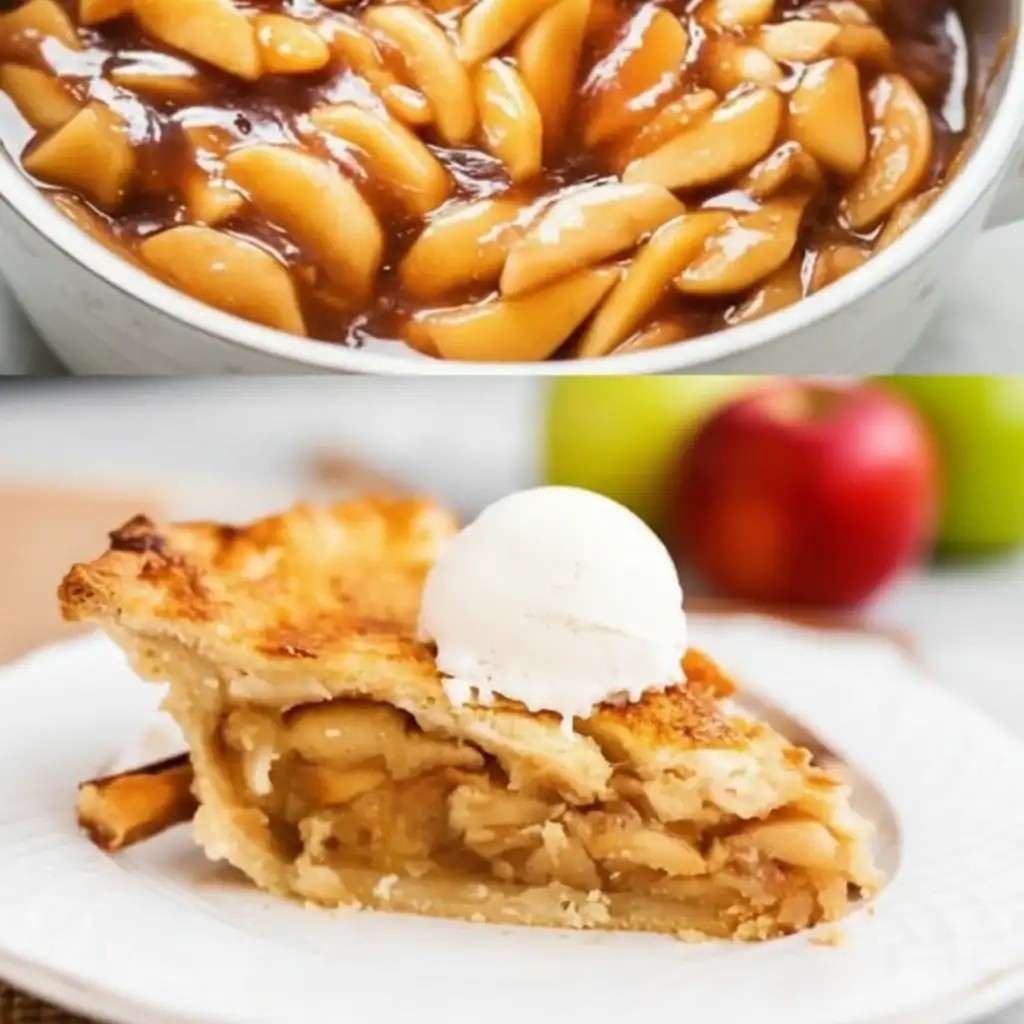
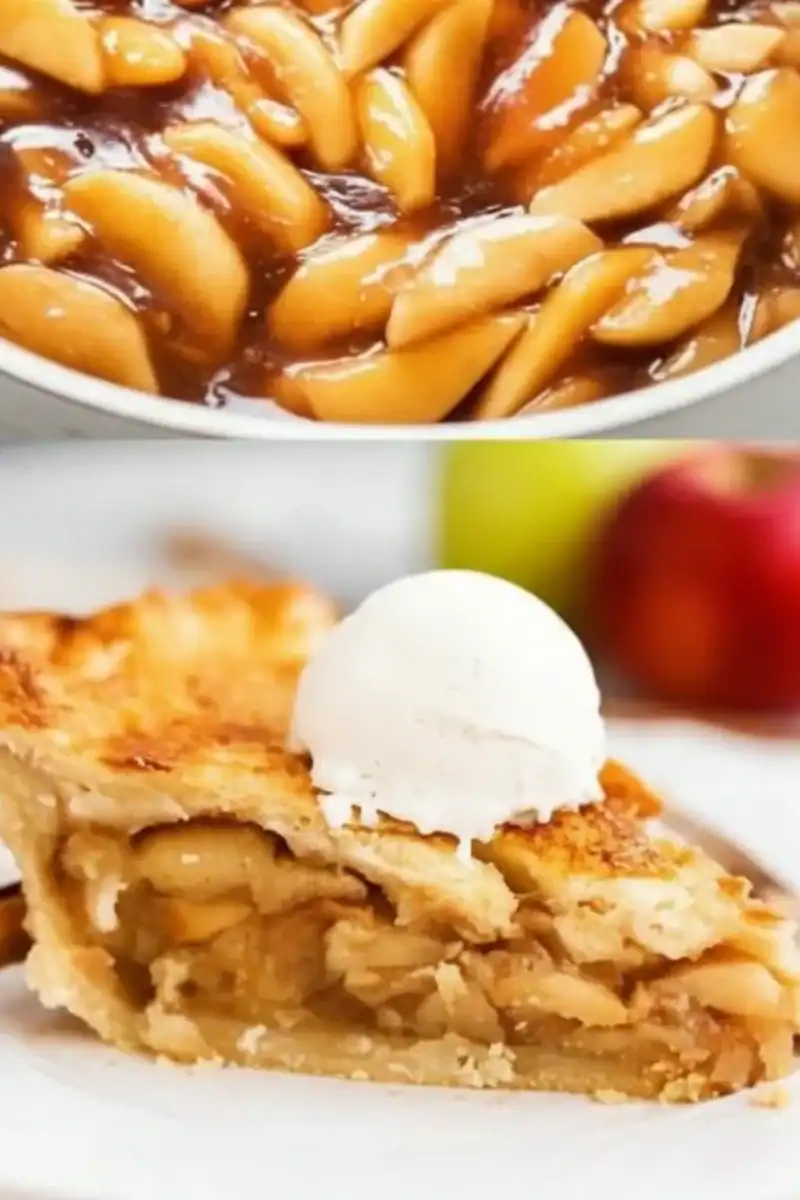
What we’re aiming for here is a filling that’s worlds away from the overly sweet, gloopy stuff you might find in a tin. We want tender chunks of apple that still have a slight bite, suspended in a glossy, perfectly spiced sauce that’s thick enough to hold its own but not so thick it becomes jelly-like. This homemade pie filling is wonderfully versatile, working beautifully in a classic double-crust pie, a rustic crumble, or even just spooned warm over a generous scoop of vanilla ice cream.
It’s an ideal recipe for an afternoon of baking, especially when you have a bounty of apples from the garden or local farm shop. It’s one of those apple recipes that everyone seems to love, from the little ones to the grandparents. The process is straightforward, and the result is a truly magnificent baking filling that will elevate any dessert you choose to make.
Recipe Overview
This apple pie filling recipe produces tender, flavourful apples in a perfectly thickened, spiced caramel sauce. It’s designed to be stable enough for a pie, meaning it won’t make your pastry soggy. I’ve tested this with various types of apples, and a mix always yields the best texture.
- Prep Time: 15 minutes
- Cook Time: 15 minutes
- Total Time: 30 minutes
- Servings: Fills one 23cm (9-inch) deep-dish pie
- Difficulty: Easy
Why You’ll Love This Apple Pie Filling Recipe
- Genuine Apple Flavour: We use a combination of apples to get the best of both worlds – the Bramleys break down into a soft, tangy purée while the eating apples hold their shape, giving you distinct, tender chunks in every bite.
- Comes Together in 30 Minutes: From peeling the first apple to having a pot of fragrant, ready-to-use filling, the whole process is done in about half an hour.
- Flexible Recipe: You can easily adjust the spices to your liking. Add a pinch of cardamom for a floral note, or a grating of fresh ginger for a bit of warmth. You can also control the sweetness depending on the apples you’re using.
- Ideal for Batch Cooking: This filling freezes brilliantly. Make a double batch and you’ll have homemade pie filling on hand for whenever the mood for a comforting dessert strikes. It works wonderfully for last-minute crumbles or turnovers.
- Family Tested: My kids always ask for this specific filling; they say it’s the perfect balance of sweet and sharp, and much better than any shop-bought version. It always gets compliments at family gatherings.
Ingredients You’ll Need
Using a mix of apples is the key to success here. I always use Bramley apples as the base for their superb cooking properties and tangy flavour, then add a firmer eating apple for texture. For the butter, I prefer a good quality unsalted block, like Lurpak, as it gives you full control over the salt content.
- 1.2kg mixed apples (I suggest 4 large Bramley apples and 2-3 Cox’s or Braeburn apples)
- 100g light brown soft sugar
- 50g caster sugar
- 1 tsp ground cinnamon
- ¼ tsp ground nutmeg
- A pinch of ground allspice
- Juice of half a lemon
- 60ml water (or apple cider for extra flavour)
- 2 tbsp cornflour
- 30g unsalted butter, cubed
- ½ tsp vanilla extract
Adam’s Tip: Don’t throw away your apple peels and cores! You can simmer them in water with a cinnamon stick to make a light apple-infused tea or a base for a simple syrup. It feels good to use every part of the fruit.
How to Make Apple Pie Filling
The process is simple: we first prepare the apples, then create a caramel sauce and gently cook the apples in it until they’re tender. The final step is to thicken the sauce so it’s perfect for a homemade pie.
- Prepare the Apples: Peel, core, and slice your apples. I like to cut them into a mix of thicknesses – some about 1cm thick and some a little thinner. This helps create a lovely varied texture. As you slice them, place them in a large bowl and toss with the lemon juice to prevent them from browning.
- Combine Dry Ingredients: In a small bowl, whisk together the light brown sugar, caster sugar, cinnamon, nutmeg, and allspice. Sprinkle this mixture over the apples and toss everything together until the apple slices are evenly coated.
- Start the Sauce: Place a large, heavy-bottomed saucepan or Dutch oven over a medium heat. Add the coated apples and the 60ml of water or cider. Stir gently to combine.
- Cook the Apples: Bring the mixture to a gentle simmer. Cover the pan and let the apples cook for 8-10 minutes, stirring occasionally. The Bramleys will start to break down and the other apples will become tender. They should be soft but not complete mush. What works best for me is to taste a slice to check – it should be yielding but still have a slight bite.
- Make the Slurry: While the apples are cooking, prepare your thickening agent. In a small bowl, mix the 2 tablespoons of cornflour with 2 tablespoons of cold water. Stir until you have a smooth, lump-free paste. This is known as a slurry and is a key technique for thickening sauces without lumps, as explained by BBC Good Food.
- Thicken the Filling: Once the apples are tender, pour the cornflour slurry into the pan. Stir continuously and gently as you pour it in. Continue to cook, stirring, for another 1-2 minutes. You’ll see the liquid in the pan transform into a thick, glossy sauce that clings beautifully to the apples.
- Finish with Butter and Vanilla: Remove the pan from the heat. Add the cubed unsalted butter and the vanilla extract. Stir until the butter has completely melted and is incorporated into the sauce. This final step adds a wonderful richness and silky finish.
- Cool Before Using: Allow the apple pie filling to cool completely before using it in a pie. Using a warm filling will melt your pastry and can lead to a soggy bottom. You can speed this up by spreading it out on a baking tray.
Tips From My Kitchen
- Apple Choice is Key: Don’t be tempted to use just one type of apple. A firm eating apple like a Braeburn or Gala will hold its shape, providing texture, while a cooking apple like a Bramley will collapse into a delicious, tangy purée that forms the body of the sauce.
- The Secret Step: Always let the filling cool completely. I learned this the hard way! A hot or even warm filling will melt the butter in your pastry, compromising the flaky layers you worked so hard to create. Patience here is rewarded with a perfect pie crust.
- Make-Ahead Magic: This filling is ideal for making in advance. You can prepare it up to 3 days ahead and keep it in an airtight container in the fridge. The flavours will actually have more time to meld together.
- Storage: Once cooled, the filling can be stored in the fridge for up to 5 days. For longer storage, transfer it to a freezer-safe bag or container and freeze for up to 3 months. Thaw it overnight in the fridge before using.
Equipment You’ll Need
You don’t need any fancy gadgets for this baking filling, just some basic kitchen kit.
- Large heavy-bottomed saucepan or Dutch oven
- Vegetable peeler
- Apple corer (optional, but very handy)
- Sharp knife and cutting board
- Large mixing bowl
- Wooden spoon or spatula
- Measuring spoons and weighing scales
Delicious Variations to Try
While this recipe is wonderful as is, it’s also a great base for getting creative. Here are a few ideas we love:
- Festive Twist: Add 75g of dried cranberries or sultanas along with the apples. A pinch of ground ginger and a grating of fresh orange zest will add a lovely festive warmth.
- A Touch of Booze: For a more grown-up version, add a splash (about 2 tablespoons) of bourbon, dark rum, or Calvados to the pan along with the butter at the end. It adds a fantastic depth of flavour.
- Different Spices: Swap the allspice for a pinch of ground cloves or cardamom. A star anise popped into the pan while the apples cook will infuse the filling with a subtle, fragrant liquorice note (just remember to remove it before serving!).
What to Serve With Your Apple Pie Filling
This filling is the star of any homemade pie, but it has many other uses. Here are a few of our favourite ways to enjoy it:
- Classic Pie and Custard: Spoon the cooled filling into your favourite pastry case and bake until golden. Serve warm slices with a generous pouring of thick, creamy vanilla custard.
- With Ice Cream or Cream: For a dessert that comes together in minutes, simply warm the filling gently and serve a large spoonful over a scoop of good-quality vanilla bean ice cream or a dollop of clotted cream.
- On Porridge or Yoghurt: A spoonful of this apple pie filling is a fantastic way to liven up your morning bowl of porridge or Greek yoghurt. It’s so much better than plain fruit. For another great breakfast bake, try my Banana Bread Recipe.
Frequently Asked Questions
Apple Pie Filling
Ingredients
Method
- Prepare the Apples: Peel, core, and slice your apples. I like to cut them into a mix of thicknesses – some about 1cm thick and some a little thinner. This helps create a lovely varied texture. As you slice them, place them in a large bowl and toss with the lemon juice to prevent them from browning.
- Combine Dry Ingredients: In a small bowl, whisk together the light brown sugar, caster sugar, cinnamon, nutmeg, and allspice. Sprinkle this mixture over the apples and toss everything together until the apple slices are evenly coated.
- Start the Sauce: Place a large, heavy-bottomed saucepan or Dutch oven over a medium heat. Add the coated apples and the 60ml of water or cider. Stir gently to combine.
- Cook the Apples: Bring the mixture to a gentle simmer. Cover the pan and let the apples cook for 8-10 minutes, stirring occasionally. The Bramleys will start to break down and the other apples will become tender. They should be soft but not complete mush. What works best for me is to taste a slice to check – it should be yielding but still have a slight bite.
- Make the Slurry: While the apples are cooking, prepare your thickening agent. In a small bowl, mix the 2 tablespoons of cornflour with 2 tablespoons of cold water. Stir until you have a smooth, lump-free paste. This is known as a slurry and is a key technique for thickening sauces without lumps, as explained by BBC Good Food.
- Thicken the Filling: Once the apples are tender, pour the cornflour slurry into the pan. Stir continuously and gently as you pour it in. Continue to cook, stirring, for another 1-2 minutes. You'll see the liquid in the pan transform into a thick, glossy sauce that clings beautifully to the apples.
- Finish with Butter and Vanilla: Remove the pan from the heat. Add the cubed unsalted butter and the vanilla extract. Stir until the butter has completely melted and is incorporated into the sauce. This final step adds a wonderful richness and silky finish.
- Cool Before Using: Allow the apple pie filling to cool completely before using it in a pie. Using a warm filling will melt your pastry and can lead to a soggy bottom. You can speed this up by spreading it out on a baking tray.
Notes
I really hope you give this apple pie filling recipe a go. Having a batch of this on hand feels like a little treasure, ready to be turned into a glorious homemade pie or a simple, satisfying dessert at a moment’s notice. It’s a foundational recipe in my kitchen, and I hope it becomes one in yours too. Let me know how you get on in the comments below – I’d love to hear how you use it!


