
How To Make Perfect Meringue Peaks
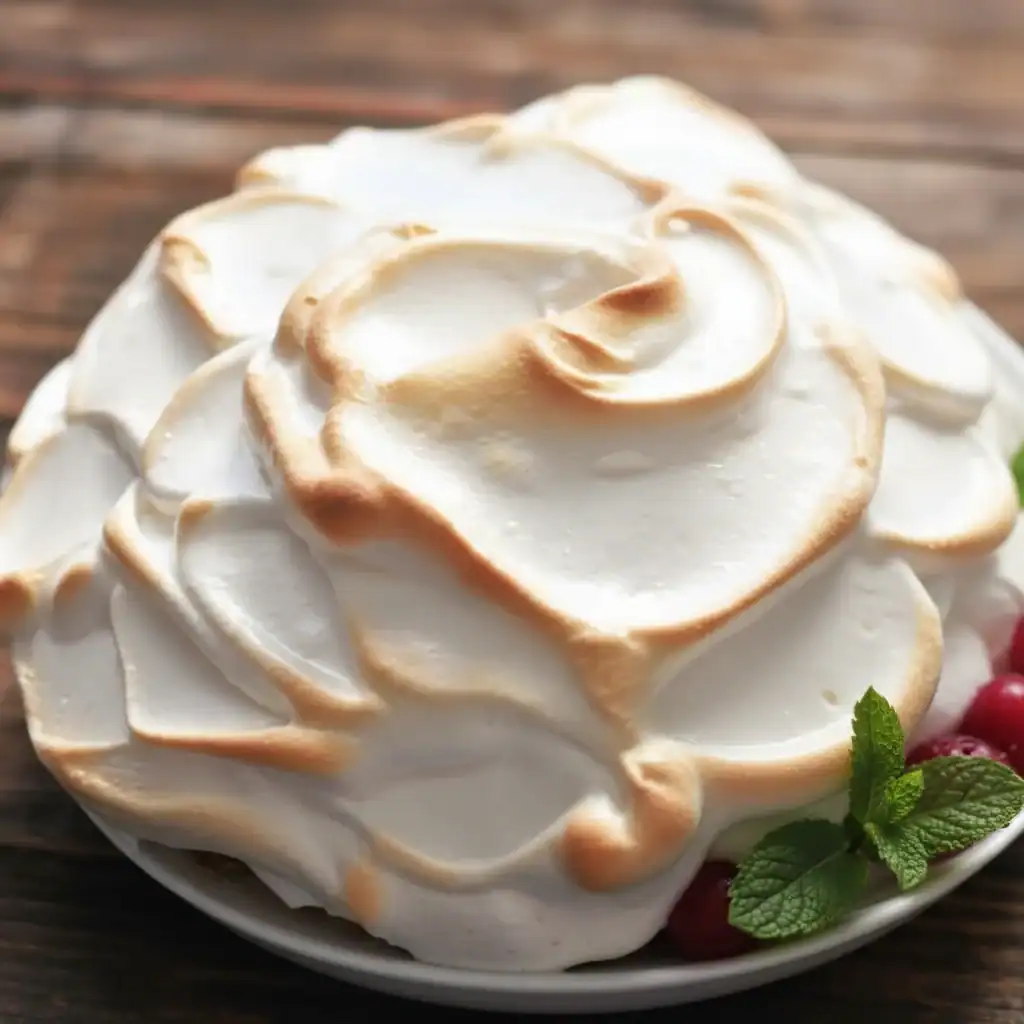
There’s something truly magical about transforming a few simple egg whites and sugar into a crisp, ethereal confection. A perfect meringue should have a delicate, shatteringly crisp shell that gives way to a soft, mallowy, almost chewy centre. It’s a texture and taste that feels both wonderfully simple and incredibly special. Friends always ask me for this recipe after trying it at dinner parties, wondering how I get that ideal balance every single time. The secret, as with many things in baking, isn’t about complexity but about technique and a little bit of patience.
This meringue recipe is the foundation for so many glorious desserts. You can pipe them into delicate kisses, shape them into nests for a classic Pavlova, or crumble them into an Eton Mess with fresh berries and cream. It’s a brilliant recipe to have in your back pocket, ideal for using up leftover egg whites from making a rich custard or carbonara. We’ll walk through every step together, ensuring you get that glossy, stable mixture that bakes into a cloud-like treat.
Whether you’re a seasoned baker or just starting, I’m confident this guide will help you master the art of the perfect meringue. It’s a rewarding process that results in a dessert topping that elevates anything it touches, from a simple bowl of fruit to an elaborate layered cake. Let’s get our whisks ready and create something spectacular.
Recipe Overview
This recipe will guide you through creating classic French meringues that are brilliantly white, crisp on the outside, and delightfully chewy within. The flavour is pure and sweet, with a hint of vanilla that complements its airy texture. After testing this recipe five times, I finally got it just right; the key is the low oven temperature and the long, slow cooling period, which prevents cracking and weeping.
- Prep Time: 15 minutes
- Cook Time: 1 hour 30 minutes
- Total Time: 1 hour 45 minutes (plus cooling time)
- Servings: Makes about 12 medium meringues
- Difficulty: Medium
Why You’ll Love This Perfect Meringue
- Wonderful Texture: The contrast is what makes this so special. You get that satisfying crackle from the thin, dry shell before your teeth sink into the soft, marshmallow-like interior.
- A Versatile Dessert Base: This recipe creates a brilliant foundation. Use the meringues as a base for our Moist Banana Bread Recipe‘s decadent cousin, Banoffee Pie, or crumble them over ice cream for an instant upgrade.
- Minimal Ingredients: You only need four basic ingredients you likely already have in your kitchen, proving that exceptional results don’t require a complicated shopping list.
- Works Beautifully for Celebrations: Meringue nests filled with cream and fruit are a showstopper at summer parties, birthdays, or as a light dessert after a Sunday roast.
- Family Tested: My kids adore crushing these into a bowl of strawberries and whipped cream. It’s a dessert that always gets compliments and disappears fast.
Ingredients You’ll Need
The quality of a meringue rests entirely on its few ingredients and the precision of your method. Always use fresh, room-temperature large eggs, as the whites will whip up with much more volume than when they are cold. For the sugar, I insist on caster sugar; its fine granules dissolve more easily into the egg whites, preventing a grainy texture.
- 4 large free-range egg whites (at room temperature)
- 225g caster sugar
- 1 tsp cornflour
- 1 tsp white wine vinegar (or lemon juice)
- 1/2 tsp vanilla extract
Adam’s Tip: Ensure your mixing bowl and whisk are scrupulously clean and dry. Any trace of grease or yolk will stop the egg whites from whipping up properly. I always give my bowl a quick wipe with a piece of kitchen roll dipped in a little white wine vinegar to be absolutely certain.
How to Make Perfect Meringue
The process is straightforward, but success lies in the details. We’re aiming for stiff, glossy peaks that hold their shape beautifully. Don’t rush the process of adding the sugar; it’s the most critical part of the meringue recipe.
- Preheat and Prep: First, preheat your oven to 120°C (100°C fan) and line two large baking trays with non-stick baking parchment.
- Start Whisking: In a large, clean glass or metal bowl, use an electric hand mixer or a stand mixer with the whisk attachment to beat the egg whites on a medium speed. Continue for about 2-3 minutes until they form soft peaks. When you lift the whisk, a peak should form and then gently flop over.
- Add the Sugar Gradually: This is where patience pays off. With the mixer still running, add the caster sugar one tablespoon at a time. I find that counting to ten between each addition ensures the sugar has a chance to dissolve fully before you add the next spoonful.
- Achieve Glossy Peaks: Once all the sugar is incorporated, turn the mixer speed up to high. Continue to whisk for another 5-7 minutes. You are looking for a thick, very glossy, and smooth mixture. To check if it’s ready, you should be able to turn the bowl upside down without the meringue mixture sliding out. You can also test it by rubbing a small amount between your thumb and forefinger – you shouldn’t feel any sugar granules. This is the secret to perfect meringue peaks.
- Fold in Stabilisers: Sift the cornflour over the meringue mixture, then add the vinegar and vanilla extract. Gently fold these ingredients in using a large metal spoon or spatula until just combined. Don’t overmix.
- Shape Your Meringues: Using two large spoons or a piping bag fitted with a star nozzle, place dollops of the mixture onto your prepared baking trays. Leave a little space between each one as they will expand slightly. You can create small kisses or larger nests by making a dip in the centre with the back of a spoon.
- Bake Low and Slow: Place the trays in the preheated oven and bake for 1 hour and 30 minutes. The meringues should be pale and crisp, and they should lift easily off the parchment paper.
- Cool Completely: This is a crucial step! Once the baking time is up, turn the oven off completely, prop the door open slightly with a wooden spoon, and leave the meringues inside to cool down for at least 4 hours, or ideally overnight. This process dries them out perfectly and prevents cracking.
Tips From My Kitchen
- Temperature Control: A cool oven is essential. If your oven is too hot, the sugar on the outside will caramelise and burn before the inside has a chance to cook, leading to a sticky, weeping meringue. An oven thermometer is a baker’s best friend.
- The Secret Step: Don’t skip cooling the meringues in the turned-off oven. I learned that this gradual temperature change is what sets the structure and creates that signature crisp shell without the risk of them collapsing.
- Make-Ahead: Meringues are a brilliant make-ahead dessert. You can bake them up to a week in advance and store them correctly, ready for when you need them.
- Storage: Store the completely cooled meringues in an airtight container at room temperature. Do not put them in the fridge, as the moisture will make them soft and sticky. They will keep well for up to two weeks.
Common Mistakes to Avoid
- Any Trace of Grease: Fat is the enemy of egg whites. A tiny speck of egg yolk, a greasy fingerprint in the bowl, or using a plastic bowl (which can harbour fat residues) will prevent your whites from reaching their full, airy volume. Always use a spotlessly clean glass or metal bowl.
- Baking at the Wrong Temperature: Baking meringues too high causes them to puff up quickly and then crack or collapse. It can also cause them to turn beige instead of staying a brilliant white. Stick to the low temperature for a dry, stable result.
- Being Impatient: Rushing the sugar addition will result in a grainy, unstable meringue that might weep syrup during baking. Likewise, taking them out of the oven too early while it’s still hot will cause them to crack from the thermal shock. Let them cool slowly and completely.
Delicious Variations to Try
Once you’ve mastered the basic recipe, it’s fun to experiment with different flavours and textures. Here are a few ideas to get you started.
- Chocolate Swirl Meringues: After folding in the final ingredients, sift 1 tablespoon of cocoa powder over the surface of the meringue. Use a skewer to gently swirl it through the mixture just once or twice before shaping.
- Nutty Meringues: Fold in 50g of finely chopped nuts, such as pistachios or toasted hazelnuts, along with the cornflour and vinegar for a lovely crunch and flavour.
- Flavoured Meringues: Swap the vanilla extract for 1/2 teaspoon of peppermint, almond, or orange extract to create different flavour profiles that work wonderfully for various desserts.
What to Serve With Perfect Meringue
These meringues are a blank canvas for so many dessert combinations. They are a wonderful light option after a rich main course like a Garlic Parmesan Chicken Pasta.
- Classic Eton Mess: Gently crush the meringues and fold them through softly whipped double cream and a mix of fresh berries like strawberries, raspberries, and blueberries.
- Meringue Nests with Lemon Curd: Fill the hollow of larger meringue nests with sharp, tangy lemon curd and top with a dollop of thick cream. The tartness cuts through the sweetness beautifully.
– **With Coffee or Tea:** A simple meringue kiss is a delightful, light-as-air treat to serve alongside an afternoon cup of tea or a strong espresso.
Frequently Asked Questions
Perfect Meringue
Ingredients
Method
- Preheat and Prep: First, preheat your oven to 120°C (100°C fan) and line two large baking trays with non-stick baking parchment.
- Start Whisking: In a large, clean glass or metal bowl, use an electric hand mixer or a stand mixer with the whisk attachment to beat the egg whites on a medium speed. Continue for about 2-3 minutes until they form soft peaks. When you lift the whisk, a peak should form and then gently flop over.
- Add the Sugar Gradually: This is where patience pays off. With the mixer still running, add the caster sugar one tablespoon at a time. I find that counting to ten between each addition ensures the sugar has a chance to dissolve fully before you add the next spoonful.
- Achieve Glossy Peaks: Once all the sugar is incorporated, turn the mixer speed up to high. Continue to whisk for another 5-7 minutes. You are looking for a thick, very glossy, and smooth mixture. To check if it’s ready, you should be able to turn the bowl upside down without the meringue mixture sliding out. You can also test it by rubbing a small amount between your thumb and forefinger – you shouldn't feel any sugar granules. This is the secret to perfect meringue peaks.
- Fold in Stabilisers: Sift the cornflour over the meringue mixture, then add the vinegar and vanilla extract. Gently fold these ingredients in using a large metal spoon or spatula until just combined. Don't overmix.
- Shape Your Meringues: Using two large spoons or a piping bag fitted with a star nozzle, place dollops of the mixture onto your prepared baking trays. Leave a little space between each one as they will expand slightly. You can create small kisses or larger nests by making a dip in the centre with the back of a spoon.
- Bake Low and Slow: Place the trays in the preheated oven and bake for 1 hour and 30 minutes. The meringues should be pale and crisp, and they should lift easily off the parchment paper.
- Cool Completely: This is a crucial step! Once the baking time is up, turn the oven off completely, prop the door open slightly with a wooden spoon, and leave the meringues inside to cool down for at least 4 hours, or ideally overnight. This process dries them out perfectly and prevents cracking.
Notes
I do hope you give this perfect meringue recipe a go. There is such satisfaction in pulling a tray of these pearly white beauties from the oven. If you enjoyed this baking project, I think you’ll also love my Banana Bread Recipe. Let me know how you get on in the comments below – I’d love to hear about the wonderful desserts you create! Happy baking.
– Adam Henderson


