
Minty Grasshopper Pie Recipe Dessert
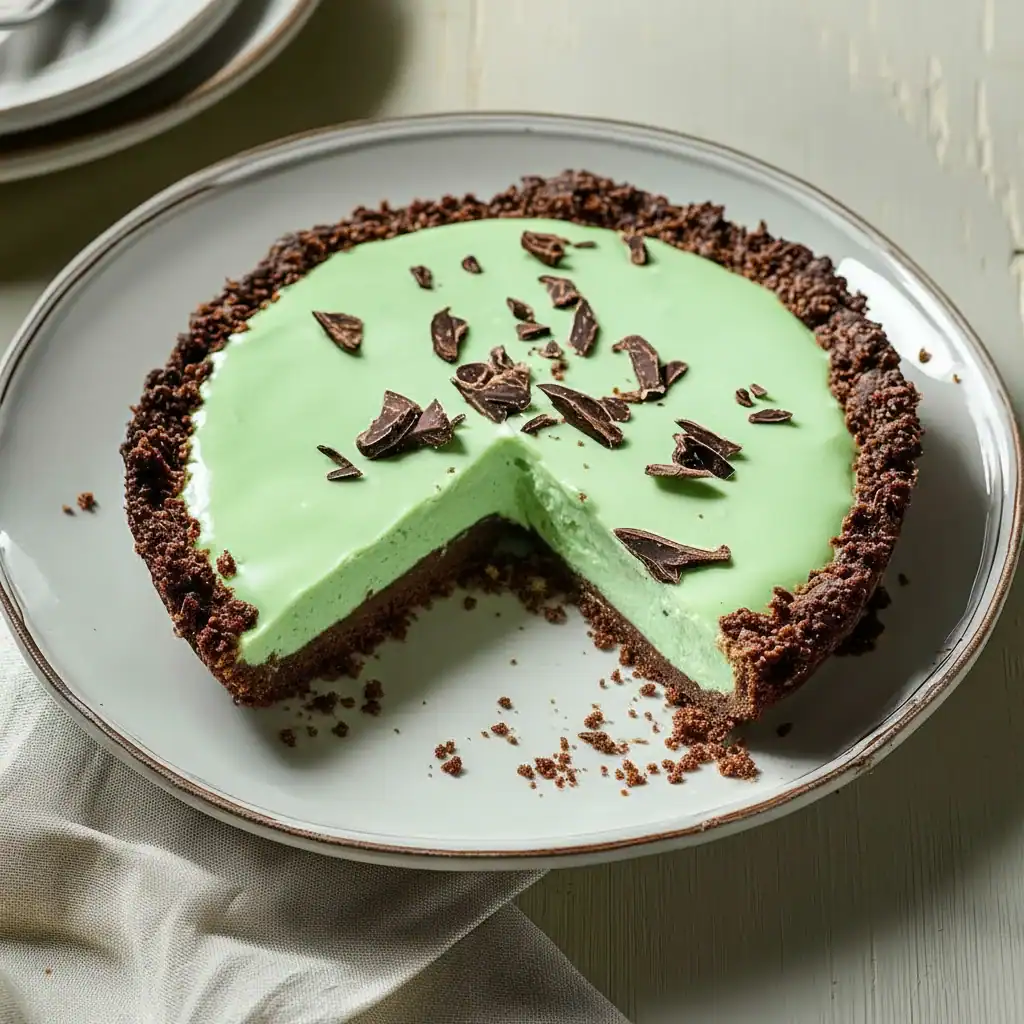
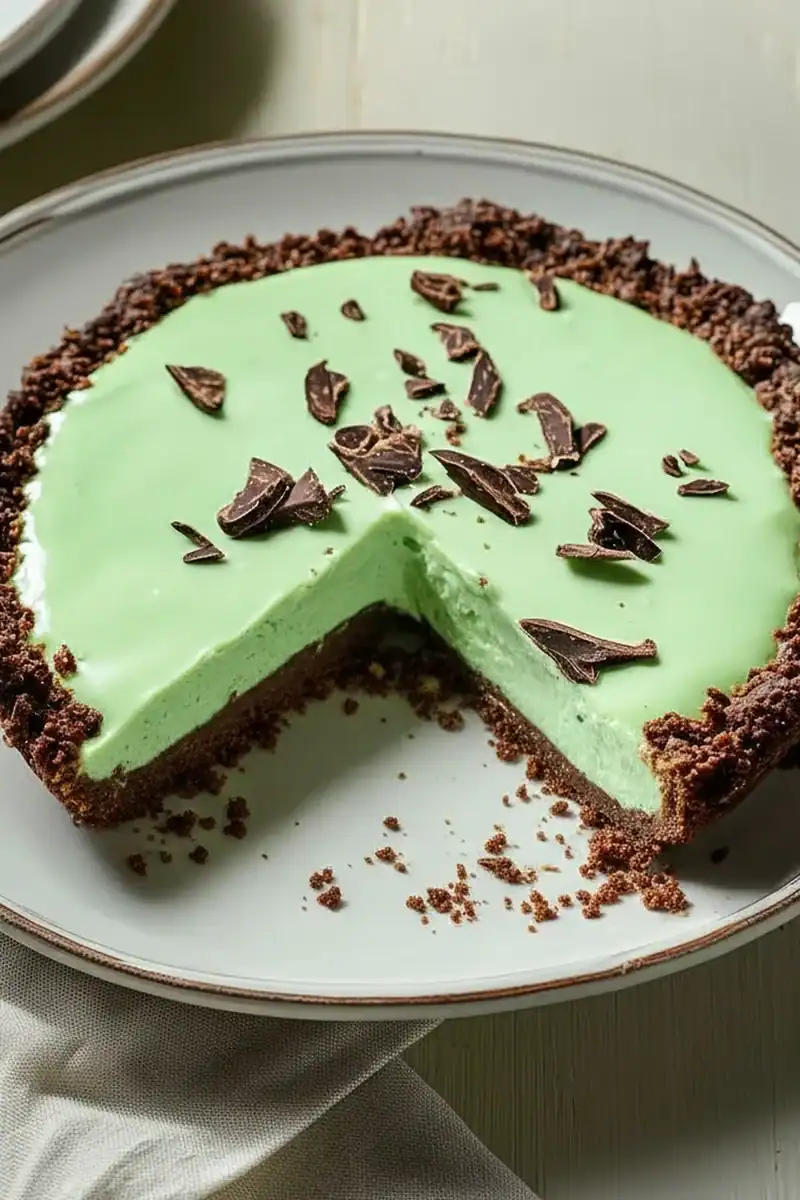
There’s something wonderfully nostalgic about a Grasshopper Pie. It harks back to an era of glamorous dinner parties and delightfully retro desserts. This Minty Grasshopper Pie Recipe Dessert is my modern take on that classic, delivering an intensely creamy, cool mint filling nestled in a deep, dark chocolate biscuit base. It’s a no-bake marvel that looks and tastes far more complicated than it is. This is my go-to recipe when I need something quick but impressive for a weekend gathering; the vibrant green hue and billowy texture always get rave reviews.
What we’re creating here is a dessert that balances textures and flavours with real finesse. The crust is crunchy and intensely chocolatey, providing the perfect counterpoint to the filling, which is as light as a cloud. We achieve that texture by combining melted marshmallows with whipped double cream, a trick that gives the pie structure without gelatine. The peppermint is distinct but not overpowering, offering a clean, refreshing finish that cuts through the richness.
This is a dessert for anyone who adores the timeless combination of chocolate and mint. It’s ideal for making ahead of time, which frees you up when you’re hosting. Whether you’re planning a summer barbecue, a special birthday dinner, or simply want a stunning treat to keep in the freezer, this creamy pie is a brilliant choice.
Recipe Overview
This no-bake chocolate mint dessert is all about that luxurious, mousse-like texture and refreshing flavour. The base is a simple press-in crust made from chocolate cream-filled biscuits, and the filling is a glorious mix of melted marshmallows, double cream, and peppermint. After testing this recipe five times, I finally got the mint-to-chocolate ratio just right, ensuring the peppermint shines without tasting like toothpaste.
- Prep Time: 25 minutes
- Cook Time: 5 minutes (for melting marshmallows)
- Chilling Time: 4-6 hours, or overnight
- Total Time: 4 hours 30 minutes
- Servings: 8-10 slices
- Difficulty: Easy
Why You’ll Love This Minty Grasshopper Pie Recipe Dessert
- Unforgettable Texture: The filling is incredibly light and airy, almost like a mousse, thanks to the whipped double cream and marshmallow base. It simply melts in your mouth.
- Comes Together in About 30 Minutes: The active preparation for this no-bake pie is genuinely minimal. The hardest part is waiting for it to chill and set properly in the fridge.
- A Versatile Recipe: You can easily make this pie your own. Swap the chocolate biscuits for ginger nuts for a warming spice, or fold in some dark chocolate chips for extra texture.
- Works Beautifully for Celebrations: Its striking appearance makes it a wonderful centrepiece for birthdays, Easter gatherings, or as a refreshing end to a rich meal like my Garlic Parmesan Chicken Pasta.
- Family Tested and Approved: My children adore this pie, especially when I let them help crush the biscuits for the base. It’s one of those recipes that always gets compliments from everyone who tries it.
Ingredients You’ll Need
For the best results, use good quality ingredients. I find that using a brand like Nielsen-Massey for the peppermint extract provides a clean, pure mint flavour that’s miles better than cheaper alternatives. For the base, Oreos are my top choice as the creamy filling helps bind the crust together perfectly.
- For the Chocolate Biscuit Crust:
- 300g chocolate sandwich biscuits (like Oreos)
- 85g unsalted butter, melted
- For the Creamy Mint Filling:
- 250g mini marshmallows (or regular marshmallows, chopped)
- 120ml whole milk
- 1 tsp peppermint extract
- 1/4 tsp green food colouring (gel works best)
- 480ml double cream, well-chilled
- For the Topping (Optional):
- Extra whipped cream
- Dark chocolate shavings or curls
- Fresh mint sprigs
Adam’s Tip: If you can’t find mini marshmallows, regular ones work fine. Just snip them into smaller pieces with kitchen scissors dipped in a little icing sugar to stop them from sticking. This helps them melt more evenly.
How to Make This Minty Grasshopper Pie Recipe Dessert
The process for this no-bake pie is wonderfully straightforward. We’ll start by making the press-in crust, then create the light and airy filling, and finally let the fridge do all the hard work for us.
- Prepare the Crust: Place the chocolate sandwich biscuits into a food processor and pulse until they form fine crumbs. If you don’t have a food processor, pop them in a sturdy plastic bag and bash them with a rolling pin. Pour the crumbs into a bowl and stir in the 85g of melted butter until the mixture resembles damp sand.
- Form the Pie Base: Tip the buttery crumbs into a 23cm (9-inch) pie dish. Use the back of a spoon or the base of a glass to press the crumbs firmly and evenly across the bottom and up the sides of the dish. Place the crust in the freezer to firm up for 10-15 minutes while you make the filling.
- Melt the Marshmallows: In a medium saucepan, combine the mini marshmallows and the whole milk. Heat over a low-medium heat, stirring constantly, until the marshmallows are completely melted and the mixture is smooth. This should take about 5-7 minutes. Be patient here; if the heat is too high, the sugar can catch and burn.
- Flavour the Filling Base: Remove the marshmallow mixture from the heat and stir in the peppermint extract and green food colouring. Start with a small amount of colouring and add more until you reach your desired shade of minty green. Set aside to cool to room temperature, stirring occasionally to prevent a skin from forming.
- Whip the Cream: While the marshmallow base is cooling, pour the chilled double cream into a large bowl. Using a stand mixer or an electric hand mixer, whip the cream until it holds stiff peaks. What works best for me is using a chilled bowl, as it helps the cream whip up faster and hold its shape better.
- Combine the Filling: Once the marshmallow mixture is completely cool (this is crucial!), gently fold in about a third of the whipped cream to lighten it up. Then, add the remaining whipped cream and fold carefully with a spatula until just combined. You want to keep as much air in the mixture as possible.
- Assemble and Chill: Pour the gloriously light mint filling into your chilled biscuit crust and spread it out evenly with your spatula. Cover the pie loosely with cling film (be careful not to let it touch the surface) and place it in the refrigerator to set for at least 4 hours, though overnight is even better.
- Decorate and Serve: Just before serving, you can decorate the pie with swirls of extra whipped cream, a generous scattering of dark chocolate shavings, and a few fresh mint sprigs. Slice and serve chilled.
Tips From My Kitchen
- Temperature is Key: For the fluffiest filling, ensure your double cream, mixing bowl, and beaters are very cold. This helps the cream incorporate more air and become stable. Also, make sure the marshmallow mixture has cooled completely before folding in the cream, otherwise, it will melt and deflate.
- The Gentle Fold: The secret to the pie’s light, mousse-like texture is in the folding. I learned that using a large metal spoon or spatula to cut down the middle and bring the mixture up from the bottom is much more effective than stirring. This technique, explained well on BBC Good Food, preserves the air you worked so hard to whip into the cream.
- Make-Ahead Magic: This pie is a dream for planning ahead. You can make the entire pie up to 2 days in advance and keep it covered in the fridge. The flavours actually meld and deepen overnight. It also freezes beautifully for up to a month.
- Storing Leftovers: Any leftover pie should be covered and stored in the fridge, where it will keep well for 3-4 days. The biscuit base may soften slightly over time, but it will still be delicious.
Equipment You’ll Need
- Food processor (or a rolling pin and a zip-top bag)
- 23cm (9-inch) pie dish
- Medium saucepan
- Stand mixer or electric hand mixer
- Large mixing bowl
- Silicone spatula
Common Mistakes to Avoid
- A Soggy Base: Not pressing the biscuit crumbs firmly enough into the pie dish can lead to a crumbly, weak base. Take a minute to ensure it’s compact and even, especially around the edges. Chilling it in the freezer is a non-negotiable step to help it set hard.
- Grainy Filling: If you over-whip your double cream, it will turn grainy and eventually separate. Whip it until stiff peaks form – this means when you lift the beaters, the peak holds its shape without flopping over. Stop immediately at this point.
- Not Letting it Set: I know it’s tempting to dive in, but this pie needs its chilling time. Cutting it too early will result in a soupy mess. 4 hours is the absolute minimum, but I always find it slices most cleanly after an overnight chill.
Delicious Variations to Try
Once you’ve mastered the classic, feel free to experiment. This recipe is a fantastic canvas for other flavours and textures.
- The “Adults-Only” Grasshopper Pie: For a boozy kick reminiscent of the original Grasshopper cocktail, reduce the milk to 60ml and add 3 tablespoons of crème de menthe and 3 tablespoons of white crème de cacao to the marshmallow mixture along with the peppermint extract.
- Gluten-Free Version: This is an easy swap! Simply use your favourite gluten-free chocolate sandwich biscuits for the base. The method remains exactly the same.
- Mint Chocolate Chip Pie: After folding the filling together, gently stir in 100g of finely chopped dark chocolate or a handful of mini chocolate chips for a lovely bit of texture and an extra chocolate hit.
What to Serve With This Minty Grasshopper Pie
This pie is a showstopper all on its own, but a few simple accompaniments can elevate it further.
- Chocolate Sauce: A rich, dark chocolate sauce, either homemade or shop-bought, drizzled over each slice provides a wonderful contrast in temperature and flavour.
- Fresh Berries: A small handful of fresh raspberries or sliced strawberries on the side adds a touch of tartness that beautifully cuts through the creamy sweetness of the pie.
- A Strong Coffee: A freshly brewed espresso or a strong black Americano is the ideal drink pairing. Its robust, slightly bitter notes are a perfect match for this sweet and creamy dessert. For a great main course before dessert, try our Creamy Garlic Penne Pasta.
Frequently Asked Questions
Minty Grasshopper Pie
Ingredients
Method
- Prepare the Crust: Place the chocolate sandwich biscuits into a food processor and pulse until they form fine crumbs. If you don't have a food processor, pop them in a sturdy plastic bag and bash them with a rolling pin. Pour the crumbs into a bowl and stir in the 85g of melted butter until the mixture resembles damp sand.
- Form the Pie Base: Tip the buttery crumbs into a 23cm (9-inch) pie dish. Use the back of a spoon or the base of a glass to press the crumbs firmly and evenly across the bottom and up the sides of the dish. Place the crust in the freezer to firm up for 10-15 minutes while you make the filling.
- Melt the Marshmallows: In a medium saucepan, combine the mini marshmallows and the whole milk. Heat over a low-medium heat, stirring constantly, until the marshmallows are completely melted and the mixture is smooth. This should take about 5-7 minutes. Be patient here; if the heat is too high, the sugar can catch and burn.
- Flavour the Filling Base: Remove the marshmallow mixture from the heat and stir in the peppermint extract and green food colouring. Start with a small amount of colouring and add more until you reach your desired shade of minty green. Set aside to cool to room temperature, stirring occasionally to prevent a skin from forming.
- Whip the Cream: While the marshmallow base is cooling, pour the chilled double cream into a large bowl. Using a stand mixer or an electric hand mixer, whip the cream until it holds stiff peaks. What works best for me is using a chilled bowl, as it helps the cream whip up faster and hold its shape better.
- Combine the Filling: Once the marshmallow mixture is completely cool (this is crucial!), gently fold in about a third of the whipped cream to lighten it up. Then, add the remaining whipped cream and fold carefully with a spatula until just combined. You want to keep as much air in the mixture as possible.
- Assemble and Chill: Pour the gloriously light mint filling into your chilled biscuit crust and spread it out evenly with your spatula. Cover the pie loosely with cling film (be careful not to let it touch the surface) and place it in the refrigerator to set for at least 4 hours, though overnight is even better.
- Decorate and Serve: Just before serving, you can decorate the pie with swirls of extra whipped cream, a generous scattering of dark chocolate shavings, and a few fresh mint sprigs. Slice and serve chilled.
Notes
I really hope you enjoy making this Minty Grasshopper Pie. It’s such a rewarding dessert to make, and seeing the delight on people’s faces when they take that first creamy, minty bite is just the best. Let me know how you get on in the comments below – I’d love to hear about it! Happy dessert making!
– Adam Henderson


