
Oreo Cookies And Cream Cheesecake Recipe
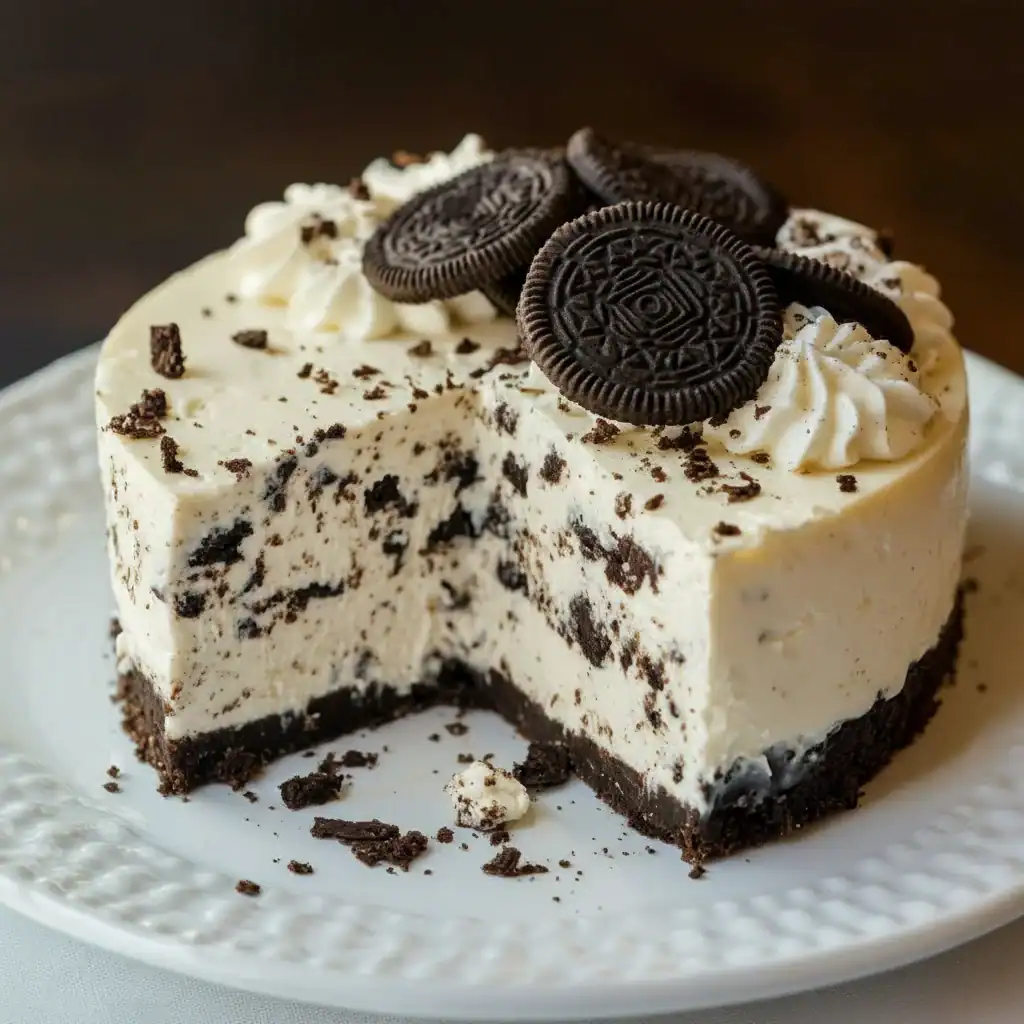
There are some desserts that just feel like an event in themselves, and a proper homemade cheesecake is definitely one of them. For me, nothing quite beats this Oreo Cookies and Cream Cheesecake recipe. It features a deep, dark, buttery Oreo biscuit base, a ridiculously creamy vanilla-flecked filling, and it’s absolutely packed with crunchy chunks of those iconic chocolate sandwich biscuits. It strikes that beautiful balance between being luxuriously rich and yet surprisingly light on the palate. It’s the kind of decadent chocolate dessert that stops conversations and makes everyone ask for the recipe.
This is the dessert I bring out when I want to impress without spending a whole day in the kitchen. After testing this recipe five times, I finally got it just right – the filling is smooth and tangy without being too sweet, and the base is firm and chocolatey without being tough. We’re going to bake this cheesecake in a water bath, which sounds a bit fancy, but I promise it’s a straightforward step that guarantees a beautifully even bake and a crack-free top every single time. It’s an absolute game-changer for home-baked cheesecakes.
This recipe works wonderfully for birthday celebrations, weekend family gatherings, or just those times when you need a truly magnificent sweet treat. Anyone who loves a classic cookies and cream dessert will be utterly smitten. Let’s get our aprons on and make something truly special.
Recipe Overview
This Oreo Cookies and Cream Cheesecake recipe yields a show-stopping dessert with a velvety texture and an intense chocolate-vanilla flavour. The baked filling is dense and creamy, a perfect contrast to the crunchy biscuit base and the generous chunks of Oreo mixed throughout. I found that letting it chill overnight is the real secret; it allows the flavours to meld and the texture to become absolutely perfect.
- Prep Time: 25 minutes
- Cook Time: 1 hour 15 minutes
- Chilling Time: 8 hours (or overnight)
- Total Time: 9 hours 40 minutes
- Servings: 12-14 slices
- Difficulty: Medium
Why You’ll Love This Oreo Cookies And Cream Cheesecake Recipe
- Authentic Cheesecake Flavour: We use full-fat cream cheese, double cream, and a touch of soured cream to create that unmistakable tangy, rich, and creamy filling. The vanilla extract enhances the ‘cream’ part of cookies and cream beautifully.
- Comes Together in About 25 Minutes: The active preparation time is surprisingly short. Once you’ve blitzed the base and mixed the filling, the oven and fridge do the rest of the work.
- A Truly Reliable Recipe: The water bath method might seem like an extra step, but it’s the key to a flawless, professional-looking cheesecake. It prevents the top from cracking and ensures the filling is silky smooth from edge to centre.
- Great for Special Occasions: This is a fantastic centrepiece dessert for a birthday, an anniversary dinner, or even a festive holiday meal. It always gets compliments and looks like it came from a fancy bakery.
- Family Tested and Approved: My entire family adores this cheesecake. The kids love the huge chunks of Oreo, and the adults appreciate the rich, not-too-sweet flavour. It’s one of the most requested bakes in our house.
Ingredients You’ll Need
For a cheesecake this good, quality ingredients really make a difference. I always use Philadelphia full-fat cream cheese; I find it has the best consistency and flavour, resulting in a firm filling that slices cleanly. Make sure your cream cheese, eggs, and soured cream are all at room temperature before you begin.
- For the Oreo Base:
- 300g Oreo biscuits (about 28 biscuits)
- 115g unsalted butter, melted
- For the Cheesecake Filling:
- 900g full-fat cream cheese, at room temperature
- 250g caster sugar
- 200g soured cream, at room temperature
- 2 teaspoons vanilla extract
- A pinch of salt
- 4 large eggs, at room temperature
- 150g Oreo biscuits, roughly chopped
- For the Topping (Optional):
- 150ml double cream
- 1 tablespoon icing sugar
- Mini Oreos or extra crushed Oreos for decoration
Adam’s Tip: Don’t be tempted to use low-fat cream cheese or soured cream. The fat content is essential for the cheesecake to set properly and achieve that glorious, rich texture. This is a treat, after all!
How to Make This Oreo Cookies And Cream Cheesecake Recipe
The process is broken down into three main stages: making the base, mixing the filling, and the slow bake and chill. Follow these steps closely, and you’ll have a perfect cheesecake.
- Prepare the Tin and Oven: Preheat your oven to 180°C (160°C fan). Grease and line the base of a 23cm (9-inch) springform cake tin. To prepare for the water bath, wrap the outside of the tin in a double layer of heavy-duty aluminium foil, ensuring it’s completely watertight.
- Make the Biscuit Base: Place the 300g of Oreo biscuits into a food processor and blitz until they form a fine crumb. If you don’t have a processor, pop them in a sealed bag and bash with a rolling pin. Pour the crumbs into a bowl, add the melted butter, and mix until it looks like damp sand. Tip this into your prepared tin and press down firmly and evenly with the back of a spoon. Bake for 10 minutes, then set aside to cool. Reduce the oven temperature to 160°C (140°C fan).
- Start the Filling: In a large bowl, using an electric mixer on a low speed, beat the room-temperature cream cheese until completely smooth and free of lumps. This step is crucial, so take your time. Scrape down the sides of the bowl often.
- Add Sugars and Creams: Add the caster sugar and salt, and beat on low speed until just combined. Gently mix in the soured cream and vanilla extract. What works best for me is keeping the mixer on low throughout this process to avoid whipping too much air into the batter.
- Incorporate the Eggs: Add the eggs one at a time, mixing on low speed until each one is just incorporated. Do not over-mix! Over-beating at this stage is the main cause of cheesecakes cracking.
- Fold in the Oreos: Gently fold the 150g of chopped Oreos into the batter with a spatula. Pour the filling over your cooled biscuit base and smooth the top.
- Bake in a Water Bath: Place the foil-wrapped tin into a large roasting tray. Carefully pour boiling water into the roasting tray until it comes halfway up the sides of the cheesecake tin. Bake for 1 hour to 1 hour 15 minutes. The cheesecake is done when the edges are set, but the centre still has a slight wobble.
- Cool Down Slowly: Turn off the oven, crack the door open, and leave the cheesecake inside to cool for at least 1 hour. This slow cooling process is another key step to prevent cracks.
- Chill Completely: Remove the cheesecake from the water bath, take off the foil, and let it cool completely on a wire rack. Once at room temperature, cover with cling film and refrigerate for at least 8 hours, but preferably overnight.
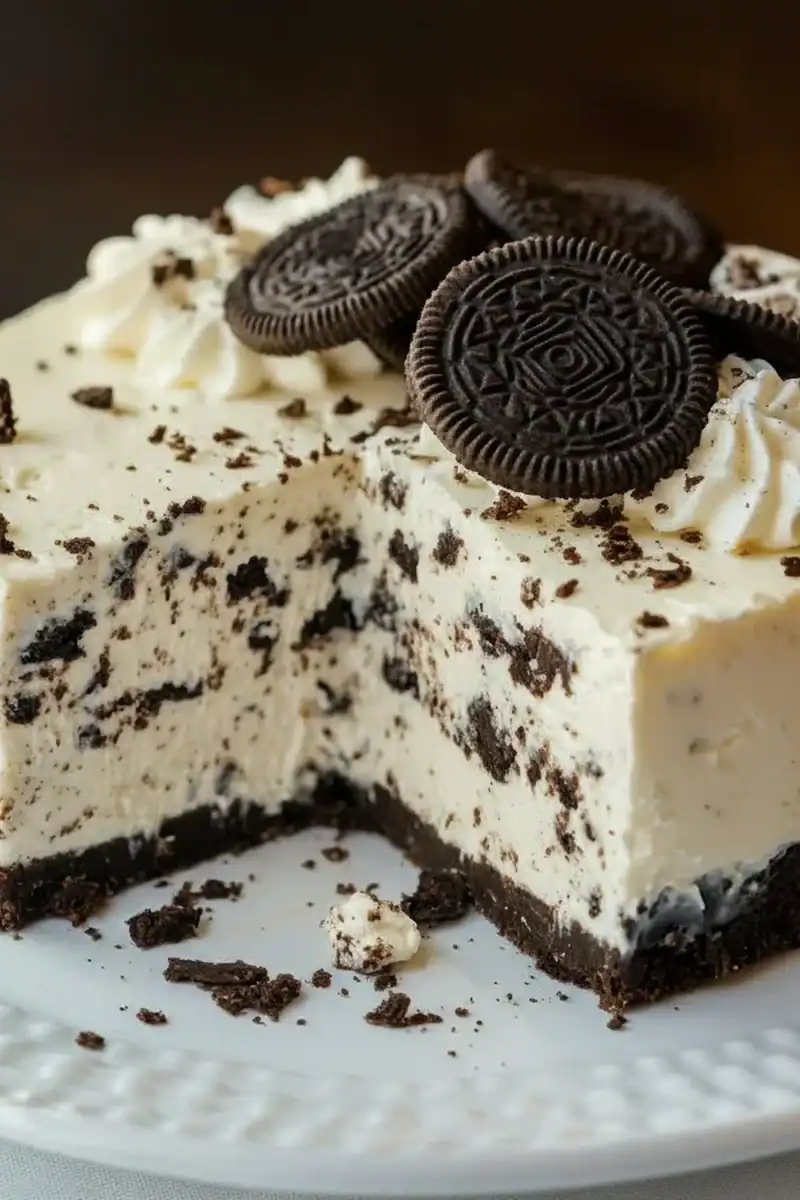
- Decorate and Serve: Once chilled, carefully run a knife around the edge and release the springform tin. To decorate, whip the double cream with the icing sugar until soft peaks form. Pipe or spoon it onto the cheesecake and top with mini or crushed Oreos. For a simpler meal, you could follow it up with our delicious Moist Banana Bread Recipe another day.
Tips From My Kitchen
- Room Temperature is Non-Negotiable: I can’t stress this enough. Using cold cream cheese, soured cream, or eggs will result in a lumpy filling that can split. Take them out of the fridge at least an hour before you start.
- The Secret Step for Clean Edges: I learned that running a thin, sharp knife around the edge of the cheesecake as soon as it comes out of the oven helps prevent it from sticking to the tin as it cools and shrinks, which can cause cracks.
- Make-Ahead Magic: This cheesecake is an ideal make-ahead dessert. It needs to be made at least a day in advance to allow for proper chilling. The flavour actually improves after a day in the fridge.
- Storage: Store the cheesecake, covered, in the fridge for up to 4 days. It can also be frozen (without the whipped cream topping) for up to a month. Thaw it overnight in the fridge before serving.
Common Mistakes to Avoid
- Over-mixing the Filling: When you beat the filling, especially after adding the eggs, you incorporate air. In the oven, this air expands, causing the cheesecake to puff up and then sink and crack as it cools. Keep your mixer on a low speed at all times.
- Baking at the Wrong Temperature: A cheesecake needs a gentle, humid heat. Baking it too high and too fast will make it curdle and crack. The lower temperature and the steam from the bain-marie (water bath) are your best friends here.
- Skipping the Chill Time: I know it’s tempting to slice into it early, but chilling is a crucial step. It allows the filling to set completely, firms up the texture to a dense, creamy consistency, and deepens the flavour. An overnight chill is always best.
Delicious Variations to Try
While this Oreo cheesecake is a classic, you can easily adapt it to your taste. Here are a few ideas I’ve tried:
- Mint Chocolate Twist: Swap the standard Oreos for mint-flavoured ones and add 1/2 teaspoon of peppermint extract to the filling for a refreshing twist.
- White Chocolate Indulgence: Melt 100g of good-quality white chocolate and let it cool slightly. Gently fold it into the cream cheese mixture just before adding the eggs for an even richer filling.
- Golden Oreo Version: For a vanilla-forward dessert, substitute the classic Oreos with Golden Oreos for both the base and the filling. It creates a beautiful ‘cookies and vanilla cream’ cheesecake.
What to Serve With This Oreo Cookies and Cream Cheesecake
This decadent cheesecake is a real star on its own, but a few simple accompaniments can elevate it even further.
- Chocolate Sauce: A simple, glossy chocolate sauce drizzled over each slice just before serving adds an extra layer of chocolatey goodness.
- Fresh Raspberries: A handful of fresh raspberries or a raspberry coulis provides a lovely, sharp contrast that cuts through the richness of the cream cheese.
- A Good Coffee: A freshly brewed espresso or a strong Americano is the perfect beverage pairing. The slight bitterness of the coffee beautifully complements the sweet, creamy dessert.
This is the kind of dessert that feels right after a hearty, comforting main course. It would be a fantastic finish to a meal of Garlic Parmesan Chicken Pasta.
Frequently Asked Questions
Oreo Cookies And Cream Cheesecake Recipe
Ingredients
Method
- Prepare the Tin and Oven: Preheat your oven to 180°C (160°C fan). Grease and line the base of a 23cm (9-inch) springform cake tin. To prepare for the water bath, wrap the outside of the tin in a double layer of heavy-duty aluminium foil, ensuring it's completely watertight.
- Make the Biscuit Base: Place the 300g of Oreo biscuits into a food processor and blitz until they form a fine crumb. If you don't have a processor, pop them in a sealed bag and bash with a rolling pin. Pour the crumbs into a bowl, add the melted butter, and mix until it looks like damp sand. Tip this into your prepared tin and press down firmly and evenly with the back of a spoon. Bake for 10 minutes, then set aside to cool. Reduce the oven temperature to 160°C (140°C fan).
- Start the Filling: In a large bowl, using an electric mixer on a low speed, beat the room-temperature cream cheese until completely smooth and free of lumps. This step is crucial, so take your time. Scrape down the sides of the bowl often.
- Add Sugars and Creams: Add the caster sugar and salt, and beat on low speed until just combined. Gently mix in the soured cream and vanilla extract. What works best for me is keeping the mixer on low throughout this process to avoid whipping too much air into the batter.
- Incorporate the Eggs: Add the eggs one at a time, mixing on low speed until each one is just incorporated. Do not over-mix! Over-beating at this stage is the main cause of cheesecakes cracking.
- Fold in the Oreos: Gently fold the 150g of chopped Oreos into the batter with a spatula. Pour the filling over your cooled biscuit base and smooth the top.
- Bake in a Water Bath: Place the foil-wrapped tin into a large roasting tray. Carefully pour boiling water into the roasting tray until it comes halfway up the sides of the cheesecake tin. Bake for 1 hour to 1 hour 15 minutes. The cheesecake is done when the edges are set, but the centre still has a slight wobble.
- Cool Down Slowly: Turn off the oven, crack the door open, and leave the cheesecake inside to cool for at least 1 hour. This slow cooling process is another key step to prevent cracks.
- Chill Completely: Remove the cheesecake from the water bath, take off the foil, and let it cool completely on a wire rack. Once at room temperature, cover with cling film and refrigerate for at least 8 hours, but preferably overnight.
- Decorate and Serve: Once chilled, carefully run a knife around the edge and release the springform tin. To decorate, whip the double cream with the icing sugar until soft peaks form. Pipe or spoon it onto the cheesecake and top with mini or crushed Oreos. For a simpler meal, you could follow it up with our delicious Moist Banana Bread Recipe another day.
Notes
I hope you enjoy making this Oreo Cookies and Cream Cheesecake recipe as much as my family and I enjoy eating it. It’s a truly show-stopping dessert that’s worth every moment. If you give it a go, please let me know how it turned out in the comments below. Happy baking!


