
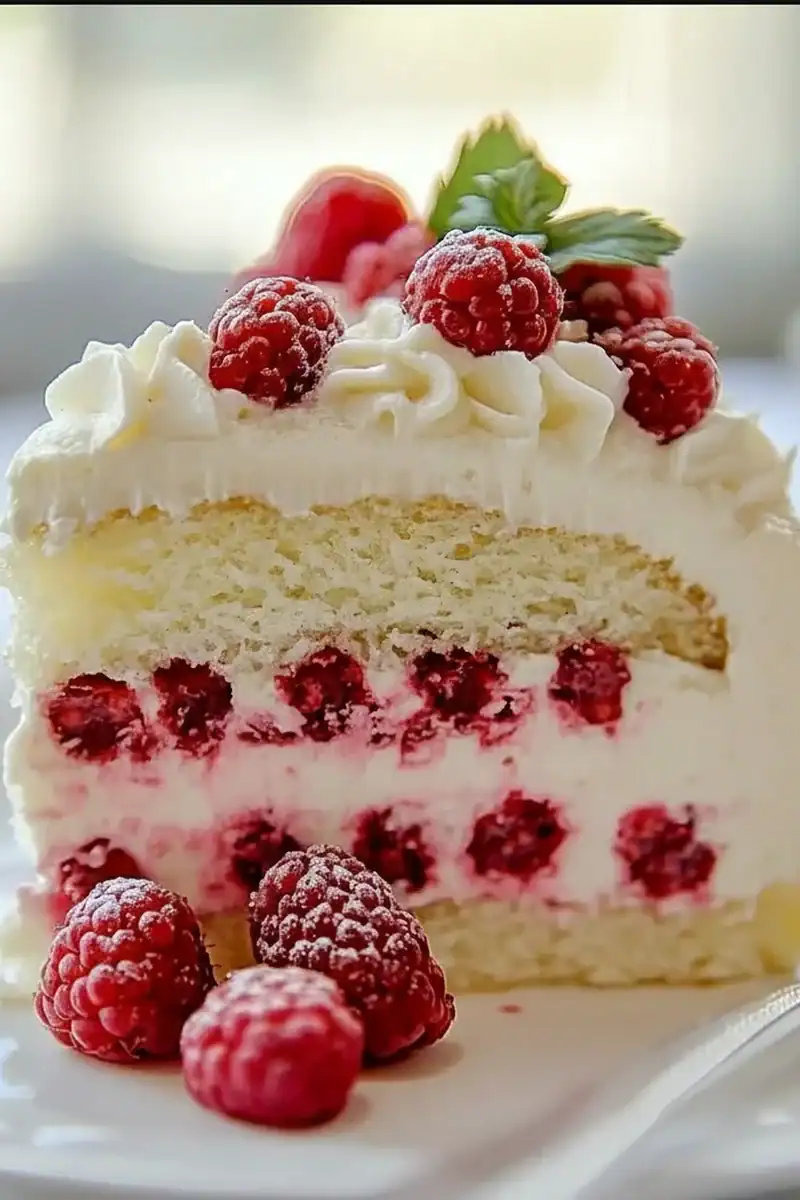
White Chocolate Raspberry Dream Cake
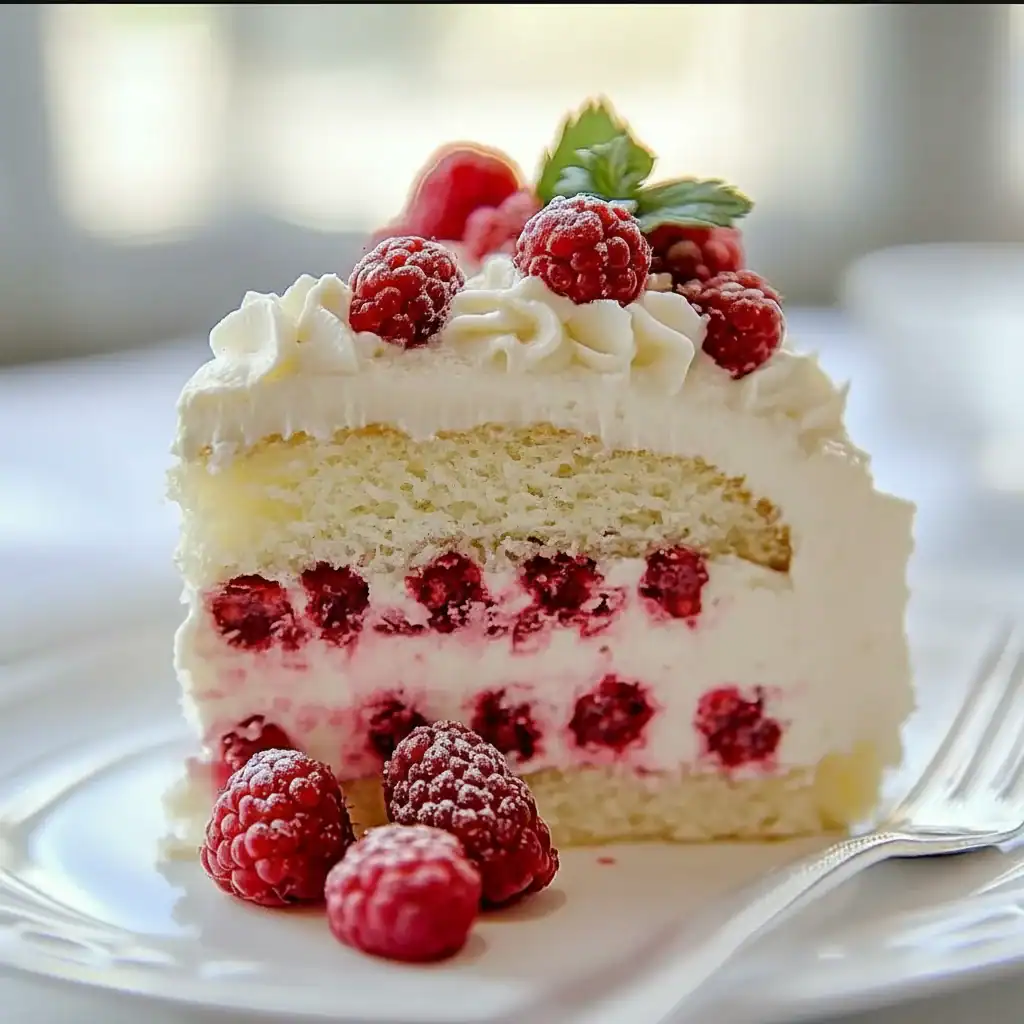
There are some flavour pairings that are simply meant to be, and for me, white chocolate and raspberry are at the very top of that list. This White Chocolate Raspberry Dream Cake is the result of many weekends spent in the kitchen, tweaking and testing until I landed on the perfect balance. We’re talking about incredibly soft, vanilla-flecked sponges, a sharp, vibrant raspberry coulis that cuts through the sweetness, and a gloriously smooth white chocolate buttercream that envelops the whole thing. It’s a truly elegant dessert, but one that feels wonderfully achievable for a home cook.
This isn’t just a cake; it’s a centrepiece. It’s the kind of bake that elicits gasps when you bring it to the table. Friends always ask me for this recipe after trying it at dinner parties, and I’m always so happy to share it. The magic lies in the contrast: the creamy, sweet indulgence of the white chocolate against the bright, tangy punch of the raspberries. It’s a combination that feels both sophisticated and deeply satisfying.
This raspberry cake works beautifully for birthdays, anniversaries, or even a special Sunday afternoon tea. It takes a little time, but every step is a joy, and the final result is a magnificent layer cake that tastes every bit as good as it looks. If you’re looking for a bake that truly impresses, this is the one.
Recipe Overview
This White Chocolate Raspberry Dream Cake features three layers of a light vanilla sponge, a homemade tangy raspberry coulis filling, and a silky-smooth buttercream made with real white chocolate. The key is using good quality ingredients, especially the chocolate, as it forms the backbone of the frosting’s flavour. I’ve found that cheaper white chocolate can make the buttercream greasy, so it’s worth investing in a good bar with a high percentage of cocoa butter.
- Prep Time: 45 minutes
- Cook Time: 35 minutes
- Total Time: 1 hour 20 minutes (plus cooling)
- Servings: 12-16 slices
- Difficulty: Medium
Why You’ll Love This White Chocolate Raspberry Dream Cake
- Genuine Flavour: The buttercream isn’t just sweet; it has the distinct creamy, vanilla-like notes of real white chocolate, which is beautifully offset by the authentically sharp and fruity raspberry coulis. The sponge is buttery and moist, not dry or overly sugary.
- A Manageable Project: While it looks impressive, the active kitchen time is around 90 minutes. It’s a straightforward process of baking sponges, making a simple coulis, and whipping up a buttercream.
- Flexible Recipe: You can easily use frozen raspberries for the coulis; just let them thaw first. If you’re not a raspberry fan, a strawberry or even a blackcurrant filling would work wonderfully here as well.
- Great for Special Occasions: This layer cake is ideal when you want a showstopper for a birthday party, an elegant dessert for a dinner party, or even as a bake for a wedding or anniversary celebration.
- Family Tested: My kids absolutely devour this every time I make it. They always try to sneak a finger of the buttercream while I’m assembling it, and it always gets compliments from everyone who tries it. For a simpler, everyday treat, they also love my Moist Banana Bread Recipe.
Ingredients You’ll Need
For a cake like this, the quality of your ingredients really shines through. I always use a good vanilla bean paste for those lovely black specks in the sponge, and for the white chocolate, I recommend something like Green & Black’s or Callebaut, which melts beautifully. Ensure your butter, eggs, and milk are all at room temperature before you begin.
- For the Vanilla Sponges:
- 225g unsalted butter, softened
- 225g caster sugar
- 4 large free-range eggs
- 2 tsp vanilla bean paste
- 225g self-raising flour
- 1 tsp baking powder
- 50ml whole milk
- For the Raspberry Coulis:
- 300g fresh or frozen raspberries
- 75g caster sugar
- 1 tbsp lemon juice
- For the White Chocolate Buttercream:
- 200g good-quality white chocolate, chopped
- 250g unsalted butter, softened
- 500g icing sugar, sifted
- 1-2 tbsp whole milk
- 1 tsp vanilla extract
Adam’s Tip: Make sure your butter and eggs are at room temperature. It sounds fussy, but it’s the secret to a light, even sponge and prevents the buttercream from splitting. I just take them out of the fridge an hour before I start.
How to Make White Chocolate Raspberry Dream Cake
We’ll tackle this in three stages: baking the sponges, preparing the coulis while they cool, and then whipping up the buttercream for assembly. Don’t rush the cooling stages—they are vital for a stable, professional-looking cake.
- Prepare the Sponges: Preheat your oven to 180°C (160°C fan/Gas Mark 4). Grease and line the bases of three 20cm (8-inch) round cake tins with parchment paper. In a large bowl or stand mixer, cream the softened butter and caster sugar together for about 5 minutes until pale and fluffy.
- Mix the Batter: Beat in the eggs one at a time, adding a tablespoon of the flour with the last egg to prevent curdling. Stir in the vanilla bean paste. Sift the flour and baking powder into the bowl, then gently fold it in using a large metal spoon, alternating with the milk until just combined. Be careful not to overmix.
- Bake the Cakes: Divide the batter evenly between the three prepared tins and level the tops with a spatula. Bake for 25-30 minutes, or until a skewer inserted into the centre comes out clean. Let the sponges cool in their tins for 10 minutes before turning them out onto a wire rack to cool completely.
- Make the Raspberry Coulis: While the cakes are cooling, place the raspberries, sugar, and lemon juice in a small saucepan. Heat gently over a medium heat, stirring occasionally, for 8-10 minutes until the raspberries have broken down and the sauce has thickened slightly. For a smooth coulis, you can press it through a fine-mesh sieve to remove the seeds. Set aside to cool completely.
- Create the Buttercream: Melt the chopped white chocolate in a heatproof bowl set over a pan of simmering water (or in the microwave in 30-second bursts). Set aside to cool for about 10-15 minutes until it’s barely warm to the touch. In a stand mixer, beat the softened butter for 5 minutes until very pale and creamy. Gradually add the sifted icing sugar, beating well after each addition. Add the vanilla and the cooled, melted white chocolate and beat until smooth and combined. If it’s too stiff, add a tablespoon of milk. If you want to learn more about the science of a good frosting, this guide on making buttercream is a great read.
- Assemble the Dream Cake: Place one sponge layer on your serving plate. I find that creating a ‘dam’ of buttercream around the edge of each layer is crucial. Pipe a ring of buttercream around the perimeter, then spoon about half of the cooled raspberry coulis into the centre.
- Layer and Crumb Coat: Place the second sponge on top and repeat the process: pipe a buttercream dam and fill with the remaining coulis. Top with the final sponge layer. Apply a very thin layer of buttercream all over the cake—this is your ‘crumb coat’. It traps any loose crumbs. Chill the cake in the fridge for 30 minutes.
- Final Decoration: Once the crumb coat is firm, apply the remaining buttercream over the top and sides of the cake, using a palette knife or cake scraper to get a smooth or textured finish, as you prefer. Decorate with fresh raspberries and white chocolate shavings.
Tips From My Kitchen
- Temperature Control: For the buttercream, the melted white chocolate must be cooled properly. If it’s too hot, it will melt the butter and give you a soupy mess. If it’s too cold, it will solidify into chunks when it hits the cool butter. Aim for lukewarm.
- The Secret Step: I learned that a crumb coat is non-negotiable for a professional finish. It takes an extra 30 minutes of chilling, but it makes the final coat of icing so much cleaner and smoother, free from any pesky cake crumbs.
- Make-Ahead: The cake sponges can be baked a day in advance. Once fully cooled, wrap them tightly in cling film and store them at room temperature. The raspberry coulis can be made up to 3 days ahead and kept in an airtight container in the fridge.
- Storage: The finished cake should be stored in an airtight container in the fridge for up to 4 days. For the best flavour and texture, remove it from the fridge about 30-45 minutes before serving to allow the buttercream to soften slightly.
Equipment You’ll Need
- Stand mixer or electric hand mixer
- Three 20cm (8-inch) round cake tins
- Parchment paper
- Wire cooling rack
- Palette knife or offset spatula
- Piping bag (optional, for the buttercream dam)
Common Mistakes to Avoid
- Over-mixing the Batter: Once you add the flour, mix only until it’s just incorporated. Over-mixing develops the gluten in the flour, which can lead to a tough, dense sponge instead of a light and airy one.
- Wrong Temperature: As tempting as it is to rush, do not try to assemble the cake with warm sponges. Any residual heat will melt the buttercream, causing the layers to slide and the filling to seep out. Patience is key!
- Skipping the Sifting: Always sift your flour and, most importantly, your icing sugar. This removes any lumps and aerates the ingredients, resulting in a lighter sponge and a perfectly smooth, silky buttercream.
What to Serve With White Chocolate Raspberry Dream Cake
This cake is a standalone star, but a few simple accompaniments can complement it beautifully. It’s an ideal follow-up to a savoury meal like my Garlic Parmesan Chicken Pasta.
- Fresh Berries: A small bowl of extra fresh raspberries or mixed berries on the side provides a lovely fresh contrast.
- A Light Pouring Cream: A drizzle of single cream can be nice for those who like to balance the sweetness even further.
- Drink Pairing: A glass of crisp Prosecco or Champagne cuts through the richness wonderfully. For a non-alcoholic option, a pot of strong English breakfast tea or a good quality coffee is perfect.
Frequently Asked Questions
White Chocolate Raspberry Dream Cake
Ingredients
Method
- Prepare the Sponges: Preheat your oven to 180°C (160°C fan/Gas Mark 4). Grease and line the bases of three 20cm (8-inch) round cake tins with parchment paper. In a large bowl or stand mixer, cream the softened butter and caster sugar together for about 5 minutes until pale and fluffy.
- Mix the Batter: Beat in the eggs one at a time, adding a tablespoon of the flour with the last egg to prevent curdling. Stir in the vanilla bean paste. Sift the flour and baking powder into the bowl, then gently fold it in using a large metal spoon, alternating with the milk until just combined. Be careful not to overmix.
- Bake the Cakes: Divide the batter evenly between the three prepared tins and level the tops with a spatula. Bake for 25-30 minutes, or until a skewer inserted into the centre comes out clean. Let the sponges cool in their tins for 10 minutes before turning them out onto a wire rack to cool completely.
- Make the Raspberry Coulis: While the cakes are cooling, place the raspberries, sugar, and lemon juice in a small saucepan. Heat gently over a medium heat, stirring occasionally, for 8-10 minutes until the raspberries have broken down and the sauce has thickened slightly. For a smooth coulis, you can press it through a fine-mesh sieve to remove the seeds. Set aside to cool completely.
- Create the Buttercream: Melt the chopped white chocolate in a heatproof bowl set over a pan of simmering water (or in the microwave in 30-second bursts). Set aside to cool for about 10-15 minutes until it's barely warm to the touch. In a stand mixer, beat the softened butter for 5 minutes until very pale and creamy. Gradually add the sifted icing sugar, beating well after each addition. Add the vanilla and the cooled, melted white chocolate and beat until smooth and combined. If it's too stiff, add a tablespoon of milk. If you want to learn more about the science of a good frosting, this guide on making buttercream is a great read.
- Assemble the Dream Cake: Place one sponge layer on your serving plate. I find that creating a 'dam' of buttercream around the edge of each layer is crucial. Pipe a ring of buttercream around the perimeter, then spoon about half of the cooled raspberry coulis into the centre.
- Layer and Crumb Coat: Place the second sponge on top and repeat the process: pipe a buttercream dam and fill with the remaining coulis. Top with the final sponge layer. Apply a very thin layer of buttercream all over the cake—this is your 'crumb coat'. It traps any loose crumbs. Chill the cake in the fridge for 30 minutes.
- Final Decoration: Once the crumb coat is firm, apply the remaining buttercream over the top and sides of the cake, using a palette knife or cake scraper to get a smooth or textured finish, as you prefer. Decorate with fresh raspberries and white chocolate shavings.
Notes
This White Chocolate Raspberry Dream Cake is more than just a recipe; it’s a project of love that results in something truly special. The process is so rewarding, and the final cake is a joy to share with people you care about. I really hope you give it a go. I’d love to hear how you get on, so please leave a comment below and let me know if you make it!


