Step-By-Step Sourdough Starter Instructions
There’s something deeply satisfying about creating a living thing in your own kitchen. Not a plant, but a bubbling, active, and wonderfully fragrant sourdough starter. It’s the heart and soul of genuine sourdough bread, the source of that distinctive tangy flavour and glorious, open crumb. Forget the complexities you might have heard about; at its core, this is a beautifully simple process of mixing flour and water and letting nature do the work. I make sourdough bread almost every weekend now, and the process all starts with this simple, living thing on my counter.
Creating your own bread starter is a journey of patience and observation. It’s a small, daily ritual that connects you to a baking tradition that is thousands of years old. Over a week or two, you’ll watch as this simple mixture transforms into a powerful leavening agent, ready to raise your loaves to new heights. This guide contains everything I’ve learned from my own trials and errors, broken down into straightforward, daily steps. It’s designed for anyone, from the curious beginner to the aspiring home baker, ready to unlock the magic of sourdough baking.
Recipe Overview
This guide walks you through creating a healthy, active sourdough starter from just two ingredients. The process requires daily attention for about a week, but each step takes only a few minutes. I’ve found that the key is consistency and observation. Your starter will develop a pleasantly sour, yeasty aroma and a thick, bubbly texture, signalling it’s ready for baking. The timeline can vary slightly depending on the temperature of your kitchen, so we’ll focus on the visual cues.
- Prep Time: 5 minutes per day
- Total Time: 7-14 days to establish
- Yields: 1 active sourdough starter
- Difficulty: Medium
Why You’ll Love These Sourdough Starter Instructions
- Authentic Sourdough Flavour: Nurturing your own starter gives you complete control over the final taste of your bread. You’ll achieve a deep, tangy complexity with lactic and acetic notes that you simply can’t get from commercial yeast.
- A Five-Minute Daily Ritual: While the total time is a week or more, the actual hands-on time is just a few minutes each day to discard and feed. It’s a small, mindful task with a huge payoff.
- Incredibly Versatile: Your starter is the gateway to more than just bread. Use the active starter for pizza bases and focaccia, or use the “discard” for delicious pancakes, waffles, and crackers.
- Ideal for Weekend Projects: The process of creating and maintaining a starter is a rewarding hobby. It transforms baking from a simple task into a fascinating project that fills the house with incredible aromas.
- Family Tested: My kids are fascinated by our starter (we even gave it a name!). They love checking on its progress and especially love the taste of the bread it produces.
Ingredients You’ll Need
The beauty of a sourdough starter lies in its simplicity. You only need flour and water. However, the *quality* of these ingredients does matter. I’ve had great success with Doves Farm Organic Strong White Bread Flour, but any unbleached strong bread flour will work well. A little wholemeal or rye flour helps to kickstart activity at the beginning.
- 1kg Strong white bread flour (unbleached)
- 100g Wholemeal or dark rye flour
- Filtered or bottled water (unchlorinated)
Adam’s Tip: If you only have access to tap water, leave it in an open jug on the counter for a few hours before using. This allows the chlorine, which can harm the delicate yeasts we want to cultivate, to evaporate.
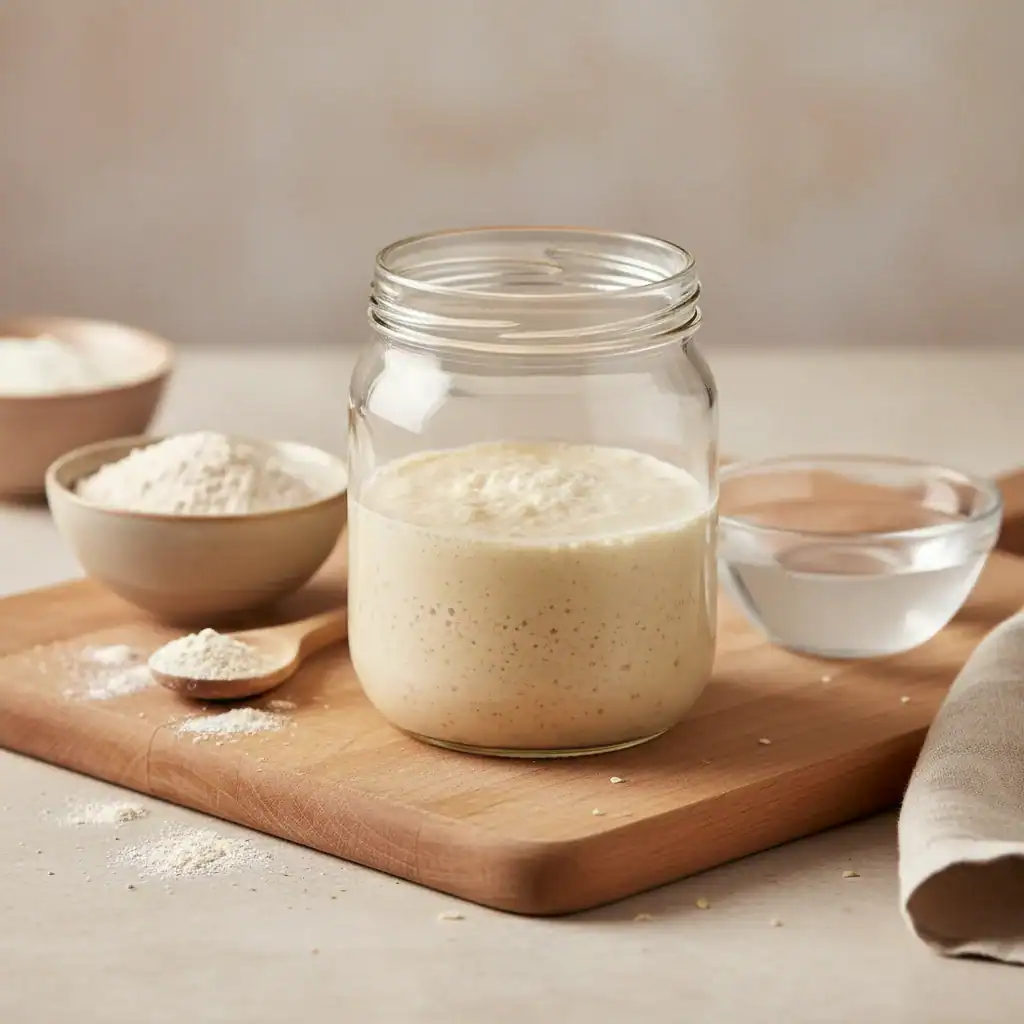
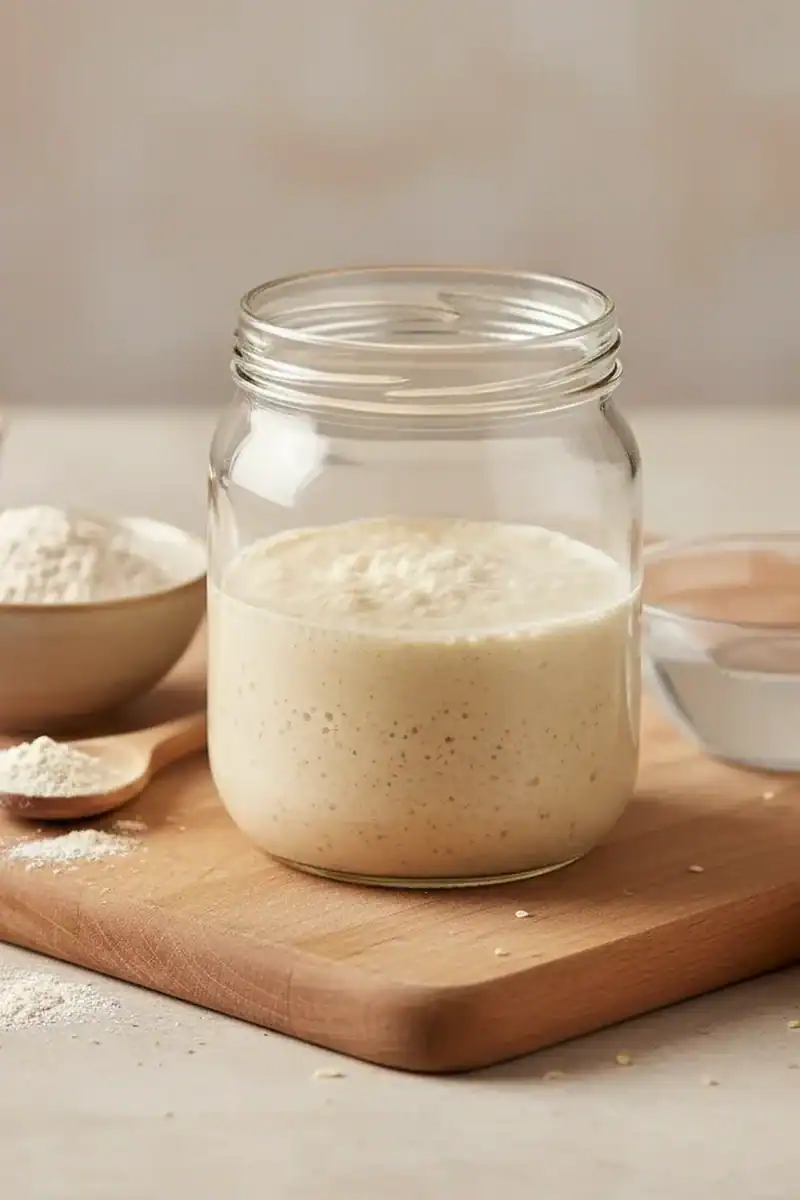
How to Make Your Sourdough Starter: Step-by-Step Instructions
Let’s begin our sourdough journey. You’ll need a clean glass jar (a 1-litre Kilner jar is great), a spatula, and a set of digital kitchen scales for accuracy. Consistency is key here, so try to feed your starter at roughly the same time each day.
- Day 1: The Initial Mix. In your clean jar, mix 50g of wholemeal or rye flour with 50g of lukewarm water (around 28°C is ideal). Stir vigorously until no dry flour remains. The mixture will be a thick, paste-like consistency. Scrape down the sides, loosely cover the jar (don’t seal it airtight), and leave it in a warm spot for 24 hours.
- Day 2: Patience is a Virtue. Today, we just wait. You might not see any activity, or you might see a few tiny bubbles. Either is completely normal. Just leave it be in its warm spot.
- Day 3: The First Feeding. You should see some bubbles and the mixture may have expanded a little. It might also smell a bit funky – don’t worry! This is the stage where different bacteria are competing. Discard roughly half of the mixture (about 50g). To the remaining starter, add 50g of strong white bread flour and 50g of lukewarm water. Mix well, scrape down the sides, cover, and leave for another 24 hours.
- Day 4 & 5: The “Slump” and Daily Feedings. The next couple of days can feel disheartening. Activity might seem to slow down or stop altogether. This is a normal phase as the desired yeast and bacteria establish dominance. Stick with it! Each day, repeat the process from Day 3: discard all but 50g of starter, and feed it with 50g strong white bread flour and 50g lukewarm water.
- Day 6 & 7: Coming to Life. You should now see a more predictable pattern. Within a few hours of feeding, your starter should start to grow, become bubbly and aerated, and develop a pleasant, tangy, slightly fruity aroma. I find that using a rubber band around the jar to mark the starter’s height after feeding is a brilliant way to track its activity. Continue the daily feeding routine.
- Day 7-14: Building Strength. Your starter is now established! It should be doubling in size within 4-8 hours of being fed. To strengthen it for baking, you can begin feeding it twice a day. When it reliably doubles in size and has a web of bubbles throughout, it’s ready. You can test it by dropping a small spoonful into a glass of water – if it floats, it’s full of gas and ready to bake with.
Tips From My Kitchen
- Temperature is Everything: Yeast and bacteria are most active in a warm environment. Your starter will be happiest between 24-28°C. If your kitchen is cold, try placing the jar in the oven with just the light on, or in a cupboard with a mug of hot water.
- The Importance of Scales: I learned early on that consistency in measurement is the absolute key to a healthy starter. Sourdough baking is a science. Using digital scales to measure your flour and water by weight (known as a 1:1:1 ratio for feeding) is far more accurate than using cups and ensures a predictable outcome.
- Long-Term Maintenance: Once your starter is strong and active, you don’t need to feed it daily unless you bake every day. You can store it in the fridge. Feed it once, let it sit at room temperature for an hour, then pop it in the fridge for up to a week. To revive it for baking, take it out, give it 1-2 feeds at room temperature over 12-24 hours until it’s bubbly and active again.
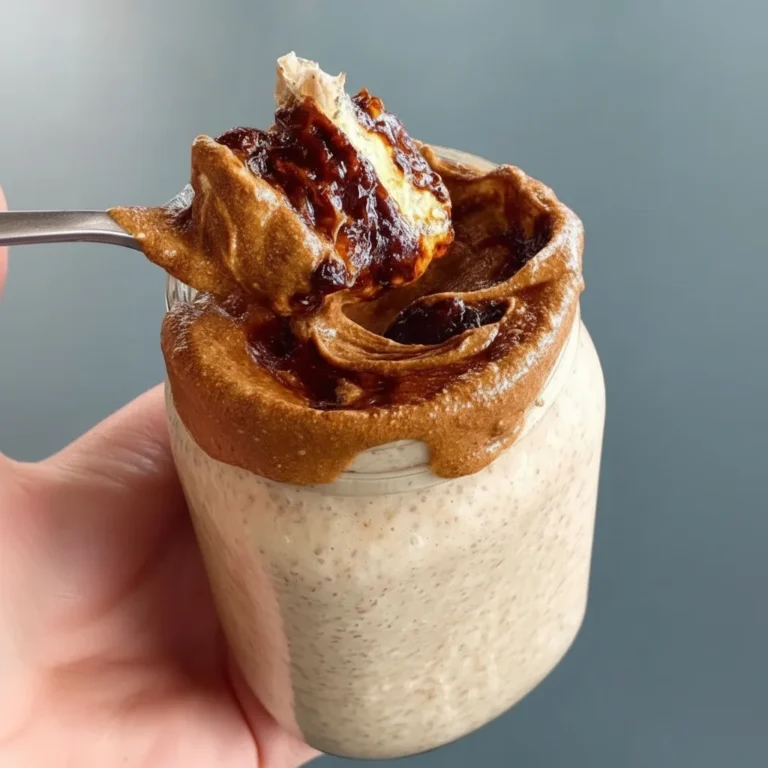
- Understanding Discard: The “discard” is simply the portion you remove before feeding. It’s necessary to keep the starter’s volume manageable and its acidity in check. It’s packed with flavour and can be used in many other recipes, from crumpets to this tangy Banana Bread Recipe.
Common Mistakes to Avoid
- Giving Up Too Soon: The most common mistake is throwing the starter away during the “slump” around Day 3-5 when activity dies down. This is a natural part of the process as the pH level changes. Have faith and keep feeding it!
- Using a Sealed Container: Your starter is a living culture that releases carbon dioxide gas. Sealing the jar tightly can cause pressure to build up, which could lead to the jar breaking. Rest the lid on top or use a coffee filter secured with a band.
- Ignoring the Smell: Your starter’s aroma is its way of communicating. A pleasant, tangy, yoghurt-like smell is great. A sharp, vinegary, or nail-polish-remover smell means it’s very hungry and overdue for a feed.
Delicious Variations to Try
Once you’ve mastered a basic white flour starter, you can easily adapt it.
- Wholemeal Starter: For a heartier, more earthy flavour in your bread, you can transition your starter to be fed entirely with wholemeal flour. It will ferment faster and may require more frequent feeding.
- Rye Starter: A 100% rye starter is a powerhouse. Rye flour is rich in nutrients and ferments very quickly, creating a robustly sour and active starter. It’s fantastic for rye breads and adds incredible depth to wheat-based loaves.
What to Make With Your Sourdough Starter
Your active, bubbly starter is ready! The most obvious choice is a classic crusty sourdough loaf. A fresh slice is the ultimate companion to soups or a hearty pasta dish like this Parmesan Garlic Beef Bowtie Pasta.
- Classic Sourdough Loaf: The ultimate goal. The tangy flavour and chewy texture are unparalleled.
- Sourdough Pizza Bases: For a chewy, flavourful crust with beautiful blistering.
- Sourdough Discard Crumpets: A brilliant way to use up your discard, creating light, tangy crumpets.
- Toasted with a Fresh Salad: A thick slice of toasted sourdough is wonderful alongside a crisp Classic House Salad with Red Wine Vinaigrette for a simple lunch.
Frequently Asked Questions
Sourdough Starter Instructions
Ingredients
Method
- Day 1: The Initial Mix. In your clean jar, mix 50g of wholemeal or rye flour with 50g of lukewarm water (around 28°C is ideal). Stir vigorously until no dry flour remains. The mixture will be a thick, paste-like consistency. Scrape down the sides, loosely cover the jar (don't seal it airtight), and leave it in a warm spot for 24 hours.
- Day 2: Patience is a Virtue. Today, we just wait. You might not see any activity, or you might see a few tiny bubbles. Either is completely normal. Just leave it be in its warm spot.
- Day 3: The First Feeding. You should see some bubbles and the mixture may have expanded a little. It might also smell a bit funky – don't worry! This is the stage where different bacteria are competing. Discard roughly half of the mixture (about 50g). To the remaining starter, add 50g of strong white bread flour and 50g of lukewarm water. Mix well, scrape down the sides, cover, and leave for another 24 hours.
- Day 4 & 5: The "Slump" and Daily Feedings. The next couple of days can feel disheartening. Activity might seem to slow down or stop altogether. This is a normal phase as the desired yeast and bacteria establish dominance. Stick with it! Each day, repeat the process from Day 3: discard all but 50g of starter, and feed it with 50g strong white bread flour and 50g lukewarm water.
- Day 6 & 7: Coming to Life. You should now see a more predictable pattern. Within a few hours of feeding, your starter should start to grow, become bubbly and aerated, and develop a pleasant, tangy, slightly fruity aroma. I find that using a rubber band around the jar to mark the starter's height after feeding is a brilliant way to track its activity. Continue the daily feeding routine.
- Day 7-14: Building Strength. Your starter is now established! It should be doubling in size within 4-8 hours of being fed. To strengthen it for baking, you can begin feeding it twice a day. When it reliably doubles in size and has a web of bubbles throughout, it's ready. You can test it by dropping a small spoonful into a glass of water – if it floats, it's full of gas and ready to bake with.
Notes
I hope you enjoy the journey of bringing your own sourdough starter to life. It’s a wonderfully rewarding process that teaches you to slow down and observe. The first loaf you bake with it will be a truly proud moment. Let me know how you get on in the comments below – I’d love to hear about your experience! – Adam