Ingredients
Method
- Day 1: The Initial Mix. In your clean jar, mix 50g of wholemeal or rye flour with 50g of lukewarm water (around 28°C is ideal). Stir vigorously until no dry flour remains. The mixture will be a thick, paste-like consistency. Scrape down the sides, loosely cover the jar (don't seal it airtight), and leave it in a warm spot for 24 hours.
- Day 2: Patience is a Virtue. Today, we just wait. You might not see any activity, or you might see a few tiny bubbles. Either is completely normal. Just leave it be in its warm spot.
- Day 3: The First Feeding. You should see some bubbles and the mixture may have expanded a little. It might also smell a bit funky – don't worry! This is the stage where different bacteria are competing. Discard roughly half of the mixture (about 50g). To the remaining starter, add 50g of strong white bread flour and 50g of lukewarm water. Mix well, scrape down the sides, cover, and leave for another 24 hours.
- Day 4 & 5: The "Slump" and Daily Feedings. The next couple of days can feel disheartening. Activity might seem to slow down or stop altogether. This is a normal phase as the desired yeast and bacteria establish dominance. Stick with it! Each day, repeat the process from Day 3: discard all but 50g of starter, and feed it with 50g strong white bread flour and 50g lukewarm water.
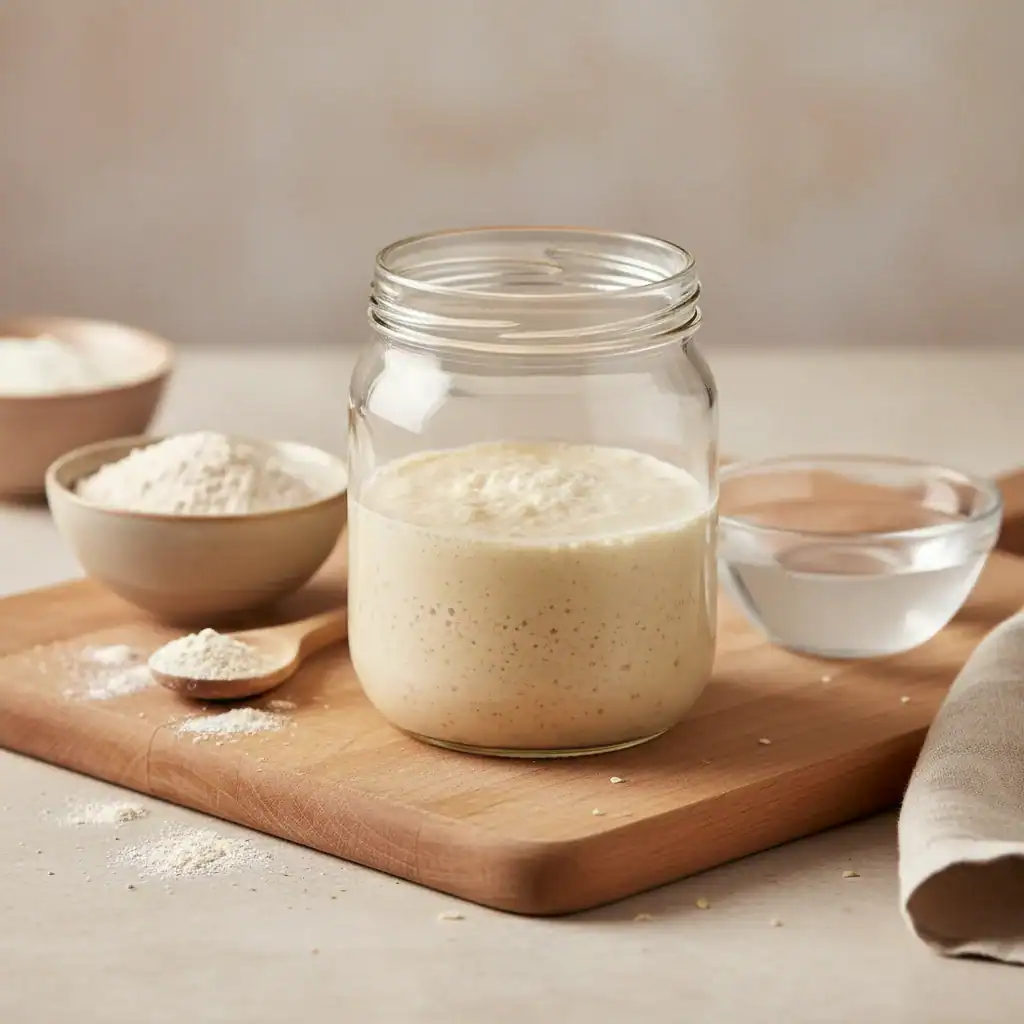
- Day 6 & 7: Coming to Life. You should now see a more predictable pattern. Within a few hours of feeding, your starter should start to grow, become bubbly and aerated, and develop a pleasant, tangy, slightly fruity aroma. I find that using a rubber band around the jar to mark the starter's height after feeding is a brilliant way to track its activity. Continue the daily feeding routine.
- Day 7-14: Building Strength. Your starter is now established! It should be doubling in size within 4-8 hours of being fed. To strengthen it for baking, you can begin feeding it twice a day. When it reliably doubles in size and has a web of bubbles throughout, it's ready. You can test it by dropping a small spoonful into a glass of water – if it floats, it's full of gas and ready to bake with.
Notes
Use a rubber band around the jar to mark the starter's height after feeding to track its activity. To test for readiness, drop a small spoonful into a glass of water – if it floats, it's ready to bake with.