Ingredients
Method
- Combine Dry Ingredients: In a large mixing bowl, add the rolled oats, protein powder, cocoa powder, ground flaxseed, and sea salt. Give it a good stir with a fork or a whisk to ensure everything is evenly distributed. This prevents getting clumps of cocoa or salt in the final balls.
- Combine Wet Ingredients: In a separate, smaller bowl, mix together the smooth almond butter, maple syrup, and vanilla extract. Stir until the mixture is smooth and well-combined.
- Mix Wet and Dry: Pour the wet almond butter mixture into the large bowl with the dry ingredients. Using a sturdy spatula or wooden spoon, mix everything together. It will be quite stiff and seem a bit dry at first, but keep mixing until it starts to come together into a thick, sticky dough.
- Add Chocolate Chips: If you're using them, fold in the dark chocolate chips until they are evenly spread throughout the mixture.
- Adjust Consistency: Check the texture of the mixture. It should be slightly sticky but hold its shape when you squeeze a piece in your hand. If it feels too dry and crumbly, add the milk one tablespoon at a time, mixing well after each addition, until it holds together easily. I find that different protein powders can absorb liquid differently, so you might need more or less milk.
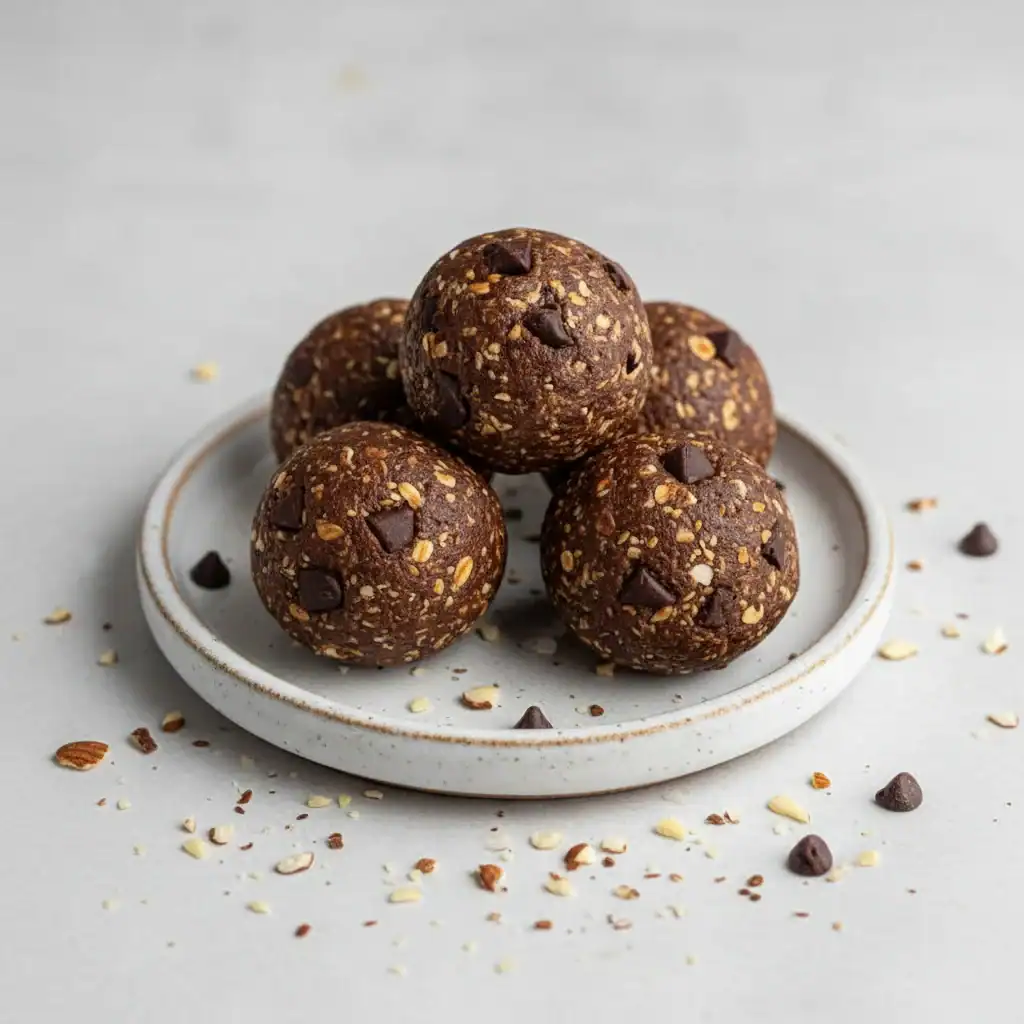
- Roll the Balls: Take about a tablespoon of the mixture and roll it firmly between your palms to form a ball about 1-inch in diameter. What works best for me is to have slightly damp hands, as this stops the mixture from sticking. Place the rolled ball onto a baking tray lined with parchment paper.
- Repeat and Chill: Continue rolling until you have used all the mixture. You should get between 18 and 20 balls. Place the baking tray in the refrigerator and chill for at least 30 minutes. This step is essential as it helps the balls to firm up and hold their shape perfectly.
Notes
Recipe makes 18 balls; one serving is 2 balls. Store in an airtight container in the refrigerator for up to one week.